Netflix Unveiled: Analyzing Content Diversity and User Engagement in Movies and TV Shows.
Introduction:
In this project, we leverage the power of Excel, Python, and Tableau to analyze a real-world Netflix dataset sourced from Kaggle. By harnessing these tools and technologies, we uncover valuable insights and provide strategic recommendations to optimize Netflix’s content landscape and user experience.
Company Background:
Netflix is a renowned streaming platform that offers a wide range of movies and TV shows to a global audience. It has revolutionized the way people consume entertainment by providing on-demand access to a vast library of content.
Data Set:
The dataset utilized in this analysis is sourced from Kaggle, offering comprehensive information about Netflix’s content library, including titles, directors, cast, countries, release dates, ratings, durations, genres, and descriptions.
Netflix Analytics Dashboard:
The analysis is based on a custom-built Netflix analytics dashboard, which provides visualizations and insights derived from the dataset.
Let’s delve into the key findings that emerged from the data analysis.
Content Distribution:
Movies: 68.42% TV Shows: 31.58%
Movies dominate Netflix’s library, comprising 68.42% (4,265 titles), while TV shows make up 31.58% (1,969 titles).
Netflix offers a diverse array of content, catering to a wide range of viewer preferences and ensuring an immersive entertainment experience.
Countries with the Most Content:
Top 5 Countries: United States, India, United Kingdom, Japan, Canada.
Netflix sources content from major countries worldwide, providing a global perspective and appealing to a diverse international audience.
Ratings:
Top 5 Ratings: TV-MA, TV-14, TV-PG, R, PG-13
TV-MA and TV-14 are the most common ratings, indicating a balance between mature and family-friendly programming.
Netflix offers content for a wide range of age groups and preferences.
Top Genres:
Documentaries, Stand-Up Comedy, Dramas, International Movies, Kids’ TV
Documentaries, Stand-Up Comedy, and dramas with international movies are popular genres.
Netflix provides a broad range of content for different demographics, including Kids’ TV and Children & Family Movies.
Trend Over the Years:
The number of movies and TV shows on Netflix has consistently increased.
The number of movies and TV shows on Netflix has witnessed consistent growth, indicating a commitment to expanding the content library.
Netflix remains at the forefront of the streaming industry, continuously enriching the viewing experience for subscribers.
Implications and Recommendations:
Content Strategy:
Strategically invest in compelling original TV series to augment the existing movie-focused library and cater to diverse viewer preferences. Expand content offerings from countries with substantial contributions to enhance global appeal and cultural relevance.
Targeted Marketing:
Leverage the popularity of genres like Documentaries, Stand-Up Comedy, and internationally flavored dramas to attract and engage viewers with varying interests. Tailor marketing campaigns to highlight region-specific content, tapping into local demographics and cultural connections.
Enhanced User Experience:
Refine recommendation algorithms by leveraging individual viewing habits, ratings, and genre preferences to deliver personalized content suggestions. Introduce innovative features and curated playlists to facilitate content discovery and offer an immersive viewing journey.
Conclusion:
Through the utilization of Excel, Python, and Tableau, this data portfolio project presents in-depth insights and strategic recommendations for Netflix’s content landscape and user engagement. By harnessing the power of these tools and technologies, we enable data-driven decision-making and highlight the importance of personalized recommendations and genre expansion.
Here is the slightly larger test version of the function by the author(s) himself, which mirrors the source code of Fossil.
Attention
The whole thing is actually only intended for storage and it cannot be ruled out that the behaviour of the then modified software will lead to undesired results.
Check possible bugs in behaviorwith an unpatched versionoffossilbefore you report a bug at Fossil SCM.
The diff contains a few changes for Fossil SCM and unravels the command input for ambiguous commands according to personal preferences.
The current default behavior of Fossil would be (which is pretty cool in itself):
$ fossil cl
fossil: ambiguous command prefix: cl
fossil: could be any of: clean clean-glob clearsign clone close
fossil: use "help" for more information
The diff command can now also use -u for --unified and -q instead of --brief.
The -h switch for global use has been added to display the help.
Disadvantages
You must use the long form of option -h in the following commands:
--html at commands: help, wiki --versions at command: diff --dereference at commands: sha1sum, sha3sum, test-tarball, test-filezip
The command call of fossil stash without further options now points to fossil stash list and not to fossil stash save as before.
The hidden test commands test-grep and test-diff are now more visible as fgrepxgrep and fdiffxdiffdefault since v2.17 (and mainly intended as a help for Windows use). Wir hatten ja nichts.
Visible as 1st tier command (fossil help): tkdiff, pool, xgrep
Visible as 2nd tier command (fossil help -x): addrm, private, tgz
Comments
With this commit the new method was introduced and described and is included in Release v2.20.
Thank you for this new feature among the other wonderful things.
Other things from roadside
fnc: an interactive text-based user interface for Fossil
See also: man fnc
GWSL makes pretty windows when fossil runs on Windows in WSL.
The environment variable FOSSIL_USER is useful to keep the name of the committer stable between machines and operating systems.
For the commands fossil init -A (aka new) and fossil clone -A a different admin user name should be specified with the -A option.
Usage (we all get old some day)
Go to the root directory of the source files and do something like that patch -u -p 0 --dry-run < cmd-aliases.diff for testing.
My currently preferred build options: ./configure --disable-fusefs --json --with-openssl=auto --with-tcl=1 --with-tcl-private-stubs=1
or ./configure --disable-fusefs --json --with-openssl=auto
or nmake /f Makefile.msc FOSSIL_ENABLE_SSL=1 FOSSIL_ENABLE_JSON=1 FOSSIL_ENABLE_TCL=1 OPTIMIZATIONS=4 clean fossil.exe
Using the Sonos Binding to allow openHAB to function as web radio by playing .mp3 live streams. If the URI contains aac or does not end by .mp3 you have to add x-rincon-mp3radio.
Items
You have to create for each live stream a Switch item. Later a rule will trigger when a Switch item changed to ON and play an live stream by using its URI.
Besides the Switch items for each live stream one <playuri_item> is needed. The <playuri_item> is refered to your Sonos speaker which uses the Sonos Binding to play a given URI. Also you need an <control_item> that you can stop playing the live stream.
rule "Webradio Hitradio antenne 1 changed to ON"
when
    Item Webradio_Antenne1 changed to ON
then
    <playuri_item>.sendCommand("http://stream.antenne1.de/a1stg/livestream2.mp3?usid=H-M-09-0-0")
end

rule "Webradio Hitradio antenne 1 changed to OFF"
when
    Item Webradio_Antenne1 changed to OFF
then
    <control_item>.sendCommand(PAUSE)
end

rule "Webradio Hitradio antenne 1 Live changed to ON"
when
    Item Webradio_Antenne1_Live changed to ON
then
    <playuri_item>.sendCommand("http://stream.antenne1.de/a1stg/livestream2.mp3?usid=H-M-09-0-0")
end

rule "Webradio Hitradio antenne 1 Live changed to OFF"
when
    Item Webradio_Antenne1_Live changed to OFF
then
    <control_item>.sendCommand(PAUSE)
end

rule "Webradio Hitradio antenne 1 80er changed to ON"
when
    Item Webradio_Antenne1_80er changed to ON
then
    <playuri_item>.sendCommand("http://stream.antenne1.de/80er/livestream2.mp3?usid=H-M-09-0-0")
end

rule "Webradio Hitradio antenne 80er changed to OFF"
when
    Item Webradio_Antenne1_80er changed to OFF
then
    <control_item>.sendCommand(PAUSE)
end

rule "Webradio Hitradio antenne 1 90er changed to ON"
when
    Item Webradio_Antenne1_90er changed to ON
then
    <playuri_item>.sendCommand("http://stream.antenne1.de/90er/livestream2.mp3?usid=H-M-09-0-0")
end

rule "Webradio Hitradio antenne 90er changed to OFF"
when
    Item Webradio_Antenne1_90er changed to OFF
then
    <control_item>.sendCommand(PAUSE)
end

rule "Webradio Hitradio antenne 1 2000er changed to ON"
when
    Item Webradio_Antenne1_2000er changed to ON
then
    <playuri_item>.sendCommand("http://stream.antenne1.de/2000er/livestream2.mp3?usid=H-M-09-0-0")
end

rule "Webradio Hitradio antenne 2000er changed to OFF"
when
    Item Webradio_Antenne1_2000er changed to OFF
then
    <control_item>.sendCommand(PAUSE)
end

rule "Webradio Hitradio antenne 1 Top 40 changed to ON"
when
    Item Webradio_Antenne1_Top40 changed to ON
then
    <playuri_item>.sendCommand("http://stream.antenne1.de/top40/livestream2.mp3?usid=H-M-09-0-0")
end

rule "Webradio Hitradio antenne Top 40 changed to OFF"
when
    Item Webradio_Antenne1_Top40 changed to OFF
then
    <control_item>.sendCommand(PAUSE)
end

rule "Webradio Hitradio antenne 1 Top Classic Rock changed to ON"
when
    Item Webradio_Antenne1_ClassicRock changed to ON
then
    <playuri_item>.sendCommand("http://stream.antenne1.de/rock/livestream2.mp3?usid=H-M-09-0-0")
end

rule "Webradio Hitradio antenne Top Classic Rock changed to OFF"
when
    Item Webradio_Antenne1_ClassicRock changed to OFF
then
    <control_item>.sendCommand(PAUSE)
end

rule "Webradio Hitradio antenne 1 Top Modern Rock changed to ON"
when
    Item Webradio_Antenne1_ModernRock changed to ON
then
    <playuri_item>.sendCommand("http://stream.antenne1.de/modernrock/livestream2.mp3?usid=H-M-09-0-0")
end

rule "Webradio Hitradio antenne Top Modern Rock changed to OFF"
when
    Item Webradio_Antenne1_ModernRock changed to OFF
then
    <control_item>.sendCommand(PAUSE)
end

rule "Webradio Hitradio antenne 1 Top Soft & Lazy changed to ON"
when
    Item Webradio_Antenne1_SoftNLazy changed to ON
then
    <playuri_item>.sendCommand("http://stream.antenne1.de/soft/livestream2.mp3?usid=H-M-09-0-0")
end

rule "Webradio Hitradio antenne Top Soft & Lazy changed to OFF"
when
    Item Webradio_Antenne1_SoftNLazy changed to OFF
then
    <control_item>.sendCommand(PAUSE)
end

rule "Webradio Hitradio antenne 1 Top Weihnachts-Hits changed to ON"
when
    Item Webradio_Antenne1_WeihnachtsHits changed to ON
then
    <playuri_item>.sendCommand("http://stream.antenne1.de/weihnachtshits/livestream2.mp3?usid=H-M-09-0-0")
end

rule "Webradio Hitradio antenne Top Weihnachts-Hits changed to OFF"
when
    Item Webradio_Antenne1_WeihnachtsHits changed to OFF
then
    <control_item>.sendCommand(PAUSE)
end

rule "Webradio Hitradio antenne 1 Top Sommer-Hits changed to ON"
when
    Item Webradio_Antenne1_SommerHits changed to ON
then
    <playuri_item>.sendCommand("http://stream.antenne1.de/sommerhits/livestream2.mp3?usid=H-M-09-0-0")
end

rule "Webradio Hitradio antenne Top Sommer-Hits changed to OFF"
when
    Item Webradio_Antenne1_SommerHits changed to OFF
then
    <control_item>.sendCommand(PAUSE)
end

rule "Webradio Hitradio antenne 1 Top Deutsch-Pop changed to ON"
when
    Item Webradio_Antenne1_DeutschPop changed to ON
then
    <playuri_item>.sendCommand("http://stream.antenne1.de/deutschpop/livestream2.mp3?usid=H-M-09-0-0")
end

rule "Webradio Hitradio antenne Top Deutsch-Pop changed to OFF"
when
    Item Webradio_Antenne1_DeutschPop changed to OFF
then
    <control_item>.sendCommand(PAUSE)
end

rule "Webradio Hitradio antenne 1 Top Party-Kracher changed to ON"
when
    Item Webradio_Antenne1_PartyKracher changed to ON
then
    <playuri_item>.sendCommand("http://stream.antenne1.de/partykracher/livestream2.mp3?usid=H-M-09-0-0")
end

rule "Webradio Hitradio antenne Top Party-Kracher changed to OFF"
when
    Item Webradio_Antenne1_PartyKracher changed to OFF
then
    <control_item>.sendCommand(PAUSE)
end

rule "Webradio Hitradio antenne 1 Top Unplugged Accoustic changed to ON"
when
    Item Webradio_Antenne1_UnpluggedAccoustic changed to ON
then
    <playuri_item>.sendCommand("http://stream.antenne1.de/unplugged/livestream2.mp3?usid=H-M-09-0-0")
end

rule "Webradio Hitradio antenne Top Unplugged Accoustic changed to OFF"
when
    Item Webradio_Antenne1_UnpluggedAccoustic changed to OFF
then
    <control_item>.sendCommand(PAUSE)
end

rule "Webradio Hitradio antenne 1 Top Oldies changed to ON"
when
    Item Webradio_Antenne1_Oldies changed to ON
then
    <playuri_item>.sendCommand("http://stream.antenne1.de/oldies/livestream2.mp3?usid=H-M-09-0-0")
end

rule "Webradio Hitradio antenne Top Oldies changed to OFF"
when
    Item Webradio_Antenne1_Oldies changed to OFF
then
    <control_item>.sendCommand(PAUSE)
end

rule "Webradio Hitradio antenne 1 Top In The Mix changed to ON"
when
    Item Webradio_Antenne1_InTheMix changed to ON
then
    <playuri_item>.sendCommand("http://stream.antenne1.de/inthemix/livestream2.mp3?usid=H-M-09-0-0")
end

rule "Webradio Hitradio antenne Top In The Mix changed to OFF"
when
    Item Webradio_Antenne1_InTheMix changed to OFF
then
    <control_item>.sendCommand(PAUSE)
end

rule "Webradio Hitradio antenne 1 Top Schlager changed to ON"
when
    Item Webradio_Antenne1_Schlager changed to ON
then
    <playuri_item>.sendCommand("http://stream.antenne1.de/schlager/livestream2.mp3?usid=H-M-09-0-0")
end

rule "Webradio Hitradio antenne Top Schlager changed to OFF"
when
    Item Webradio_Antenne1_Schlager changed to OFF
then
    <control_item>.sendCommand(PAUSE)
end

rule "Webradio SWR1 BW changed to ON"
when
    Item Webradio_SWR1_BW changed to ON
then
    <playuri_item>.sendCommand("https://d131.rndfnk.com/ard/swr/swr1/bw/mp3/128/stream.mp3?aggregator=web&cid=01FC1X3K2Z71SMDKMEC68DM7MW&sid=2D9g9Jx51DuDZCf3L3y7b3BiHwQ&token=k_FTXGAGjgcQvgGM8KfOsmFtC8X1JI-LUYNnFUMna0I&tvf=tIGCxNz-CRdkMTMxLnJuZGZuay5jb20")
end

rule "Webradio SWR1 BW changed to OFF"
when
    Item Webradio_SWR1_BW changed to OFF
then
    <control_item>.sendCommand(PAUSE)
end

rule "Webradio SWR1 RP changed to ON"
when
    Item Webradio_SWR1_RP changed to ON
then
    <playuri_item>.sendCommand("https://f111.rndfnk.com/ard/swr/swr1/rp/mp3/128/stream.mp3?aggregator=web&cid=01FC1X3Q82Y5KQ31V7YJVJJ07W&sid=2D9gUDldYx4rOlV7ycvKlgwIncZ&token=FWfMBjq_y0Tz7xNa88jSJpJFZbmw5PSh1CIu8DjgzPk&tvf=40H_bwP_CRdmMTExLnJuZGZuay5jb20")
end

rule "Webradio SWR1 RP changed to OFF"
when
    Item Webradio_SWR1_RP changed to OFF
then
    <control_item>.sendCommand(PAUSE)
end

rule "Webradio SWR2 changed to ON"
when
    Item Webradio_SWR2 changed to ON
then
    <playuri_item>.sendCommand("https://d131.rndfnk.com/ard/swr/swr2/live/mp3/256/stream.mp3?aggregator=web&cid=01FC1X4J91VJW1CVH6588MZEE3&sid=2D9gbkxIZPCONkbgNsF1JSsPTfq&token=WjX9HlSm5tKRLZOBAI2ZAMOMHZ73mbrVHKM3guPlzn0&tvf=myxZXRH_CRdkMTMxLnJuZGZuay5jb20")
end

rule "Webradio SWR2 changed to OFF"
when
    Item Webradio_SWR2 changed to OFF
then
    <control_item>.sendCommand(PAUSE)
end

rule "Webradio SWR3 changed to ON"
when
    Item Webradio_SWR3 changed to ON
then
    <playuri_item>.sendCommand("https://d121.rndfnk.com/ard/swr/swr3/live/mp3/128/stream.mp3?aggregator=web&cid=01FC1X5J7PN2N3YQPZYT8YDM9M&sid=2D9gfBju8QbeDa0gfuafFLgMDhk&token=fP3ORreQOqCrnJjY36dldQse5lYtgarP3gVoRlvcAHU&tvf=wqO5qBf_CRdkMTIxLnJuZGZuay5jb20")
end

rule "Webradio SWR3 changed to OFF"
when
    Item Webradio_SWR3 changed to OFF
then
    <control_item>.sendCommand(PAUSE)
end

rule "Webradio SWR Aktuell changed to ON"
when
    Item Webradio_SWR_Aktuell changed to ON
then
    <playuri_item>.sendCommand("https://d121.rndfnk.com/ard/swr/swraktuell/live/mp3/128/stream.mp3?aggregator=web&cid=01FC1X68PSW211RY56CDZQEEEN&sid=2D9gio7RTx4O2hROsDfuEG5MRT1&token=Lk-mn_cvfvuC7jlaFTGeswYchJFLSyrgtV5ZWUcz4QQ&tvf=p-uJRB7_CRdkMTIxLnJuZGZuay5jb20")
end

rule "Webradio SWR Aktuell changed to OFF"
when
    Item Webradio_SWR_Aktuell changed to OFF
then
    <control_item>.sendCommand(PAUSE)
end

rule "Webradio DASDING changed to ON"
when
    Item Webradio_DASDING changed to ON
then
    <playuri_item>.sendCommand("https://f141.rndfnk.com/ard/swr/dasding/live/mp3/128/stream.mp3?aggregator=web&cid=01FBVQWZT2B1KGPFJ7TDHQ1Y2B&sid=2D9glq9pLGPdixItc8XSQx2XIaW&token=wzVN2Bn8BX4tVTafk4I9LF65avwOf7vLOO4RiVGgBVY&tvf=Eyyv4iP_CRdmMTQxLnJuZGZuay5jb20")
end

rule "Webradio DASDING changed to OFF"
when
    Item Webradio_DASDING changed to OFF
then
    <control_item>.sendCommand(PAUSE)
end

rule "Webradio SWR4 BW changed to ON"
when
    Item Webradio_SWR4_BW changed to ON
then
    <playuri_item>.sendCommand("https://f111.rndfnk.com/ard/swr/swr4/bw/mp3/128/stream.mp3?aggregator=web&cid=01FC1X86VT36Q01G4NBJ3Q4R1Z&sid=2D9gptklQZ1pfbwJELHsqAJFfcl&token=nn2-VBTumDScaj-shgLiMw3H0PugYRvJuAOShR3qBYM&tvf=T-IIniv_CRdmMTExLnJuZGZuay5jb20")
end

rule "Webradio SWR4 BW changed to OFF"
when
    Item Webradio_SWR4_BW changed to OFF
then
    <control_item>.sendCommand(PAUSE)
end

rule "Webradio SWR4 RP changed to ON"
when
    Item Webradio_SWR4_RP changed to ON
then
    <playuri_item>.sendCommand("https://f131.rndfnk.com/ard/swr/swr4/rp/mp3/128/stream.mp3?aggregator=web&cid=01FC1XCV71QFMQD2RNKF4BC5HG&sid=2D9gsbtnfcAb1UHhBHqAG3wlYvK&token=n91pcPHq14yLfEC9hQlTcD7-utPHSLAjBWaMXGSAK7o&tvf=1El-hjD_CRdmMTMxLnJuZGZuay5jb20")
end

rule "Webradio SWR4 RP changed to OFF"
when
    Item Webradio_SWR4_RP changed to OFF
then
    <control_item>.sendCommand(PAUSE)
end
Sitemaps
At least you have to add following to your sitemap:
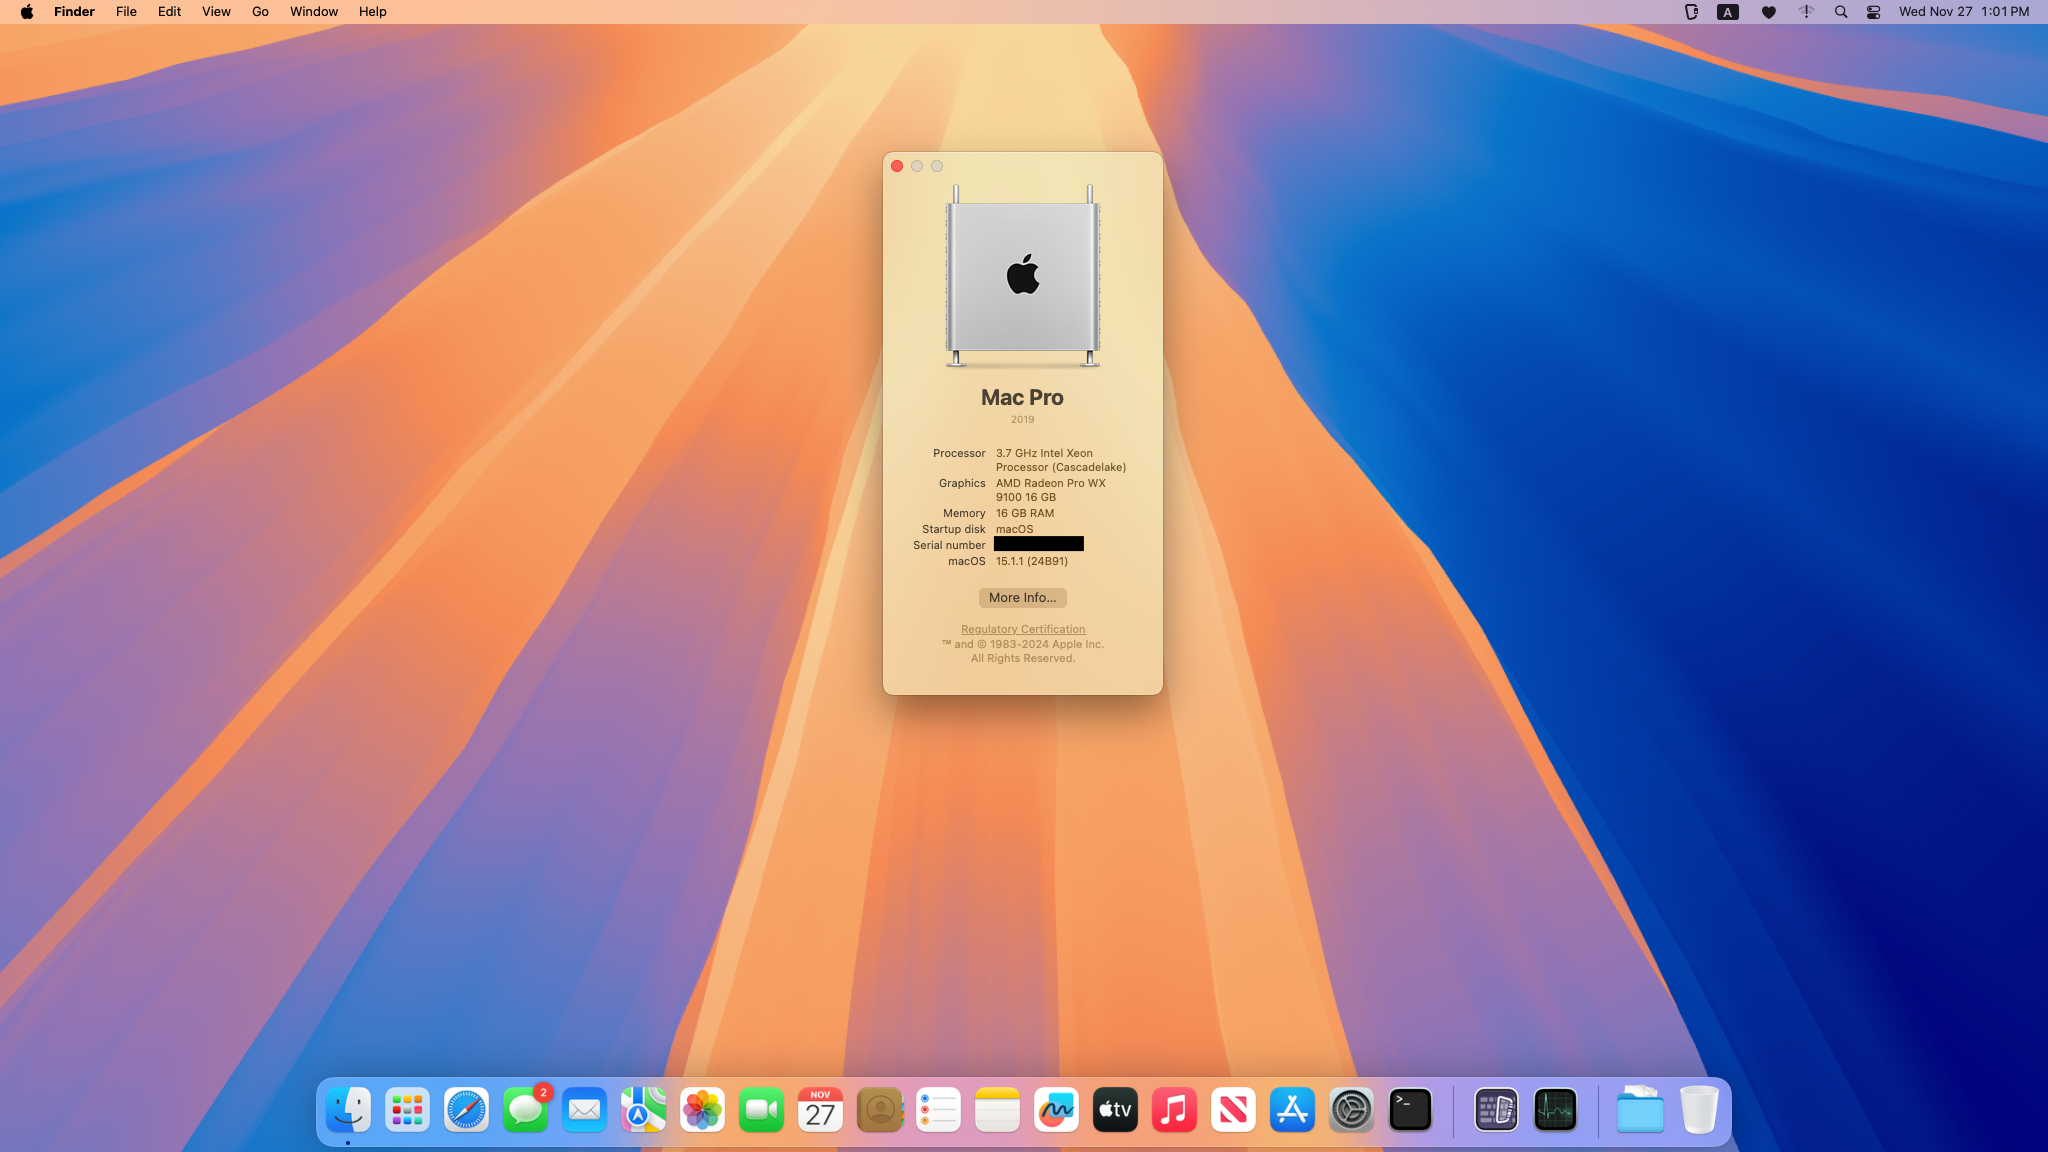
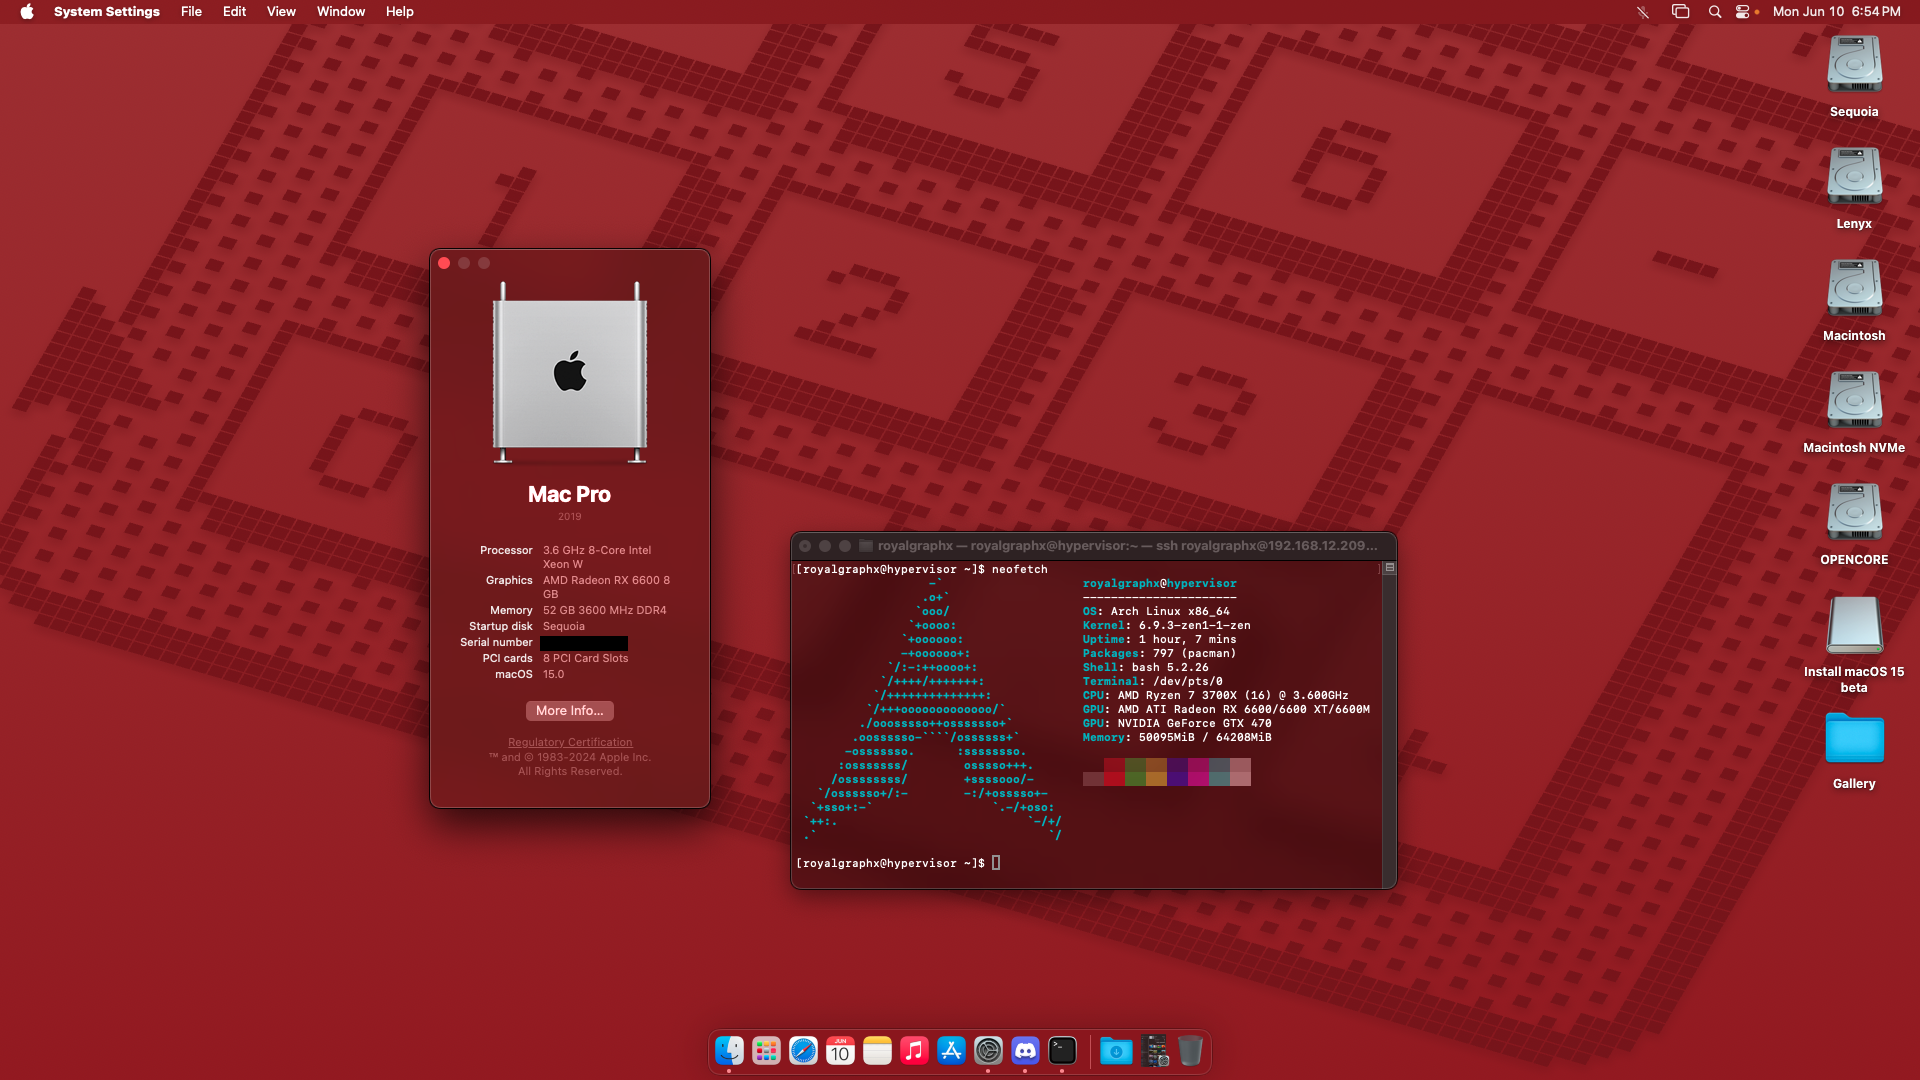
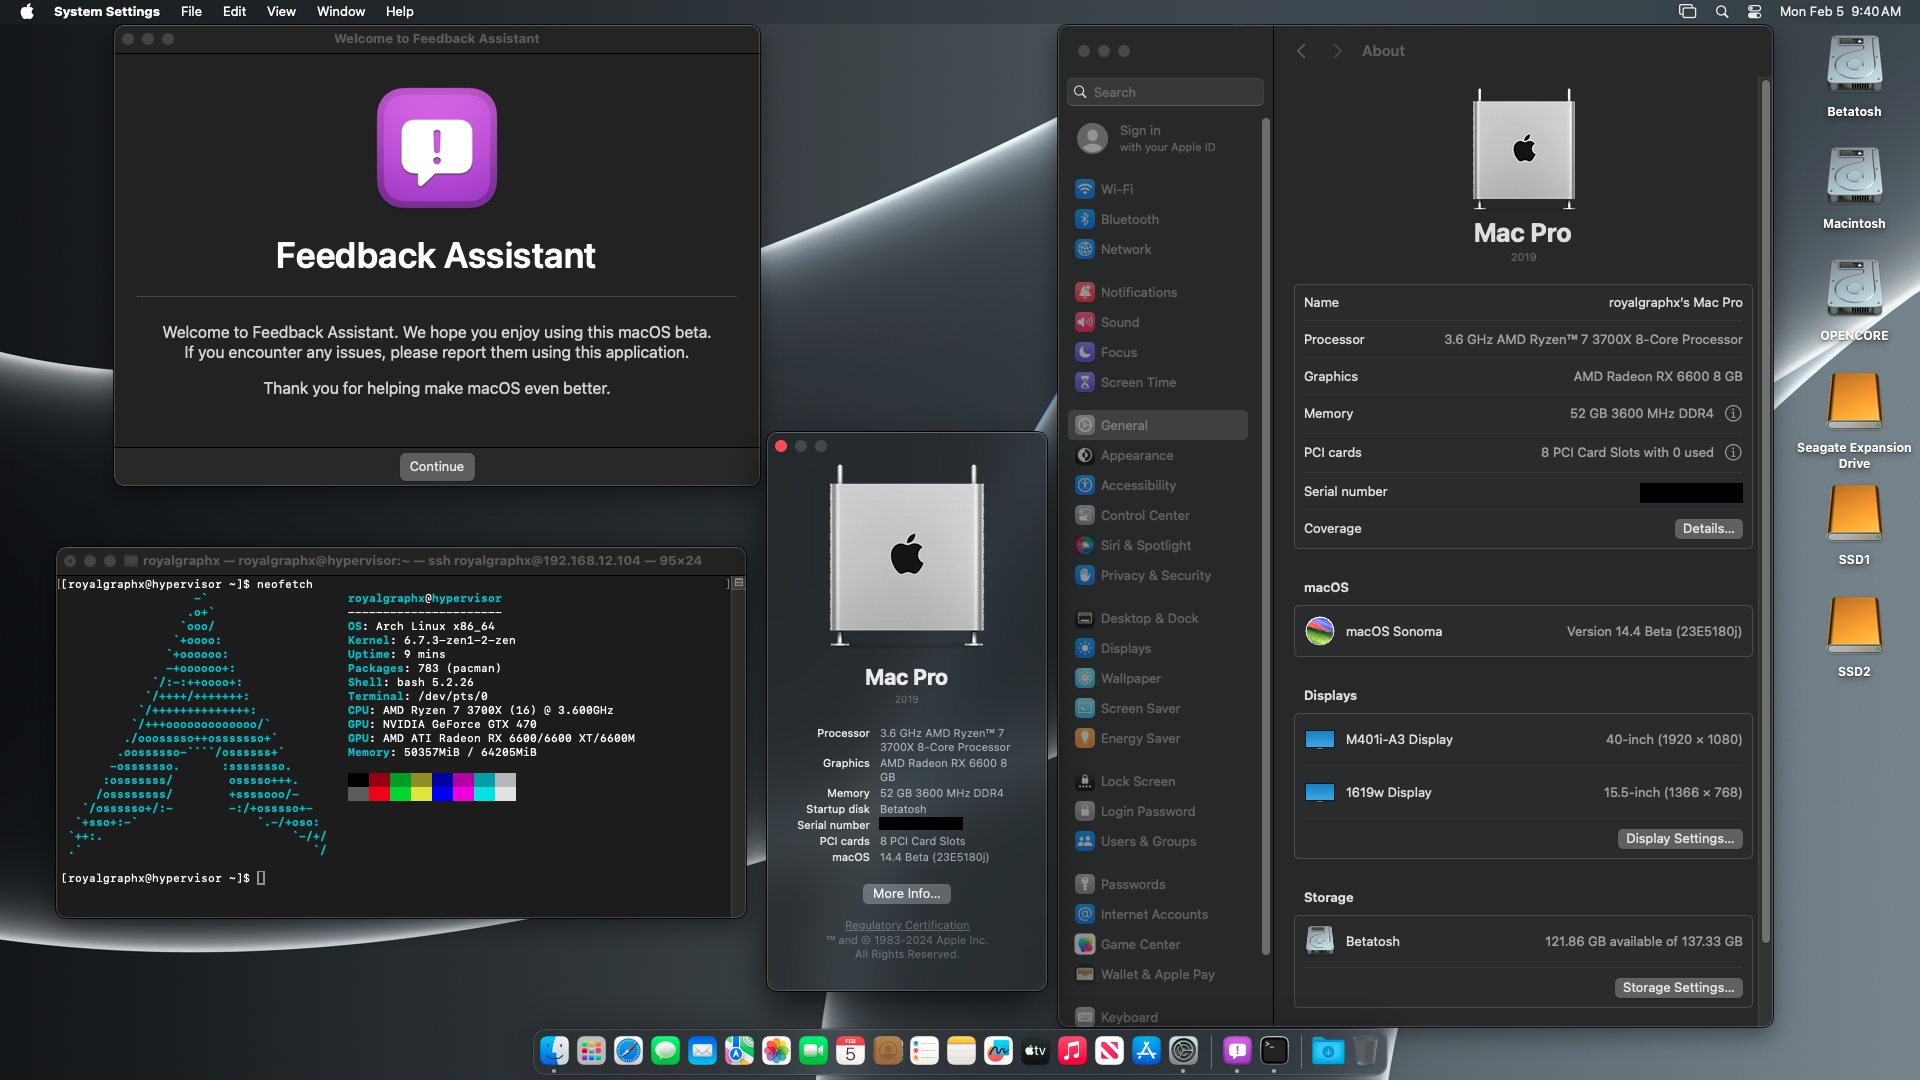
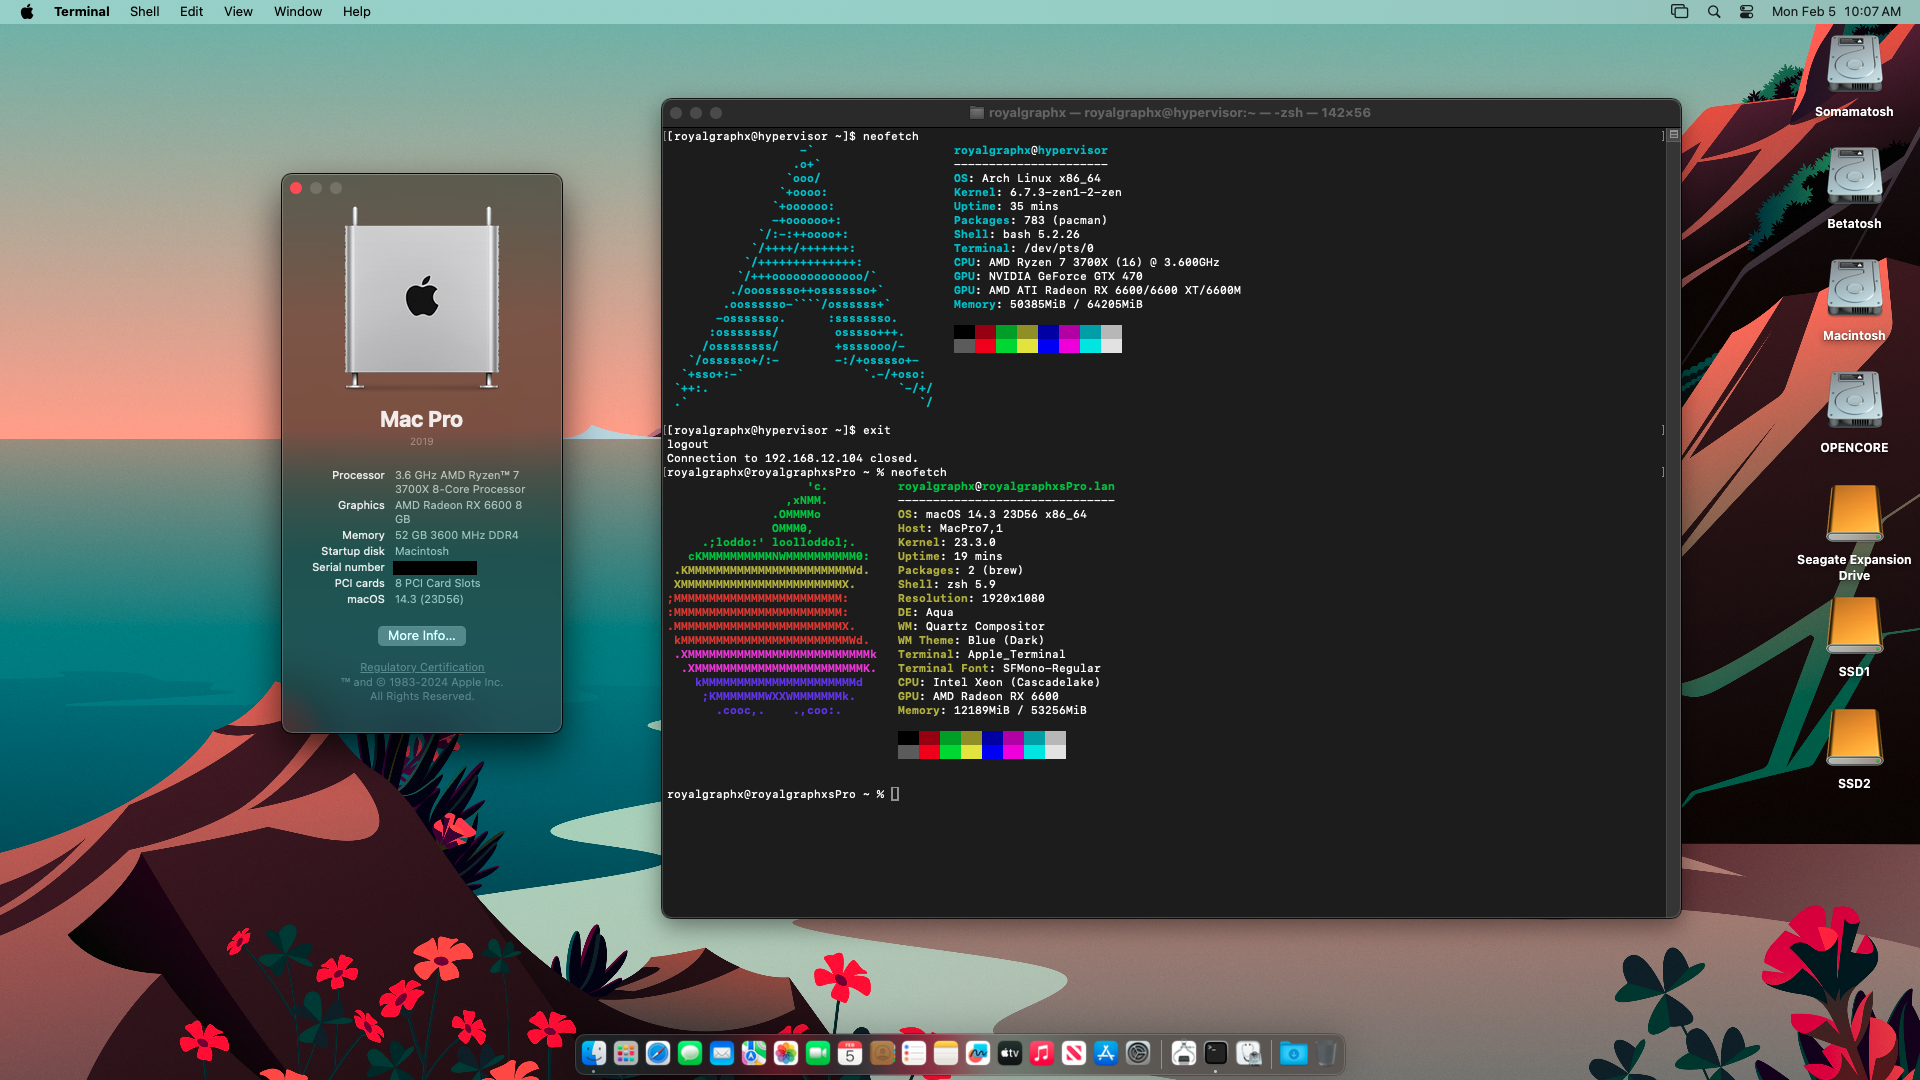
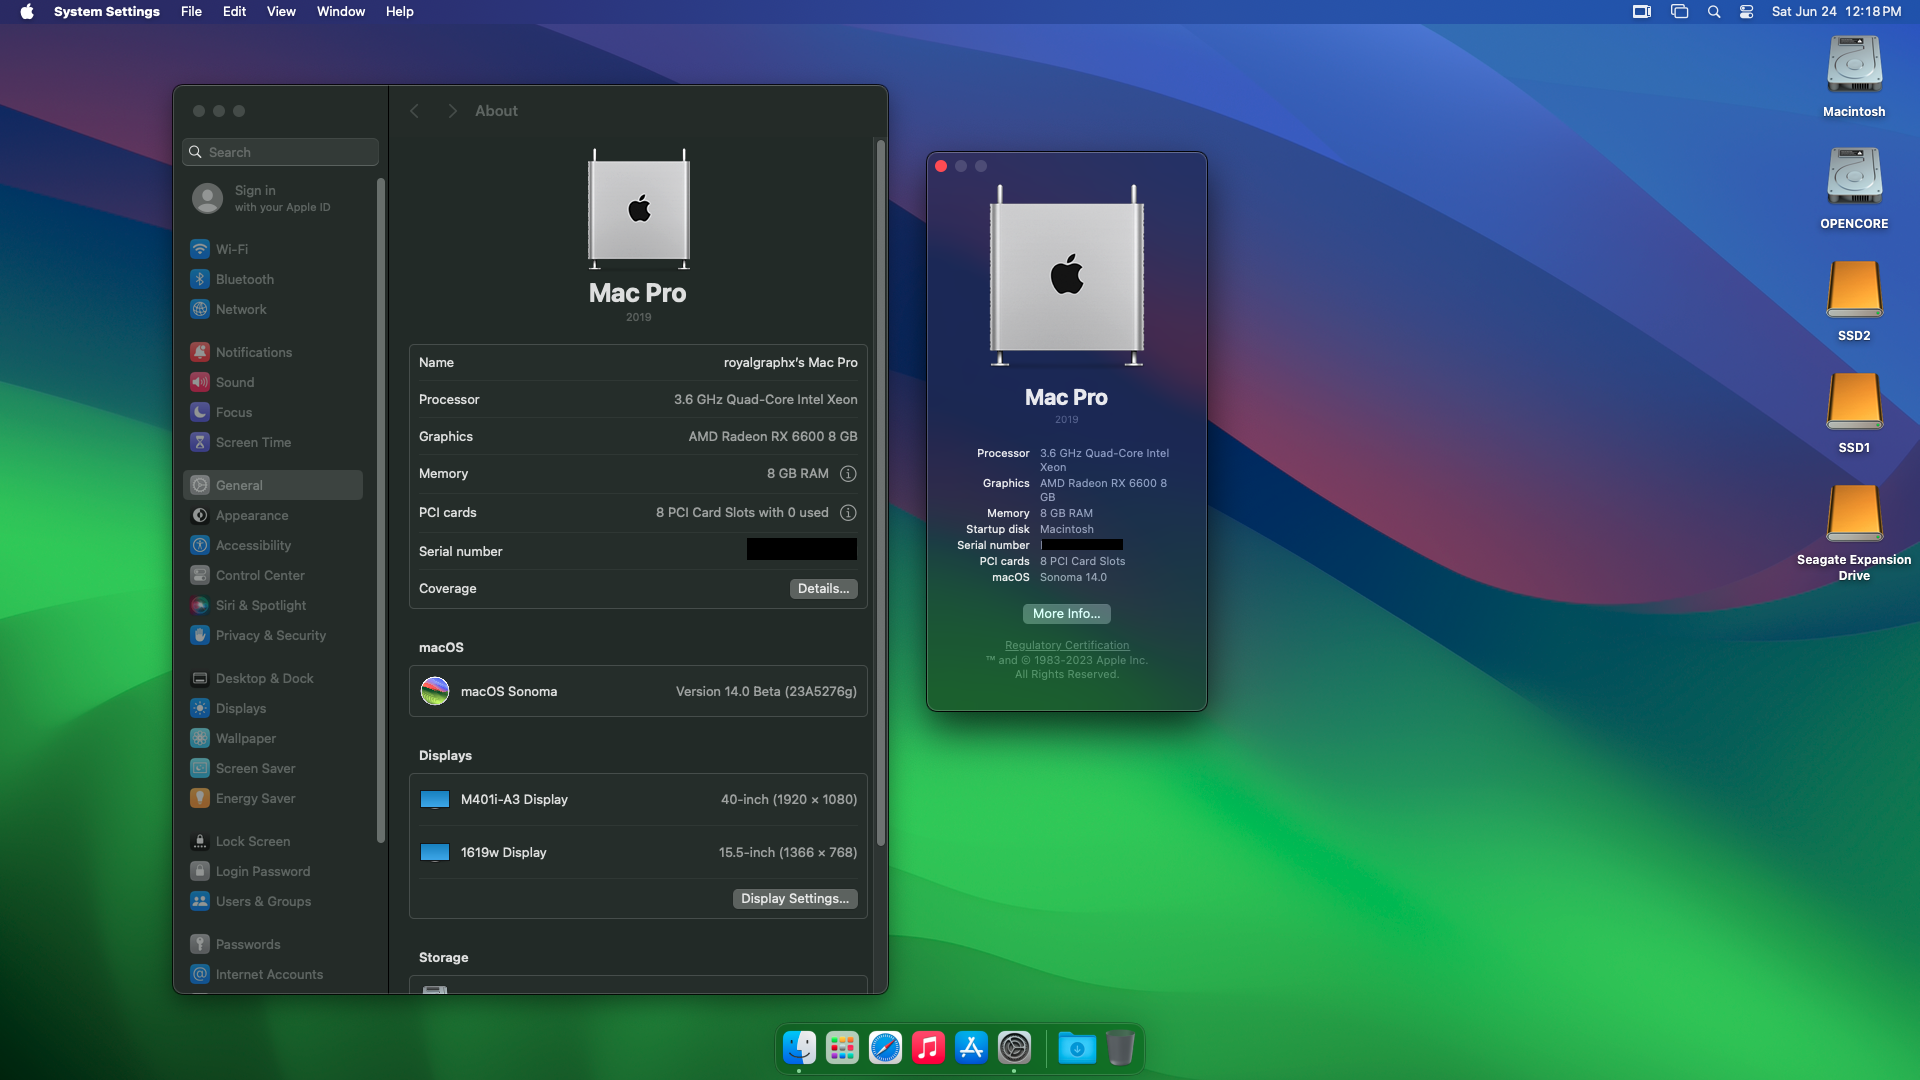
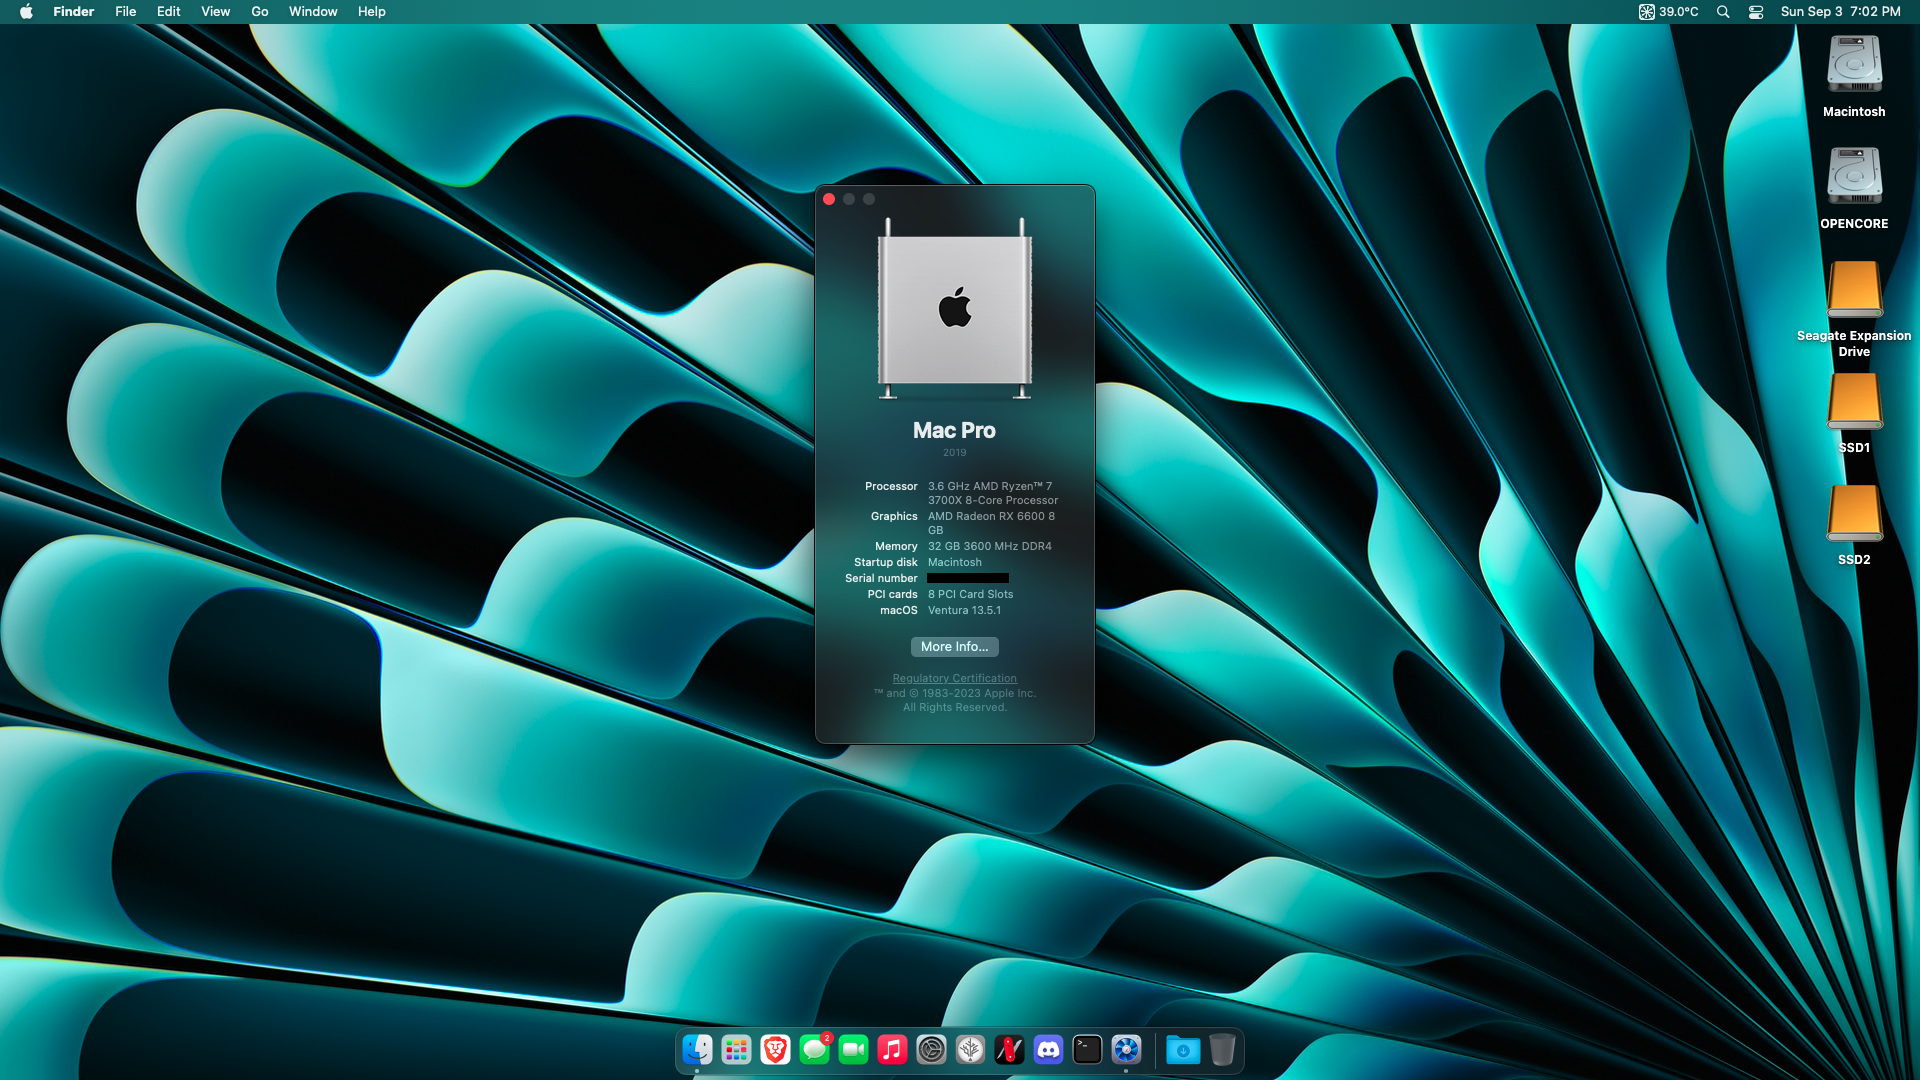
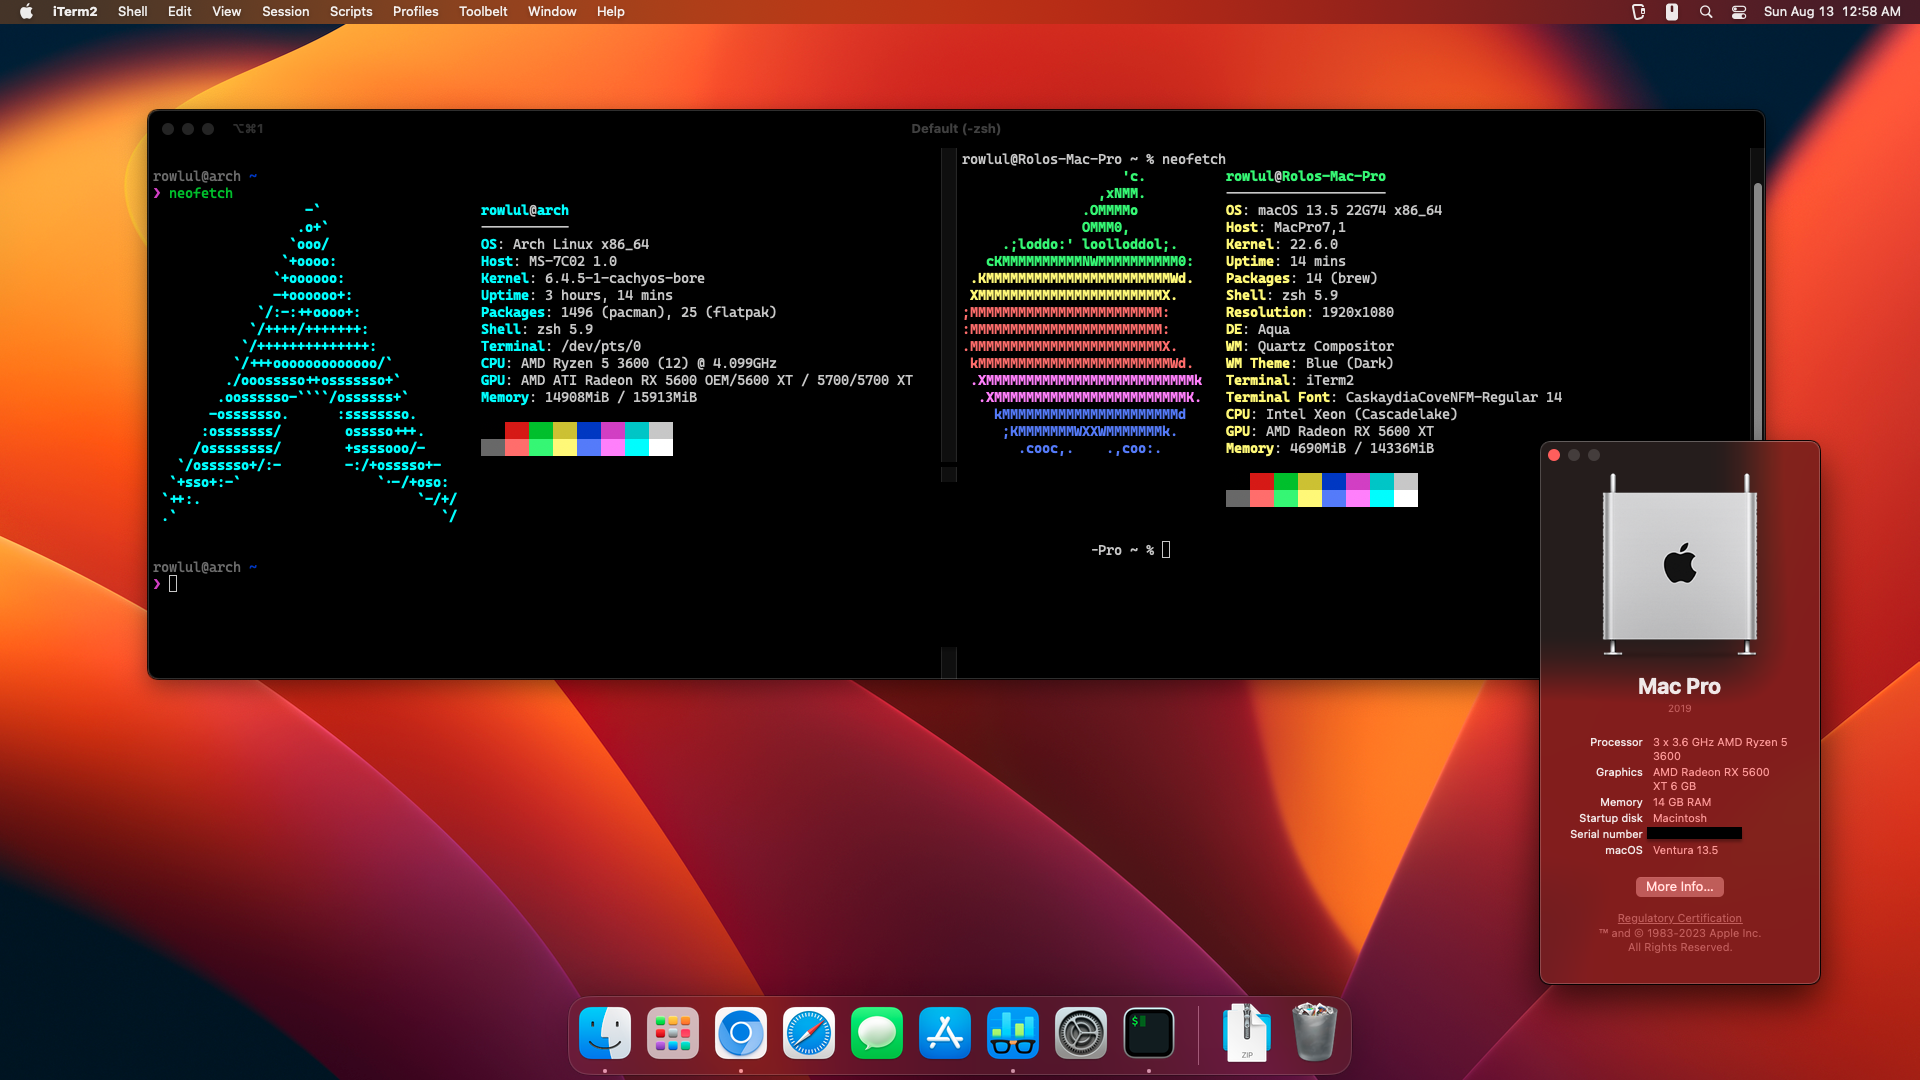
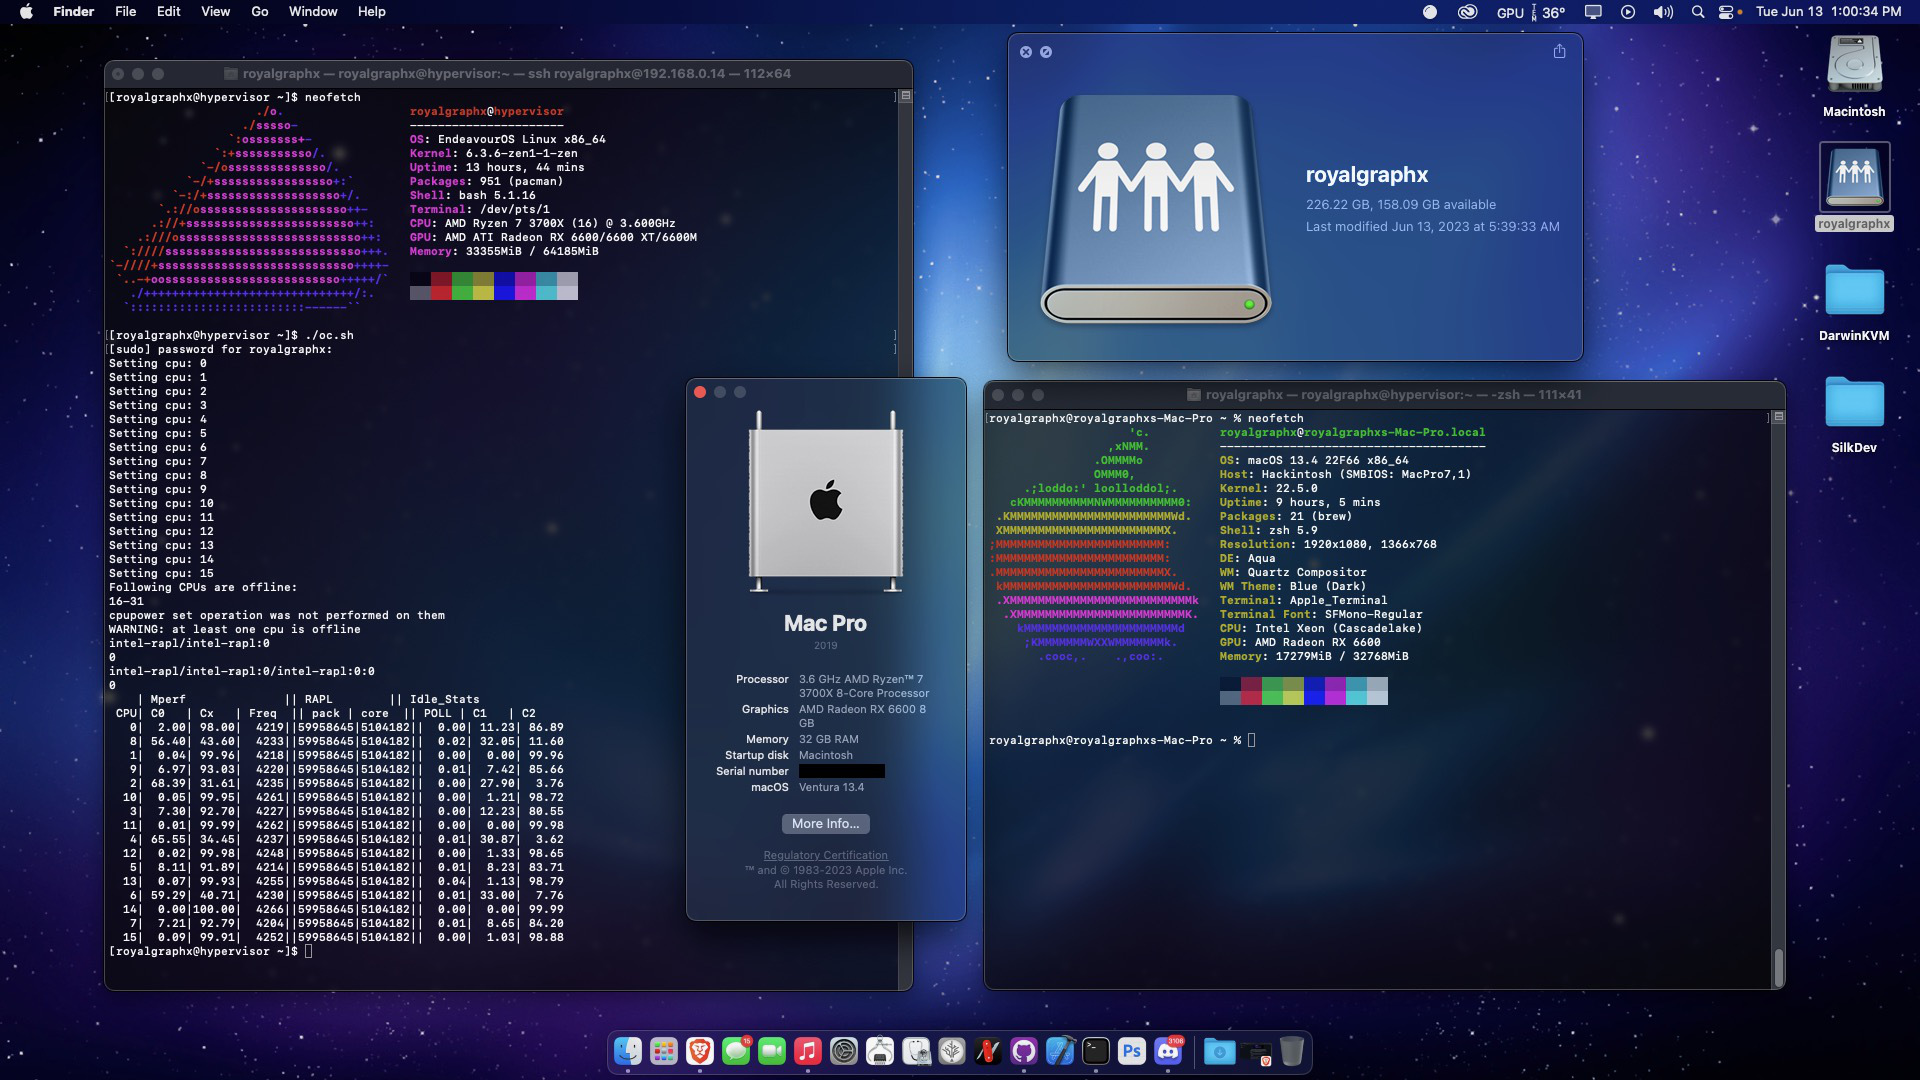
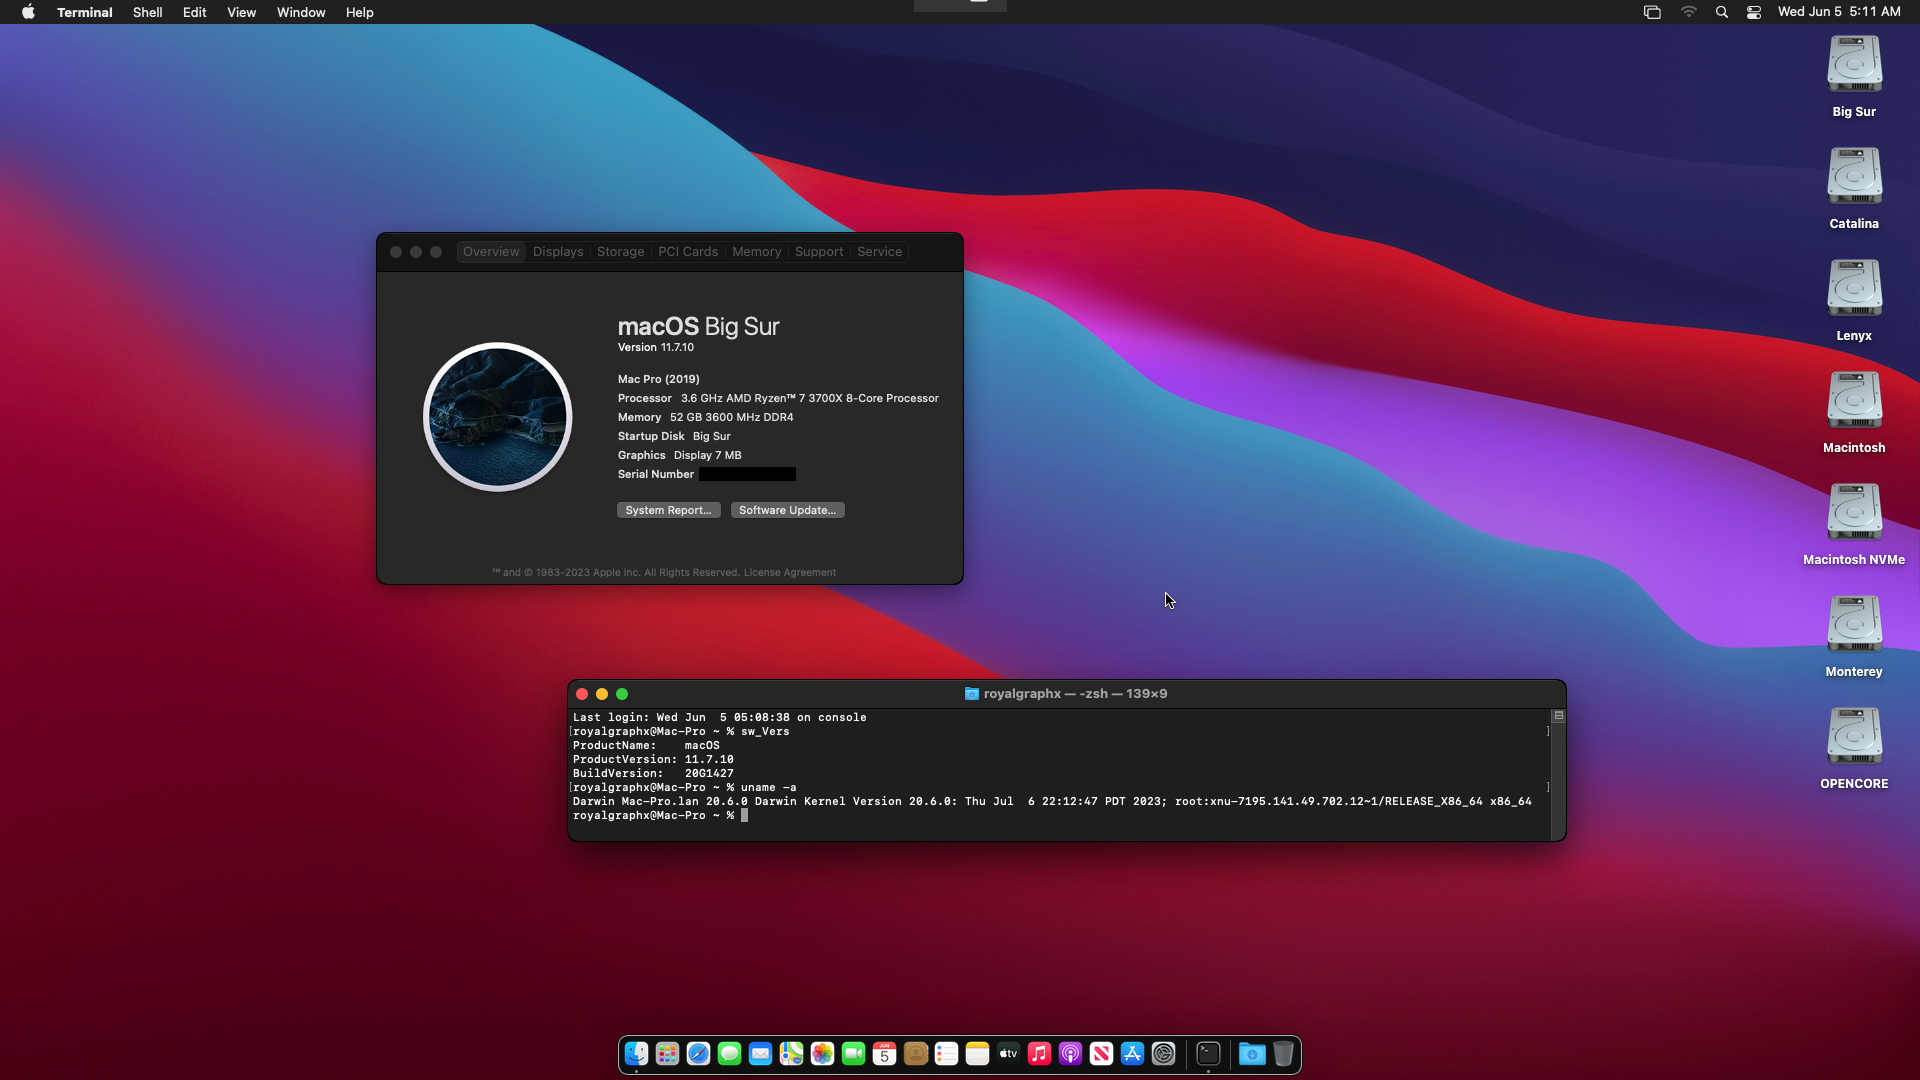
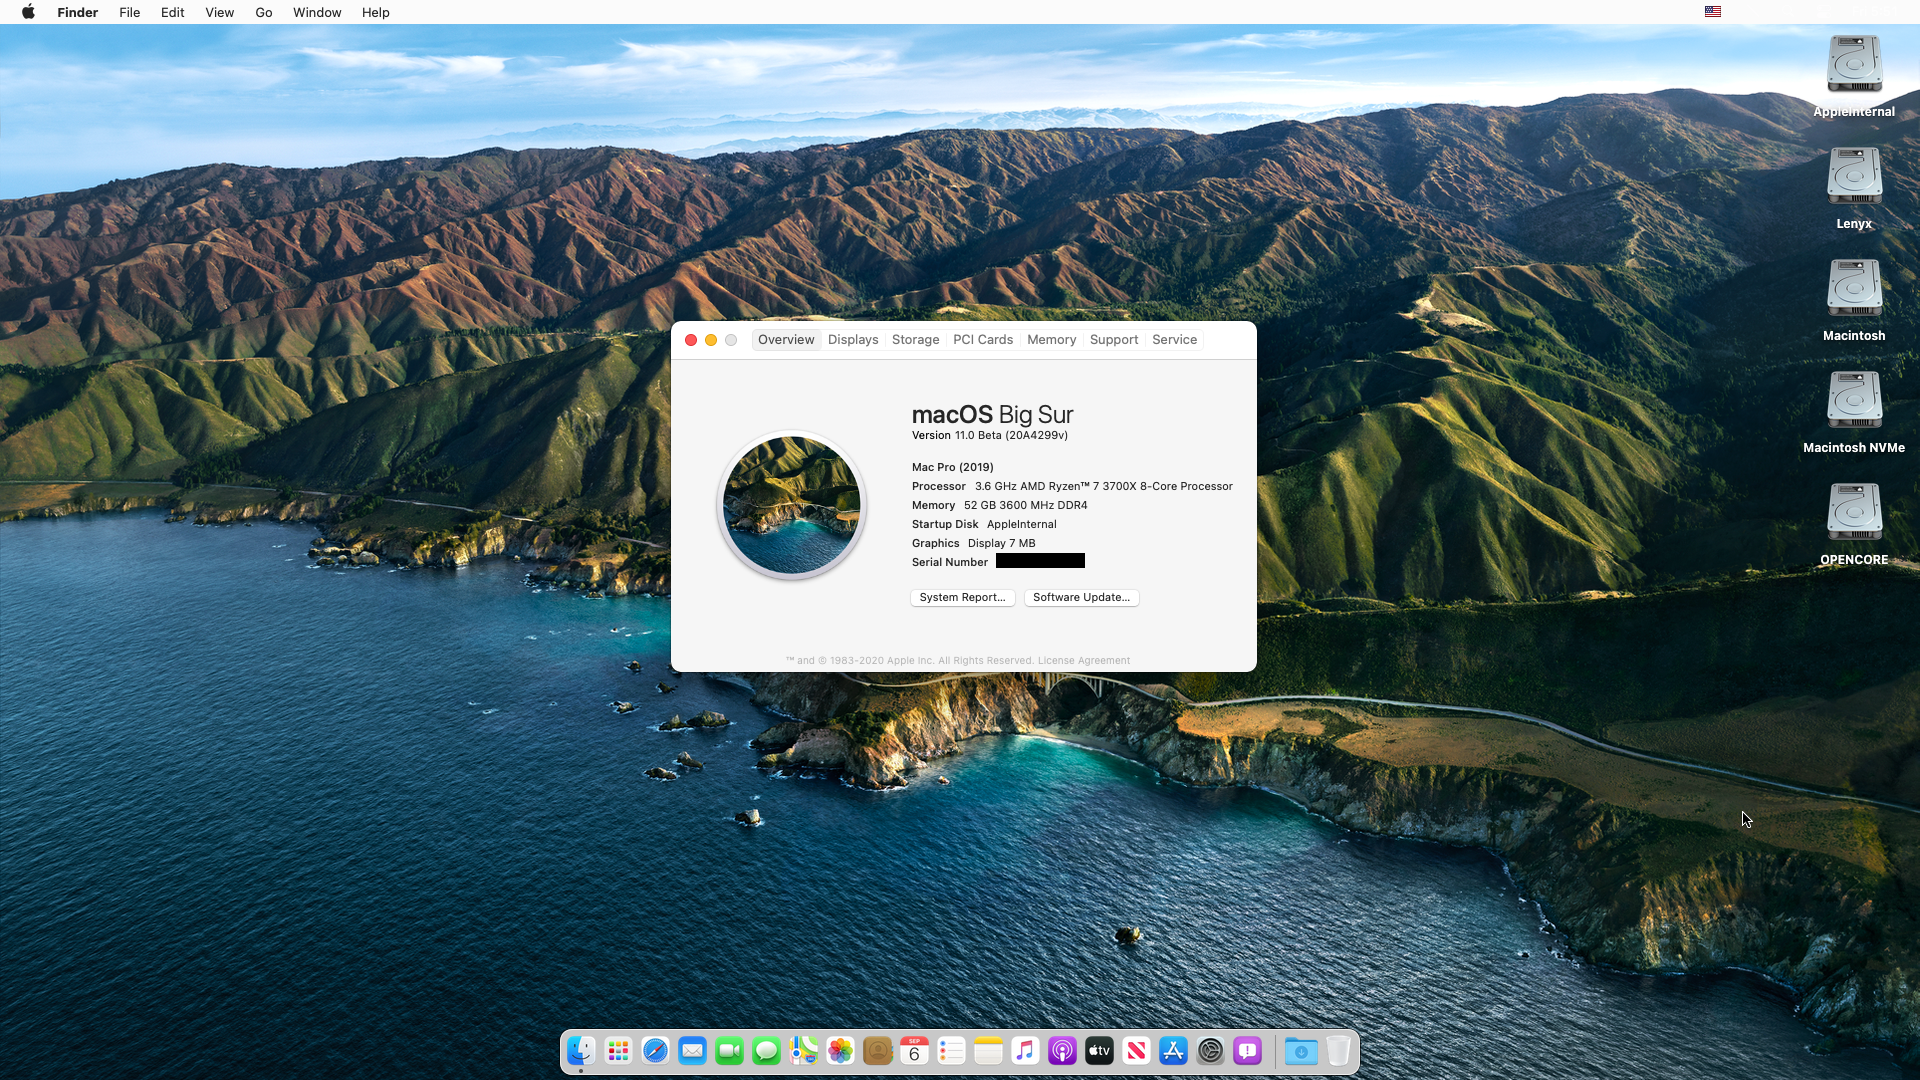
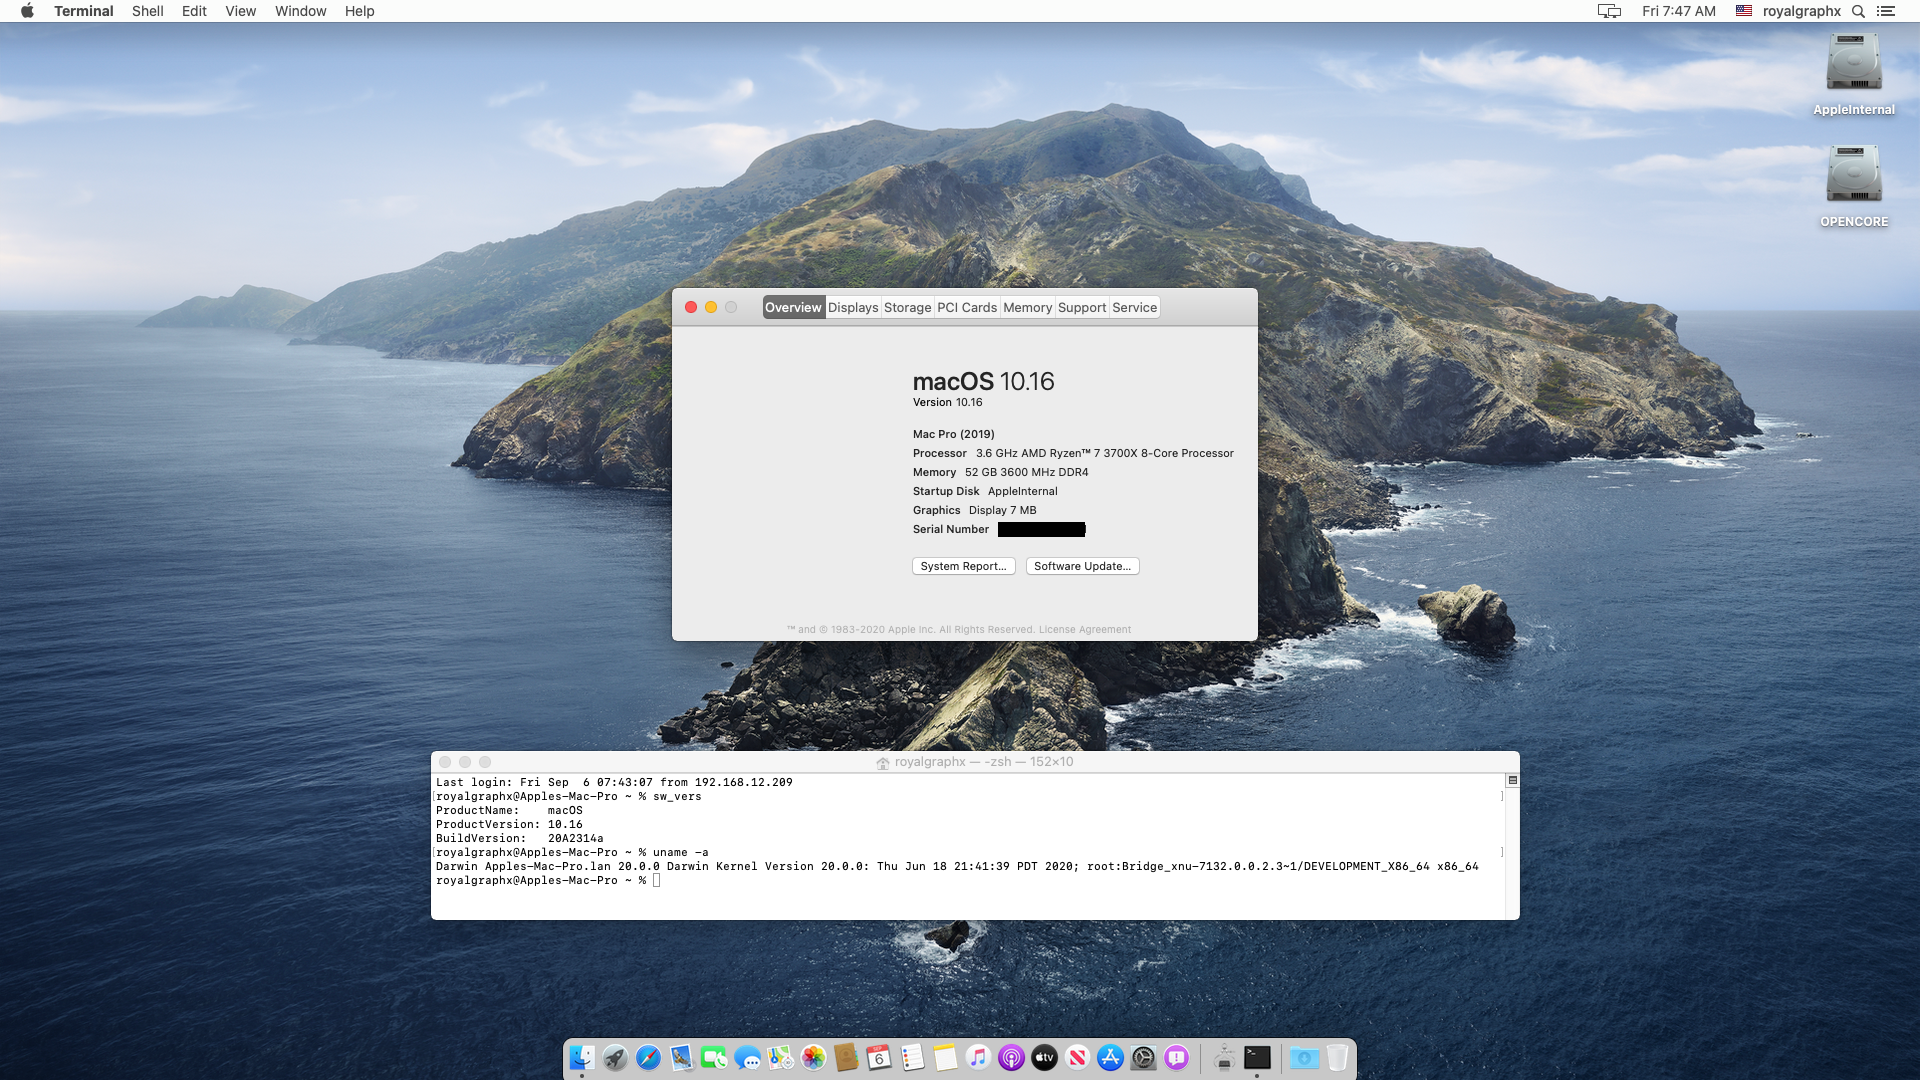
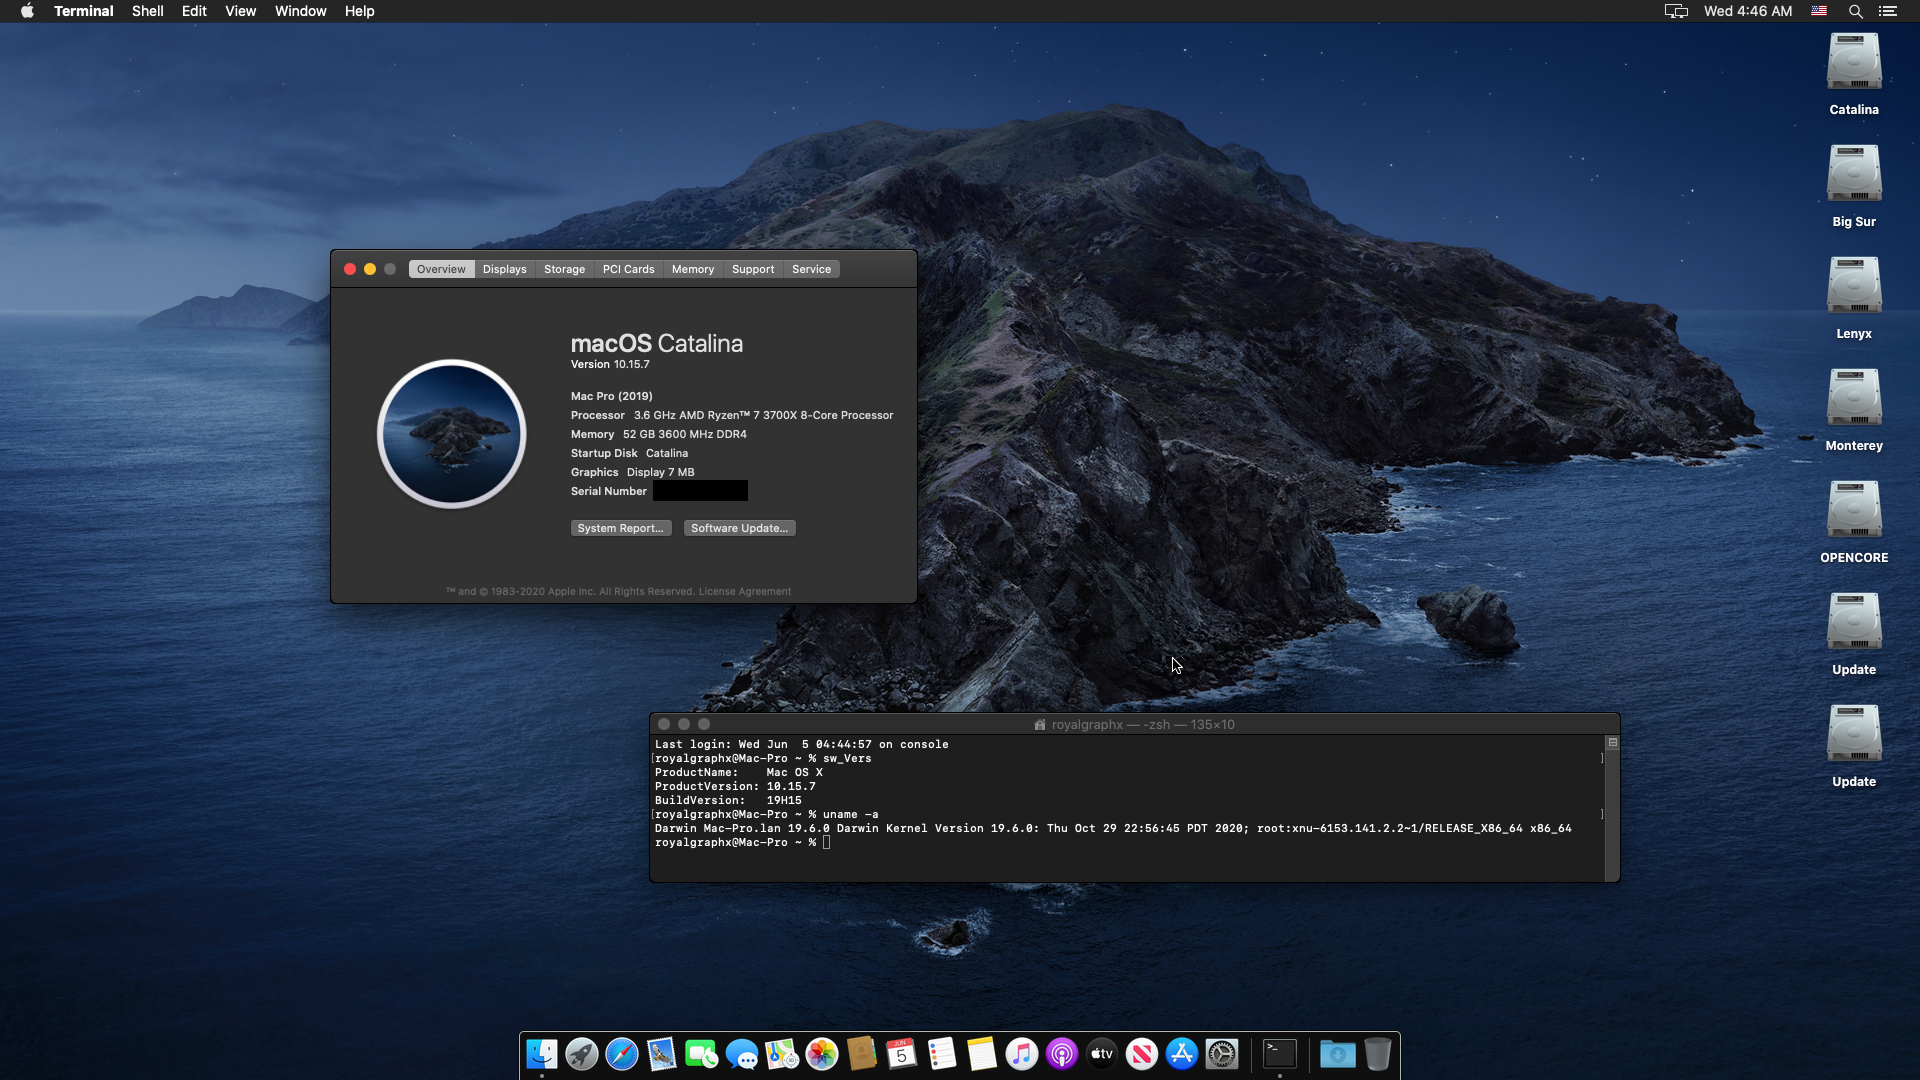
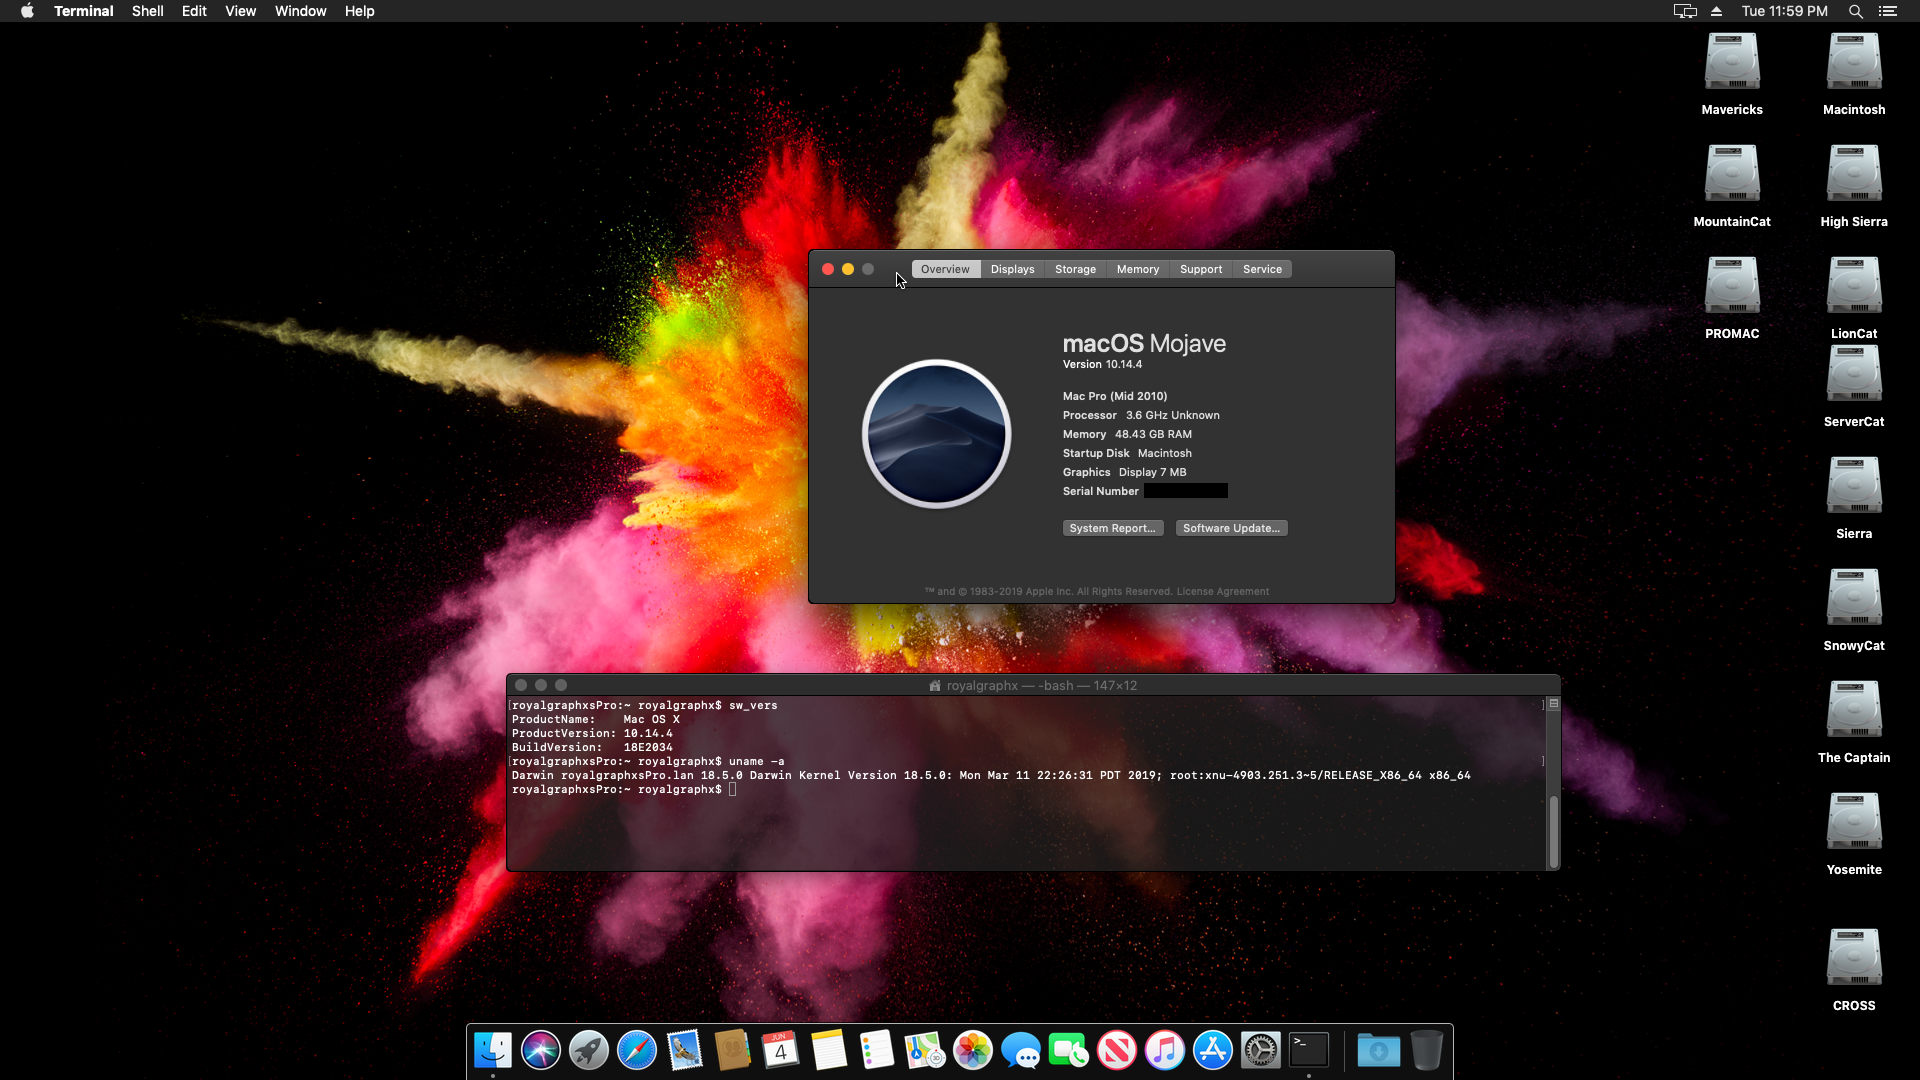
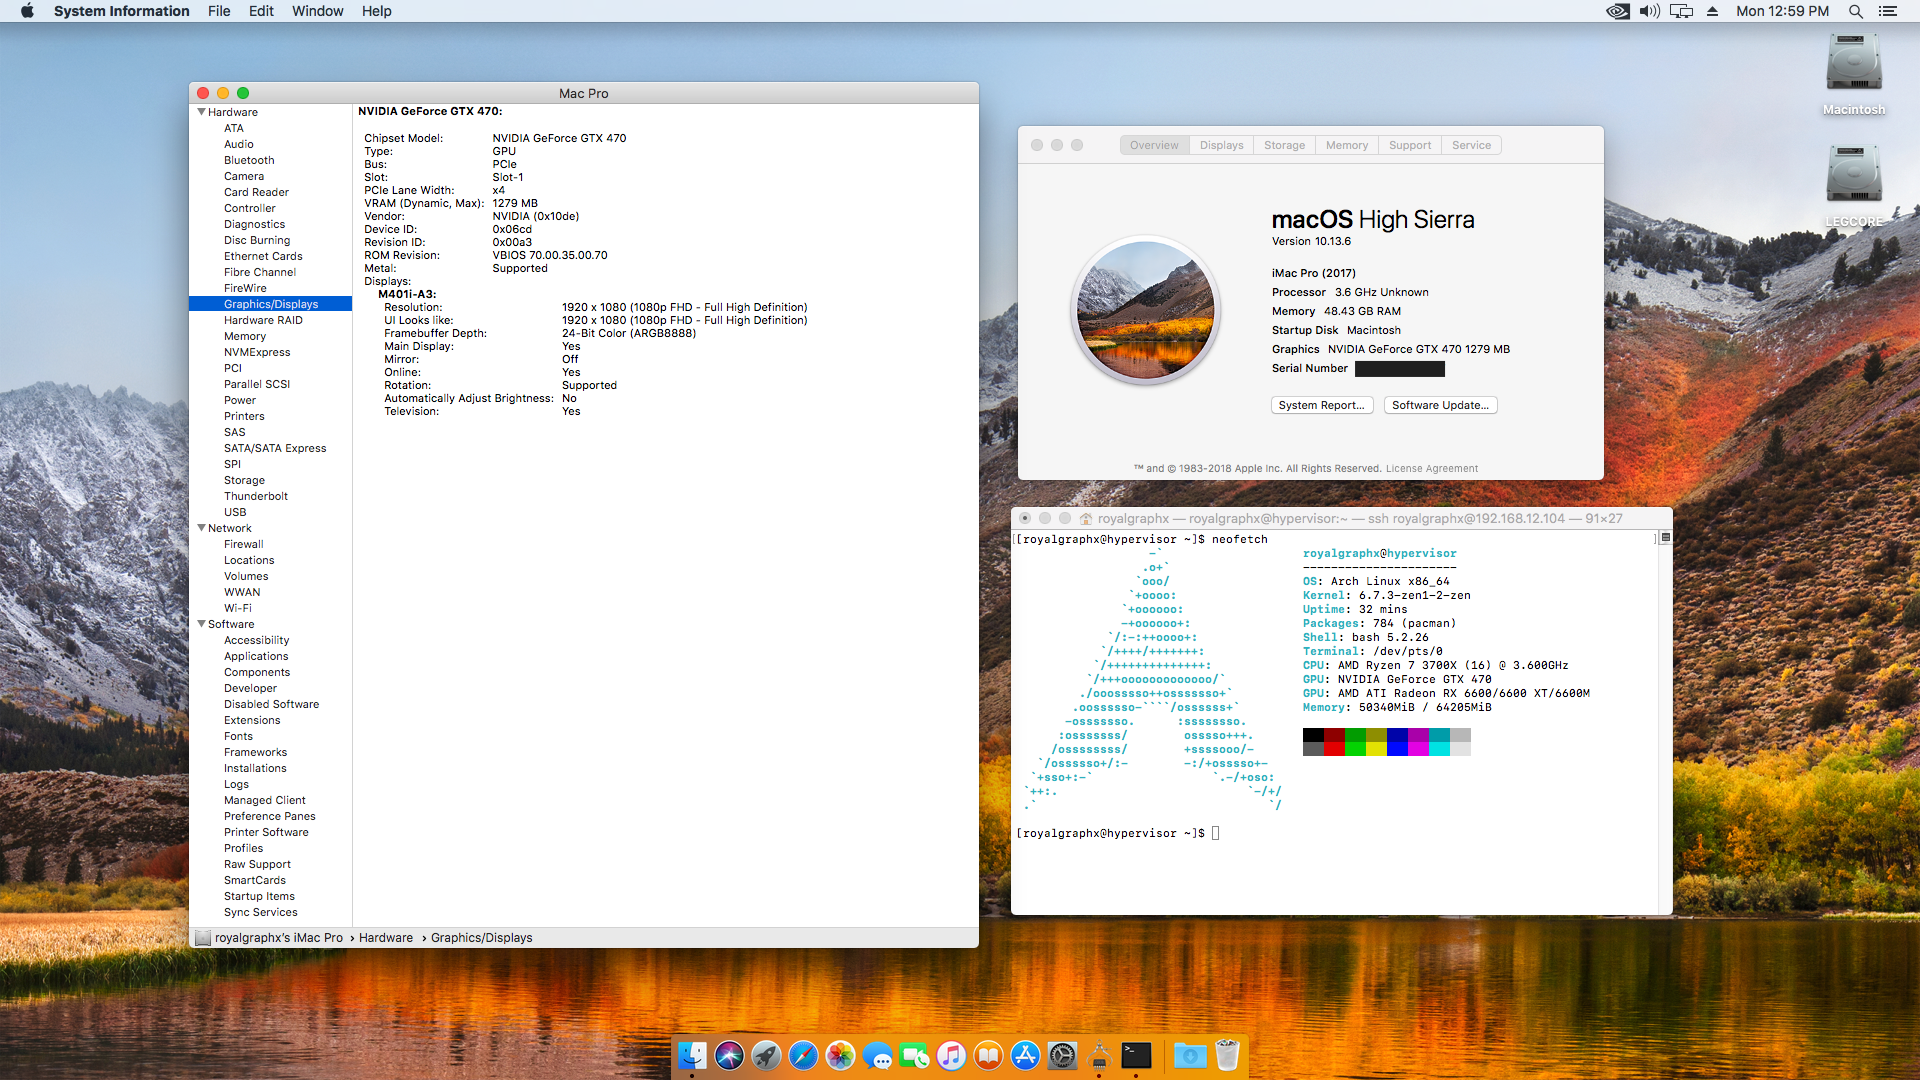
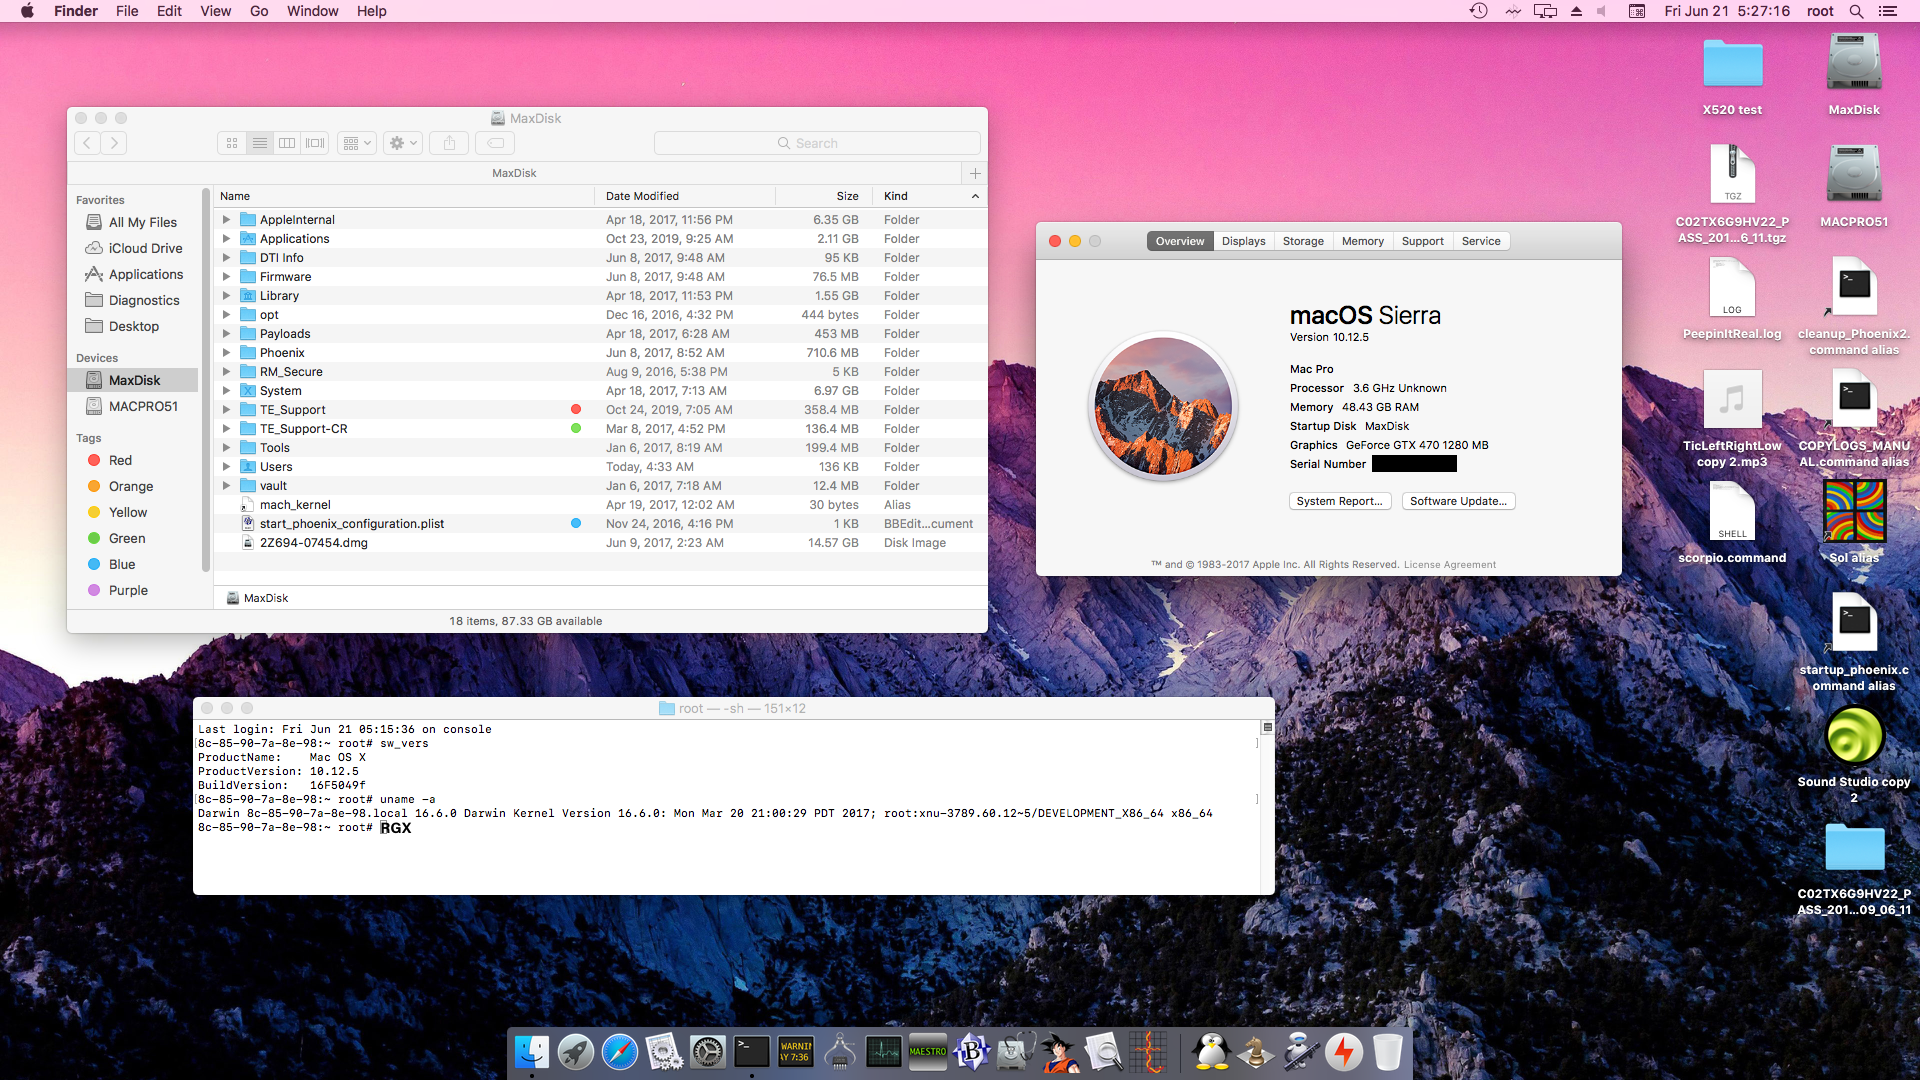
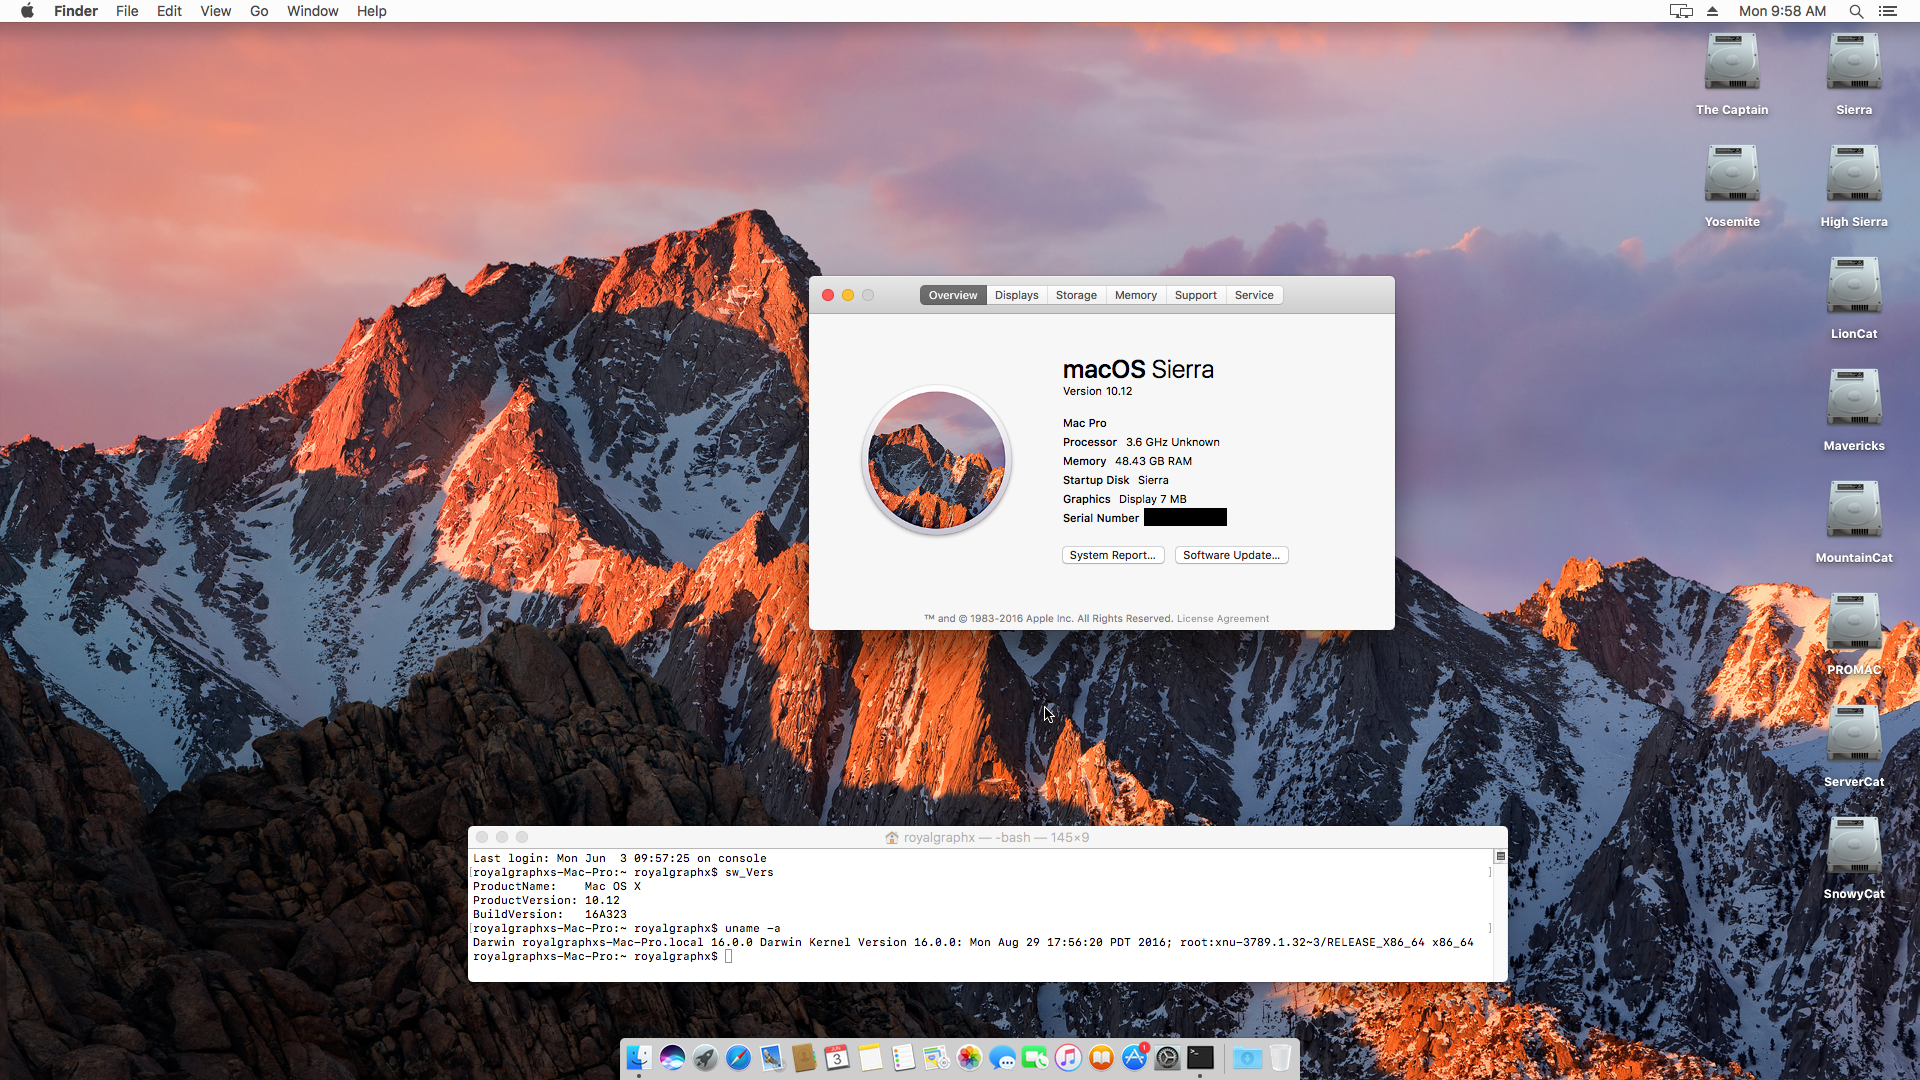
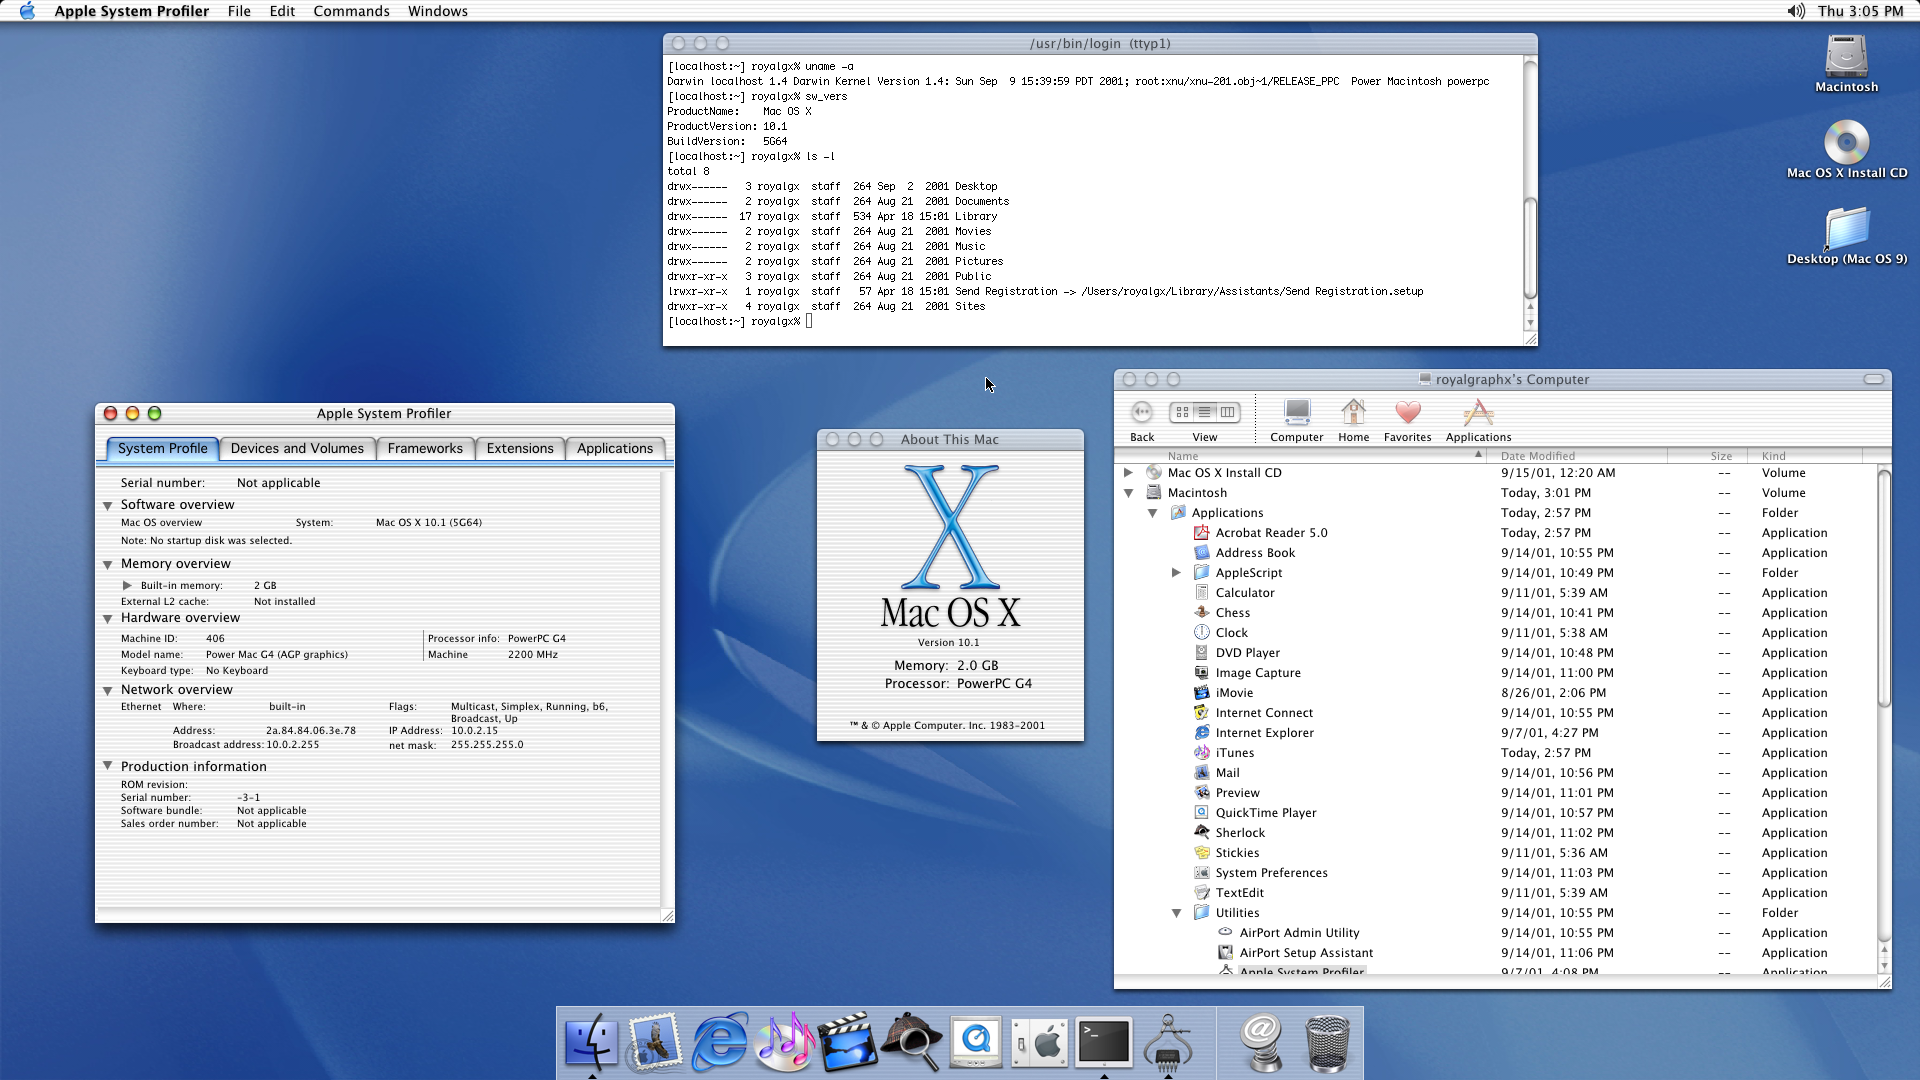
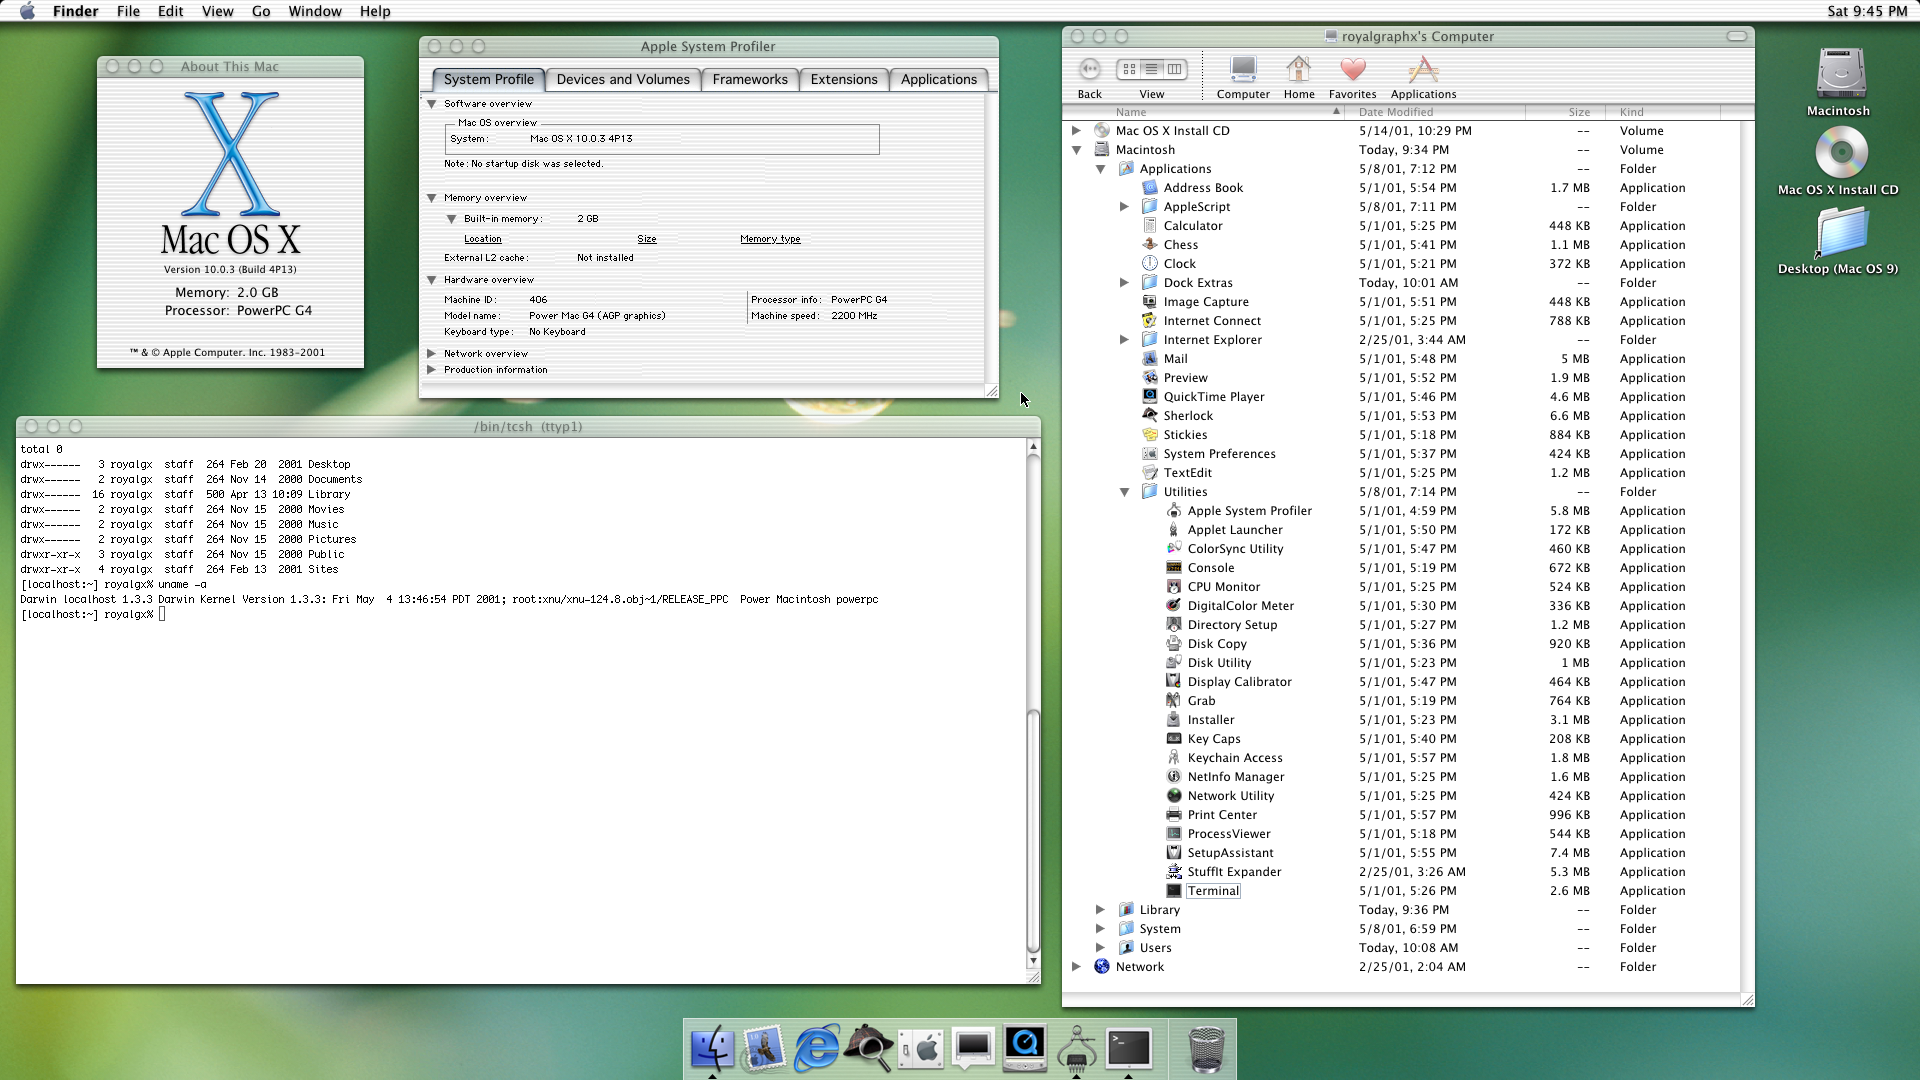
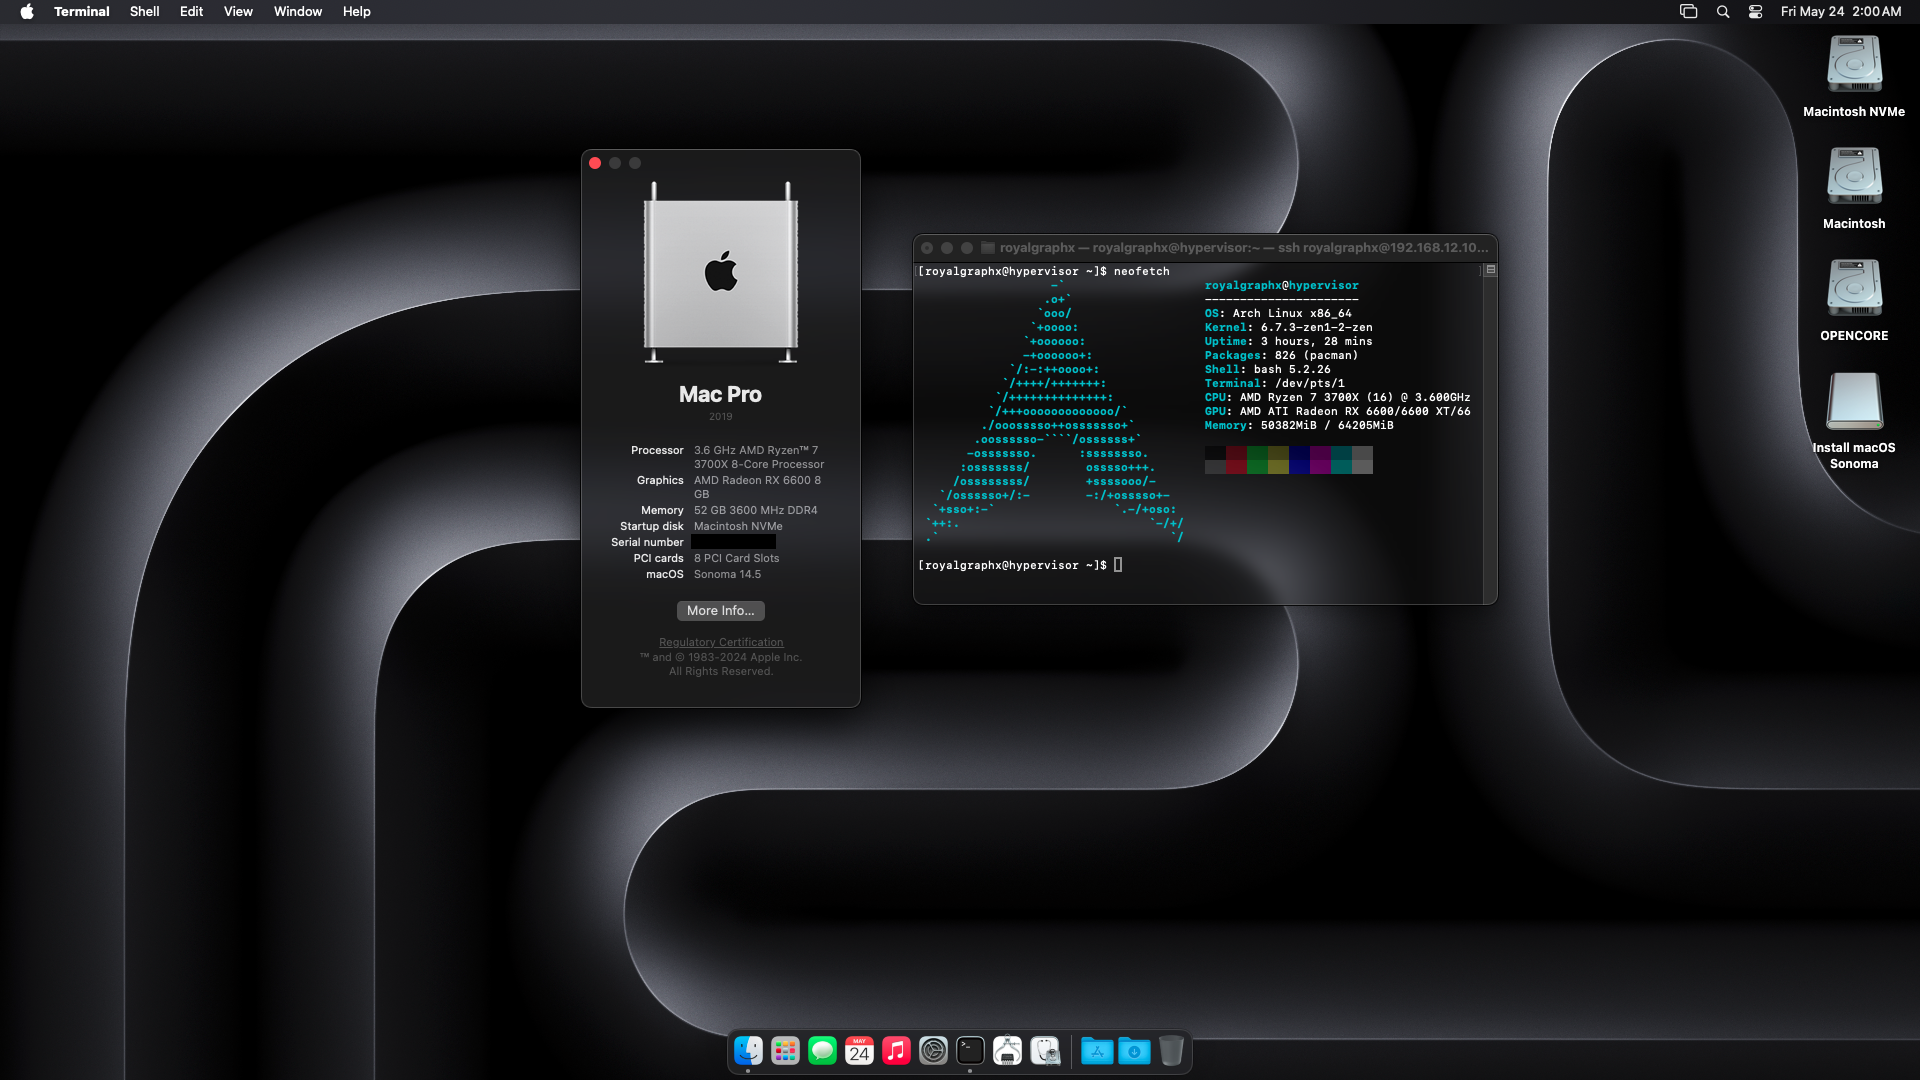
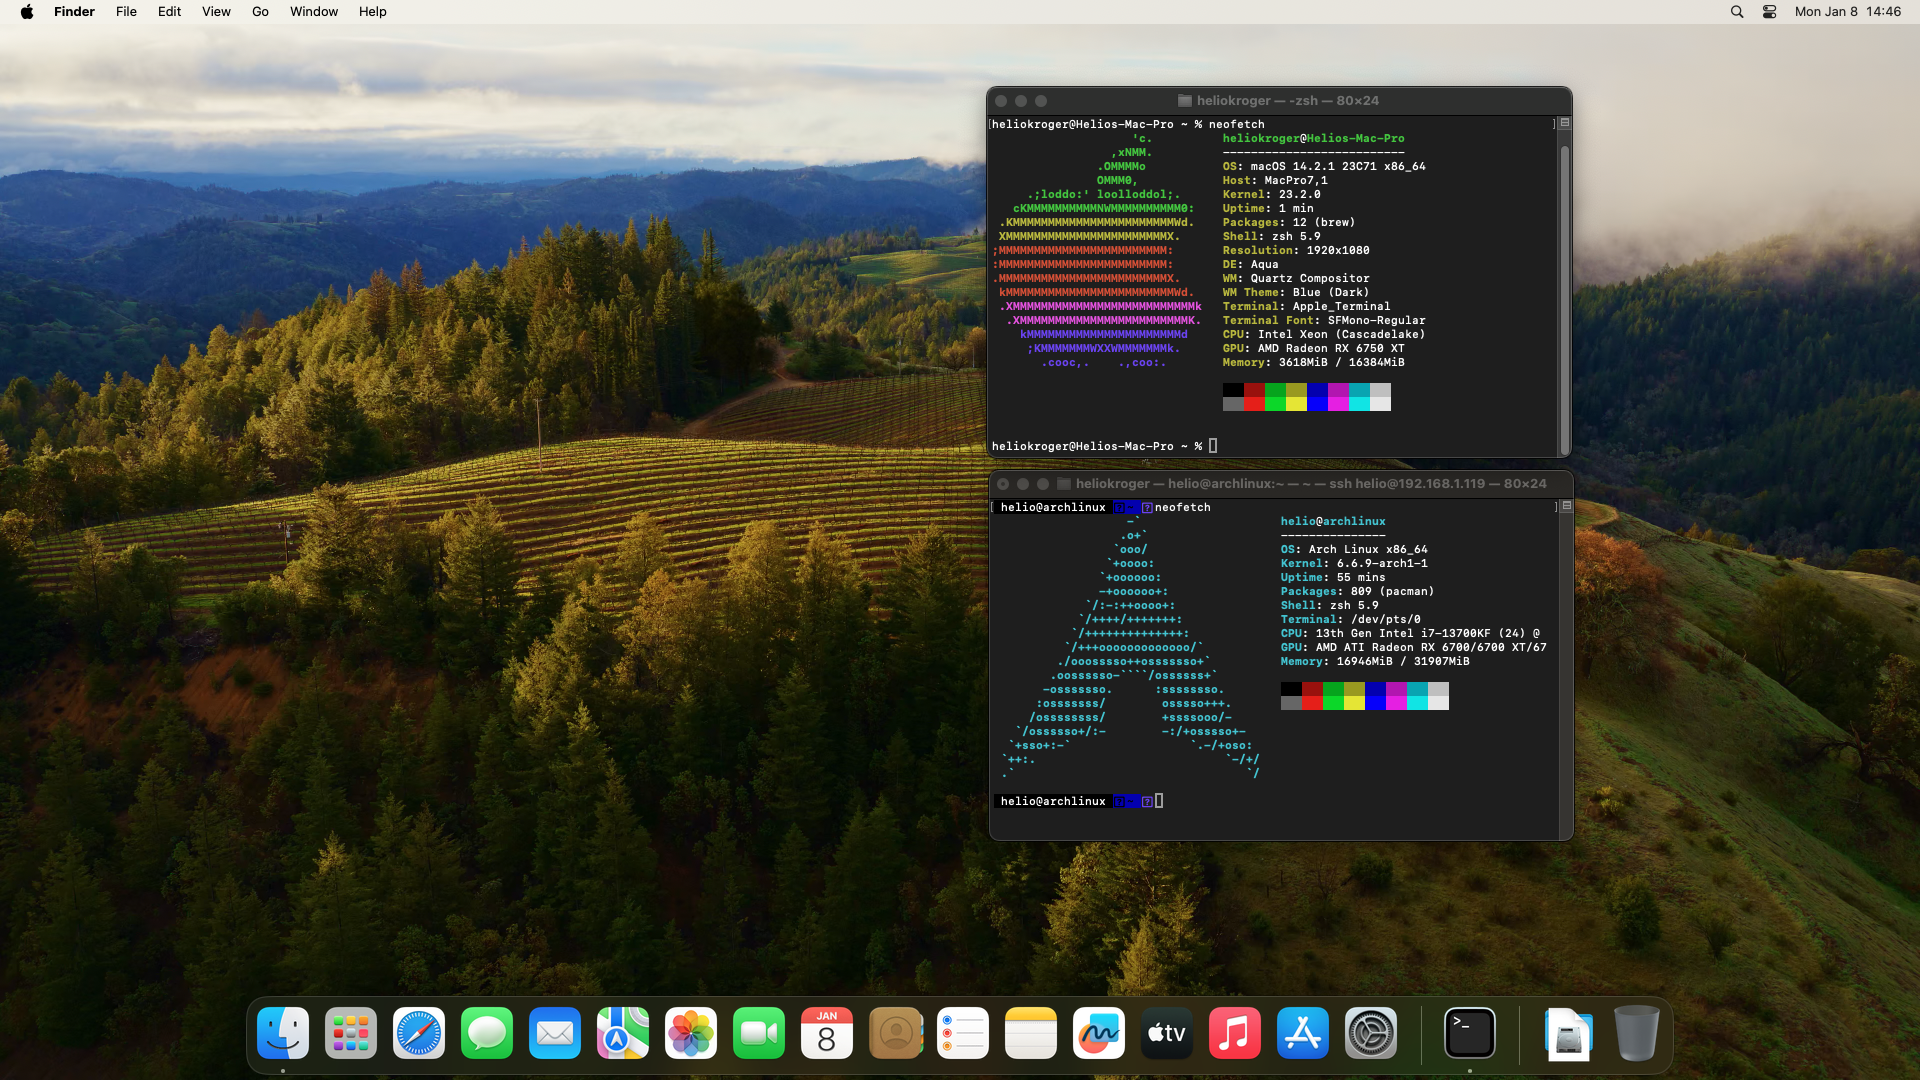
Host Requirements, Host Configuration, Setting Expectations, GRUB and systemd-boot Support, Package Configuration, Bridged Networking using systemd, IOMMU Viability, x86_64 and PowerPC Support, OpenCore for Q35 as Mac Pro models, Hardware Compatibility Charts, DarwinFetch + DiskProvision, Virt-Manager XMLs, Single and Dual GPU Setup passthrough, QEMU and macOS Debugging, Fake Core Count for incompatible CPU Topologies, CPU Thread Pinning, VirtIO Thread for disk images, Motherboard Audio passthrough, Bridged Networking on Ethernet, KB/M Sharing via Evdev, Custom Memory Mapping, USB Controller Mapping, Display Overrides, sPPT / Zero-RPM Disable, Legacy NVIDIA Patching, Home of the VMHide Kernel Extension. Welcome to DarwinKVM!
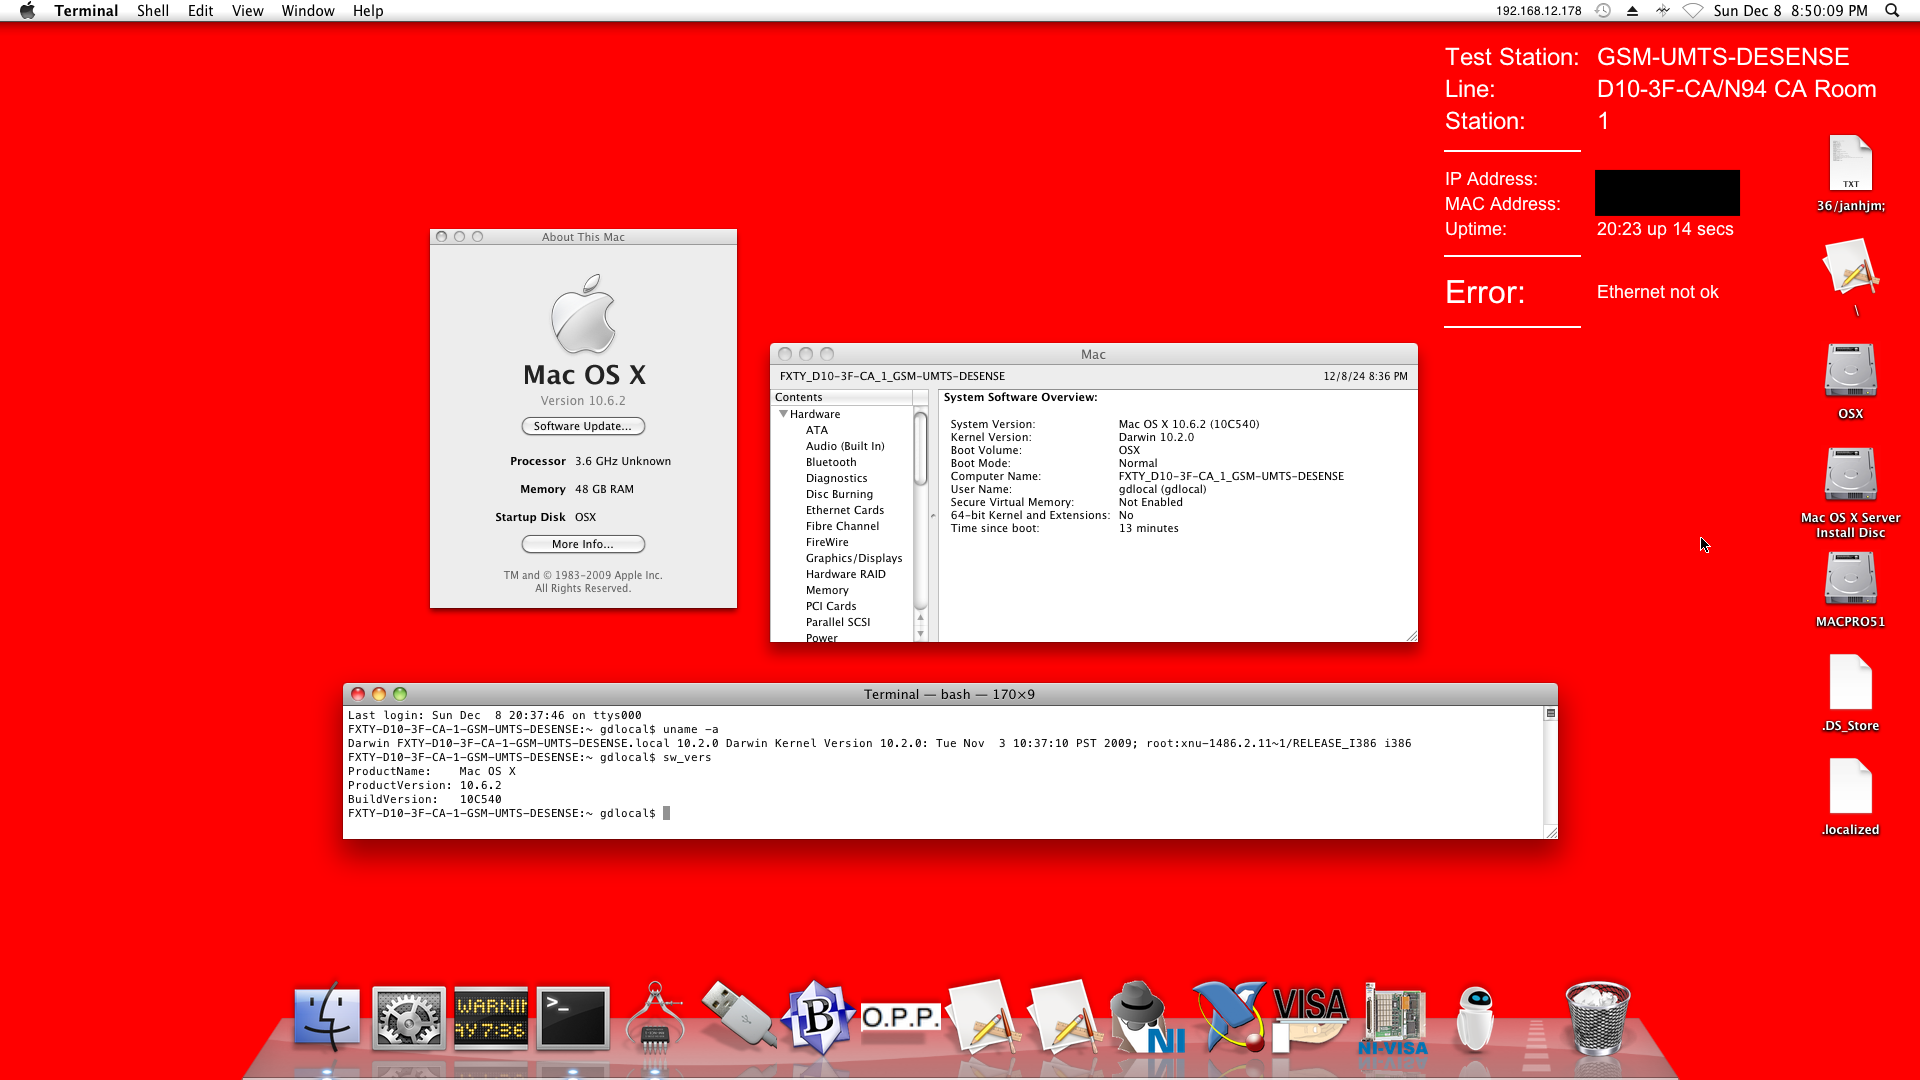
10.6.2 – AppleInternal Factory (10C540) – ATI Radeon HD 5450 2GB – i386
10.6 – Developer Preview 1 (10A190) – PowerPC
Mac OS X Leopard
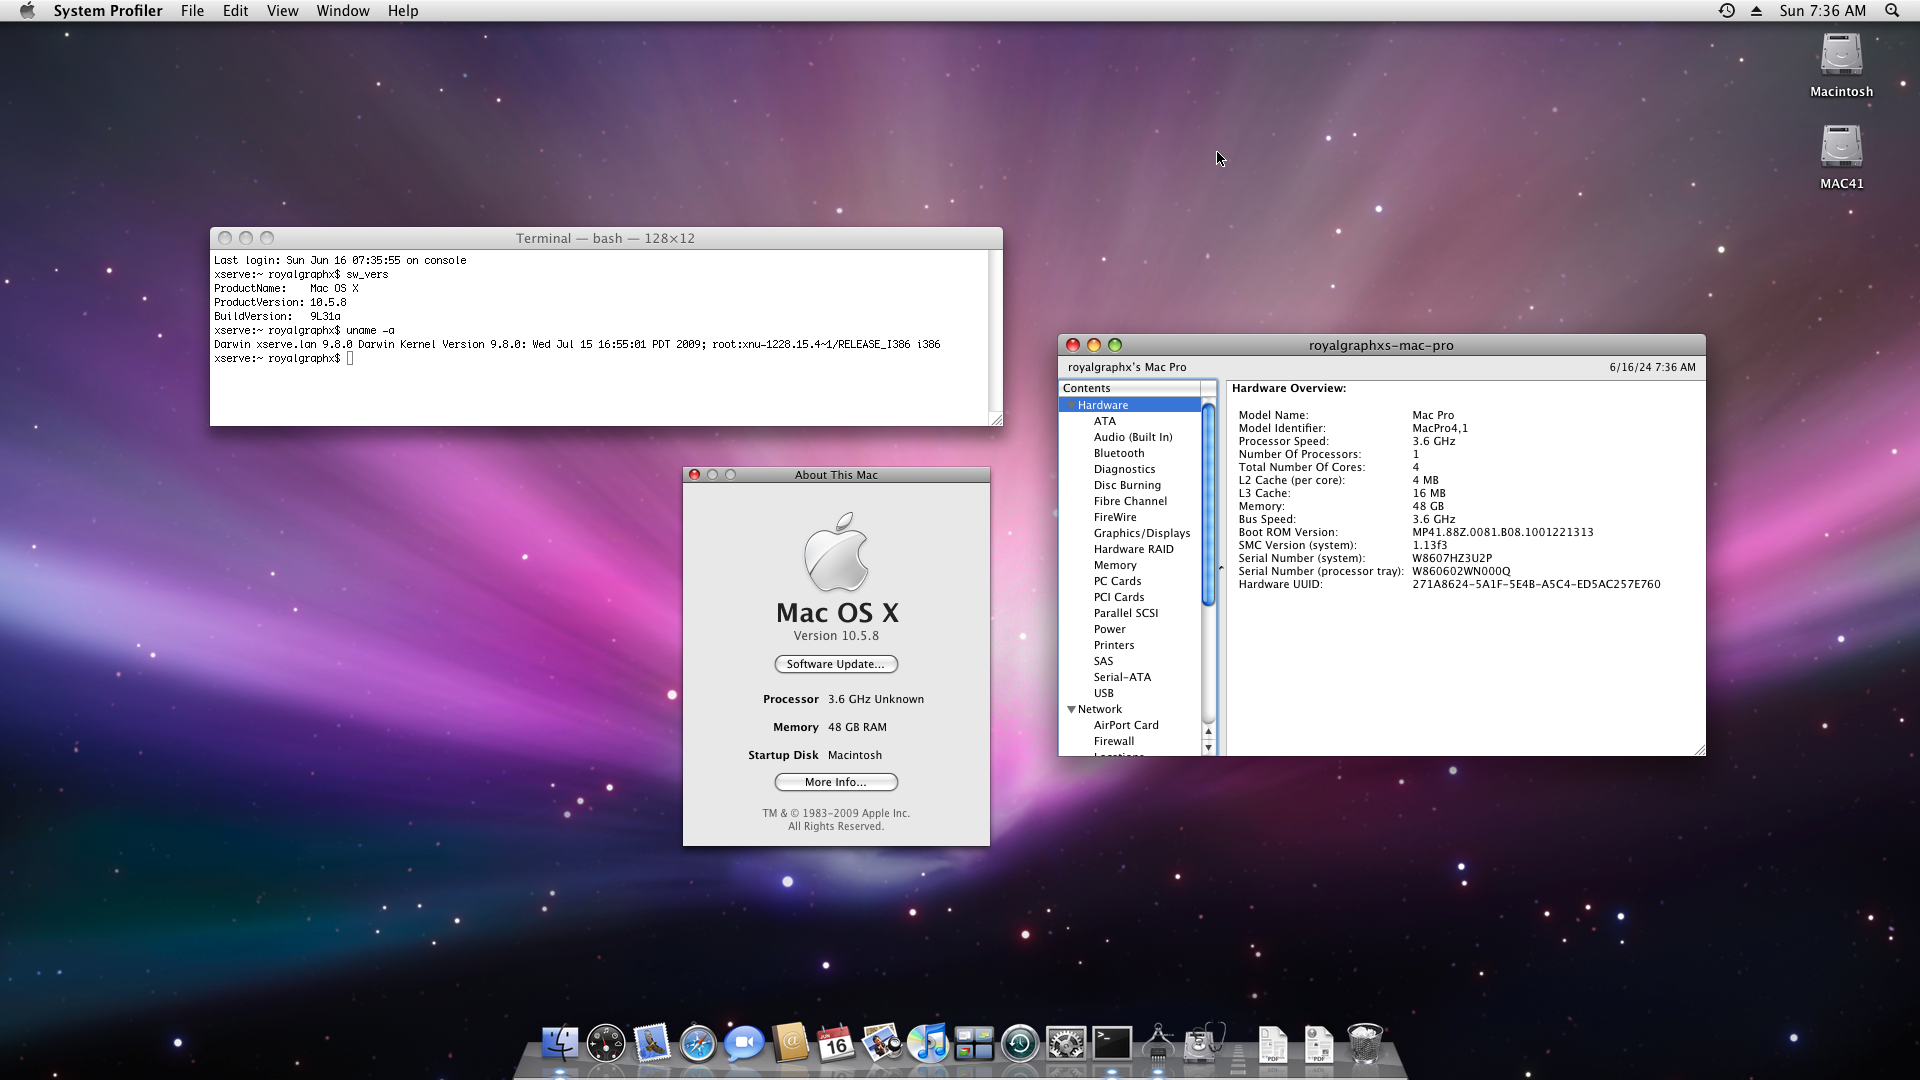
Mac Pro (2009) – MacPro4,1
Mac Pro (2008) – MacPro3,1
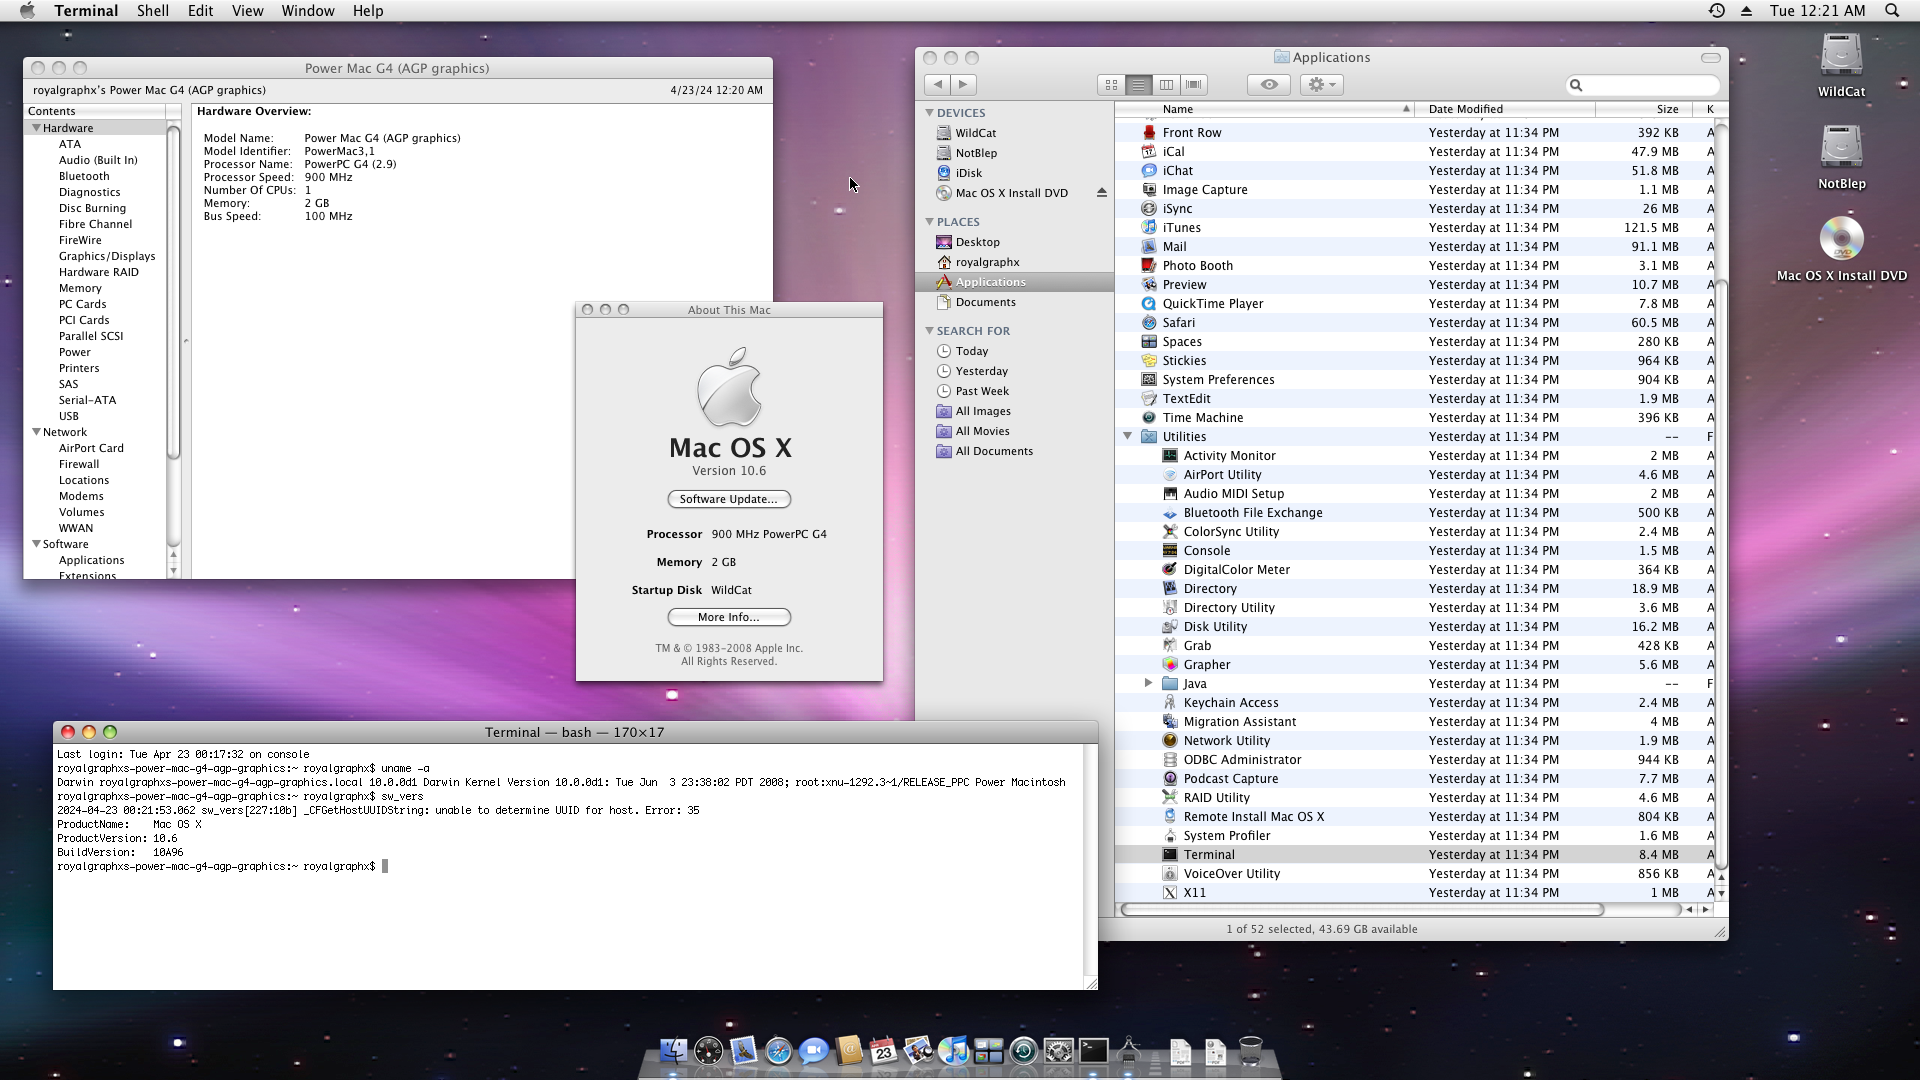
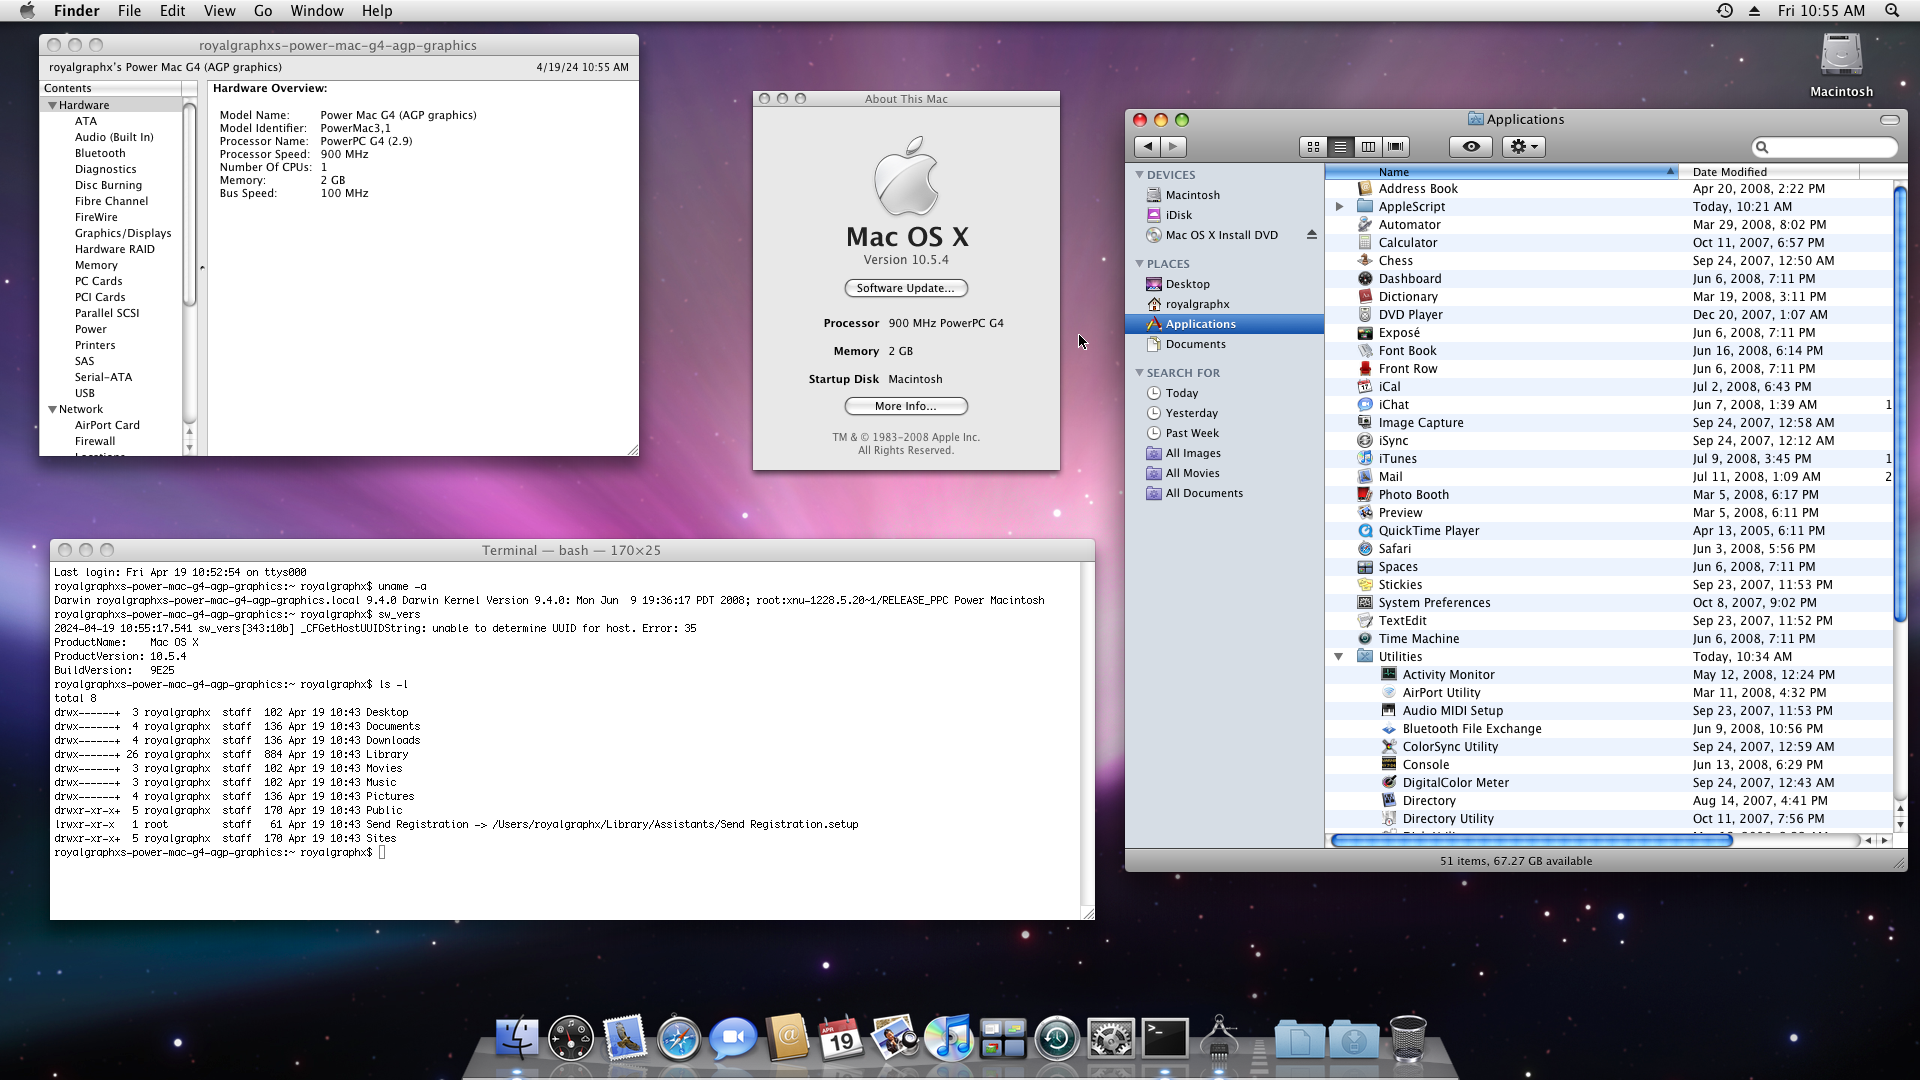
PowerMac G4 AGP (1999) – PowerMac3,1
10.5.8 – VESA / VGA Graphics – i386
10.5.4 – VESA / VGA Graphics – PowerPC
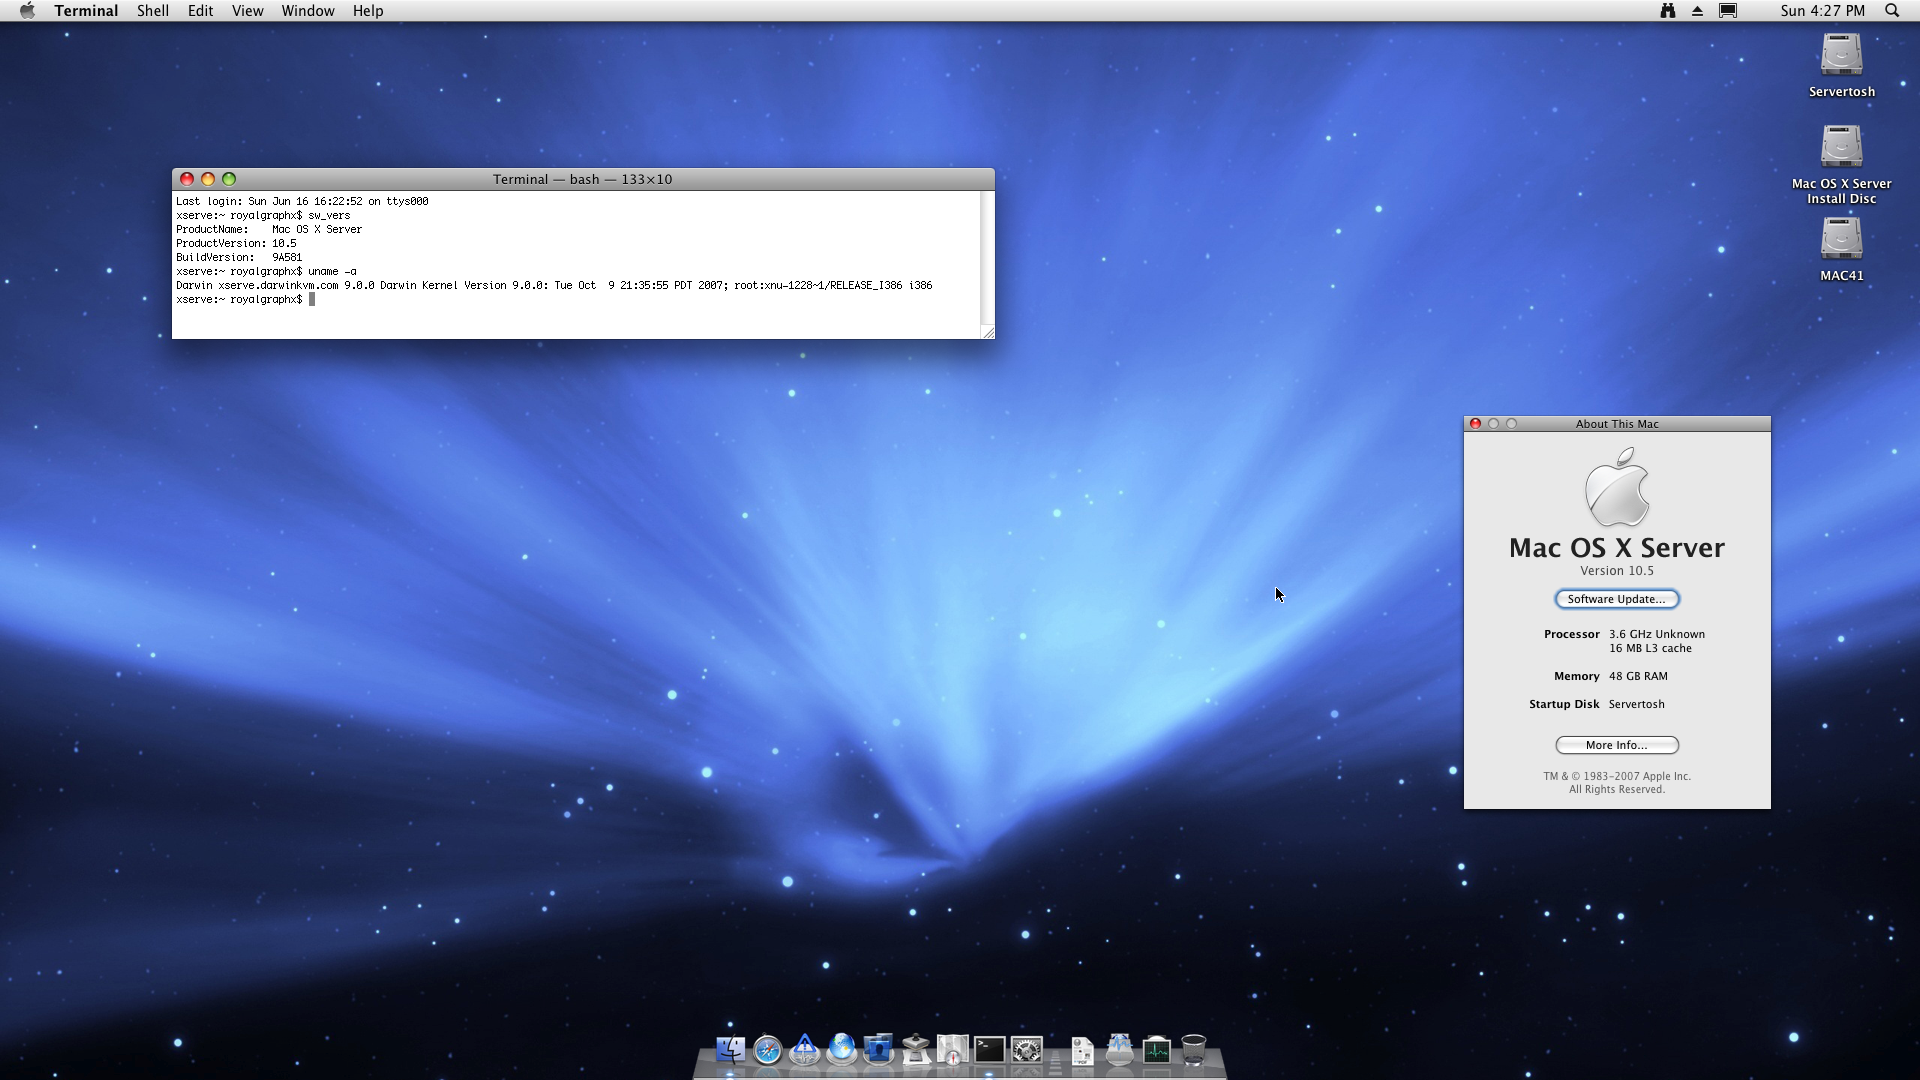
10.5 Server – VESA / VGA Graphics – i386
Mac OS X Tiger
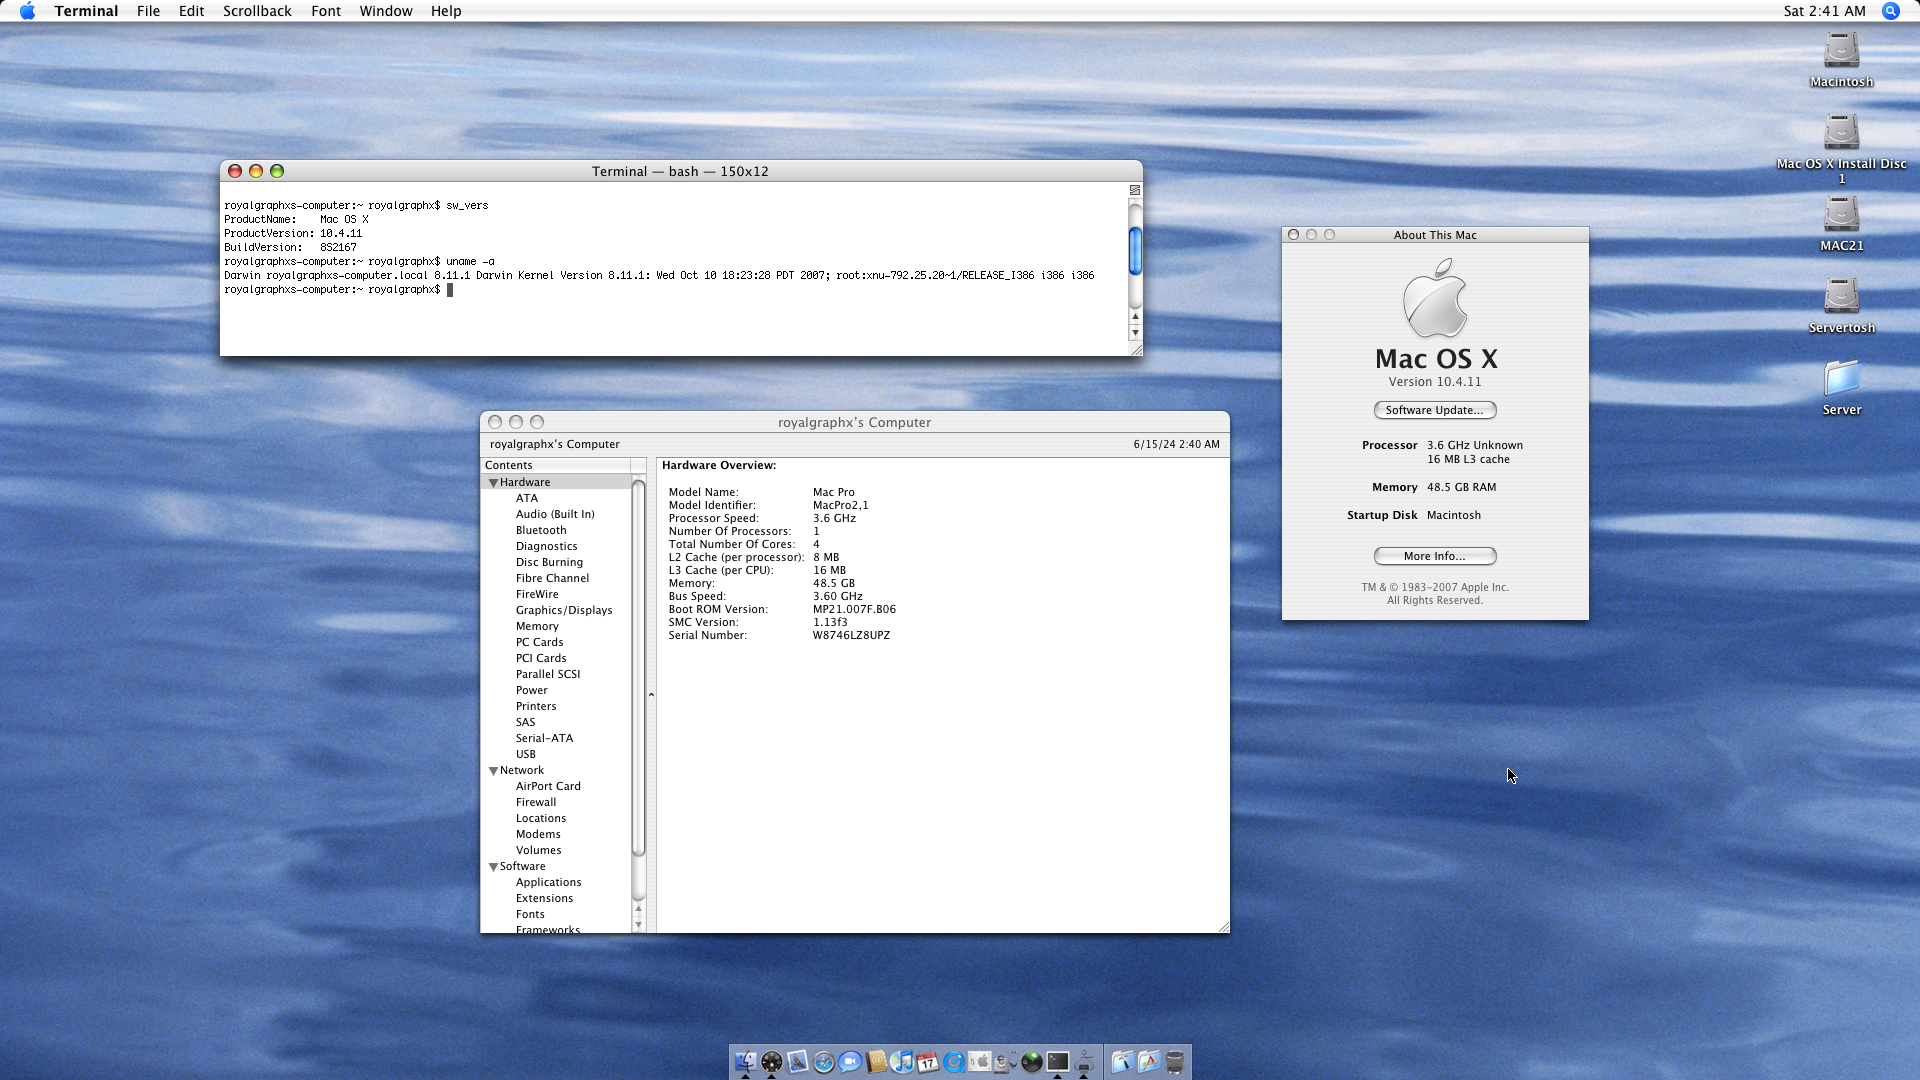
Mac Pro (2007) – MacPro2,1
Mac Pro (2006) – MacPro1,1
Apple Developer Transition Kit (2005) – ADP2,1
PowerMac G4 AGP (1999) – PowerMac3,1
10.4.11 – VESA / VGA Graphics – i386
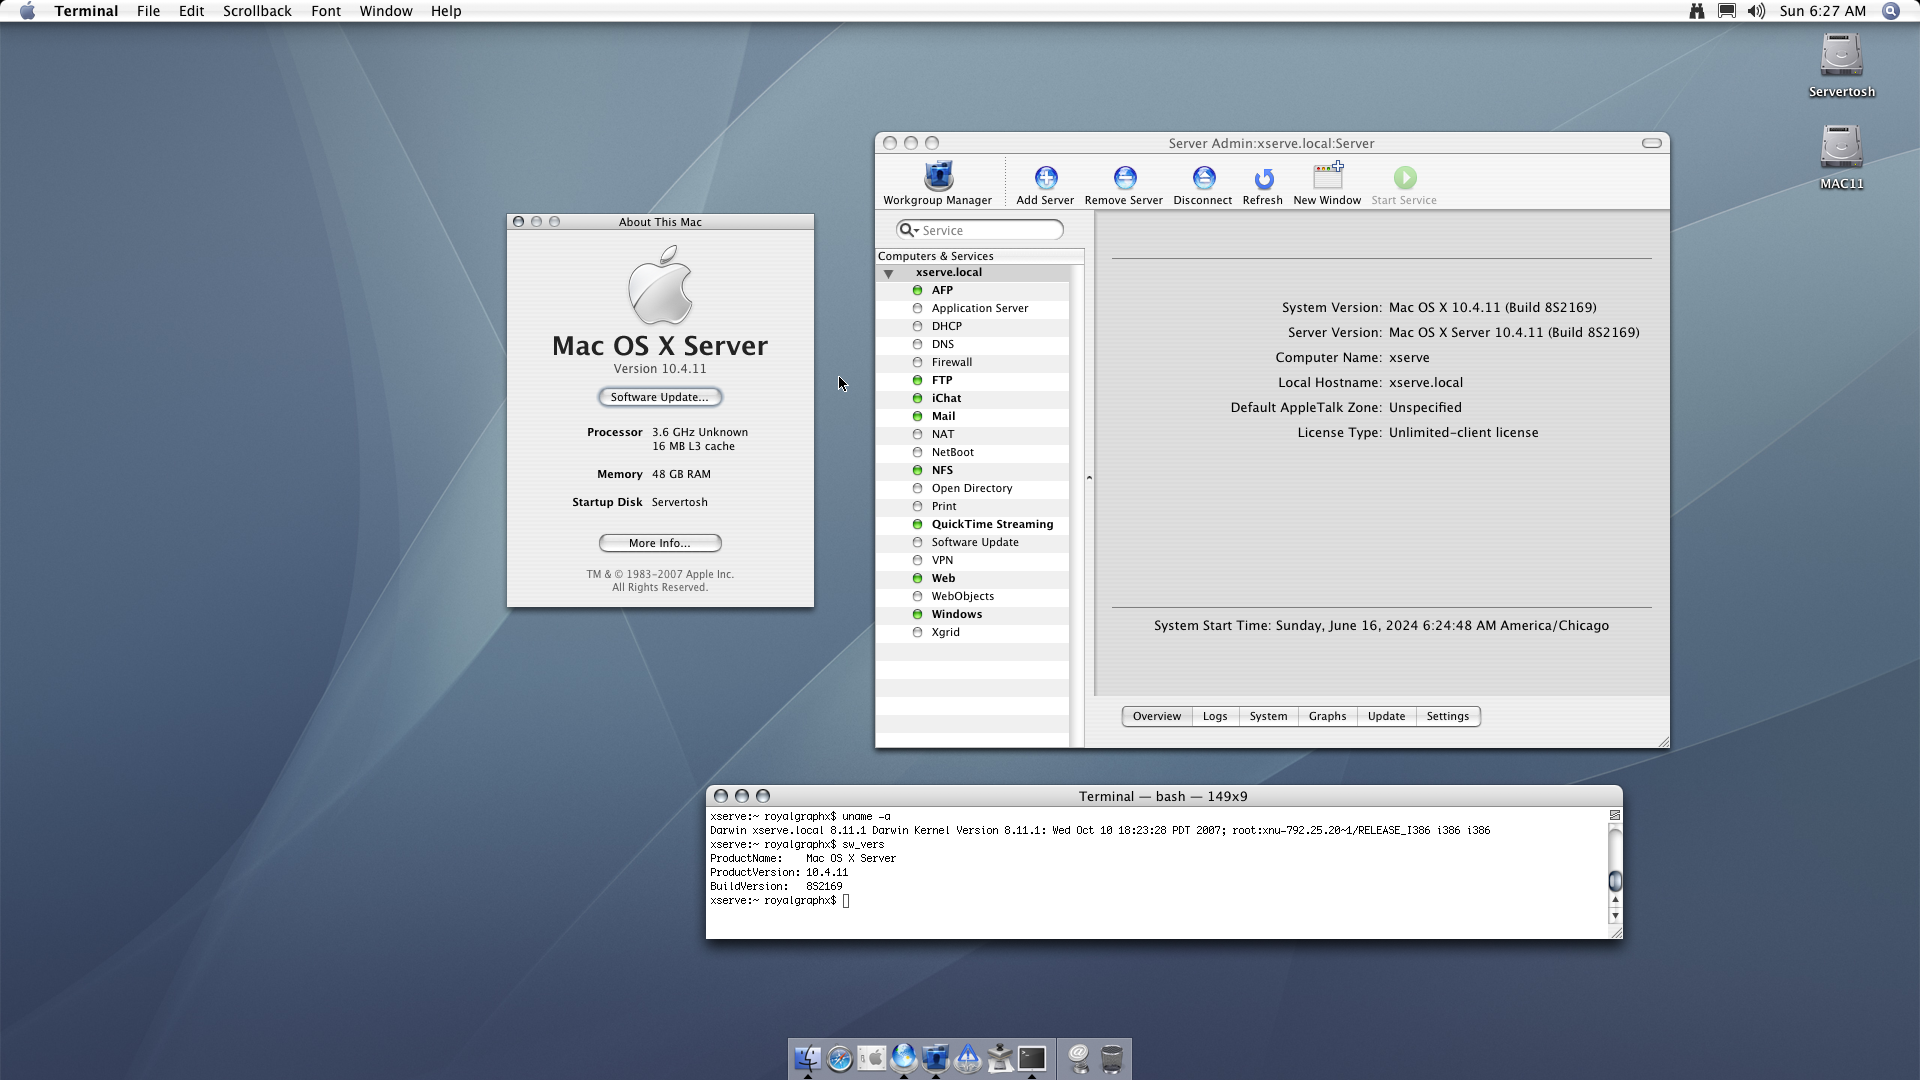
10.4.11 Server – VESA / VGA Graphics – i386
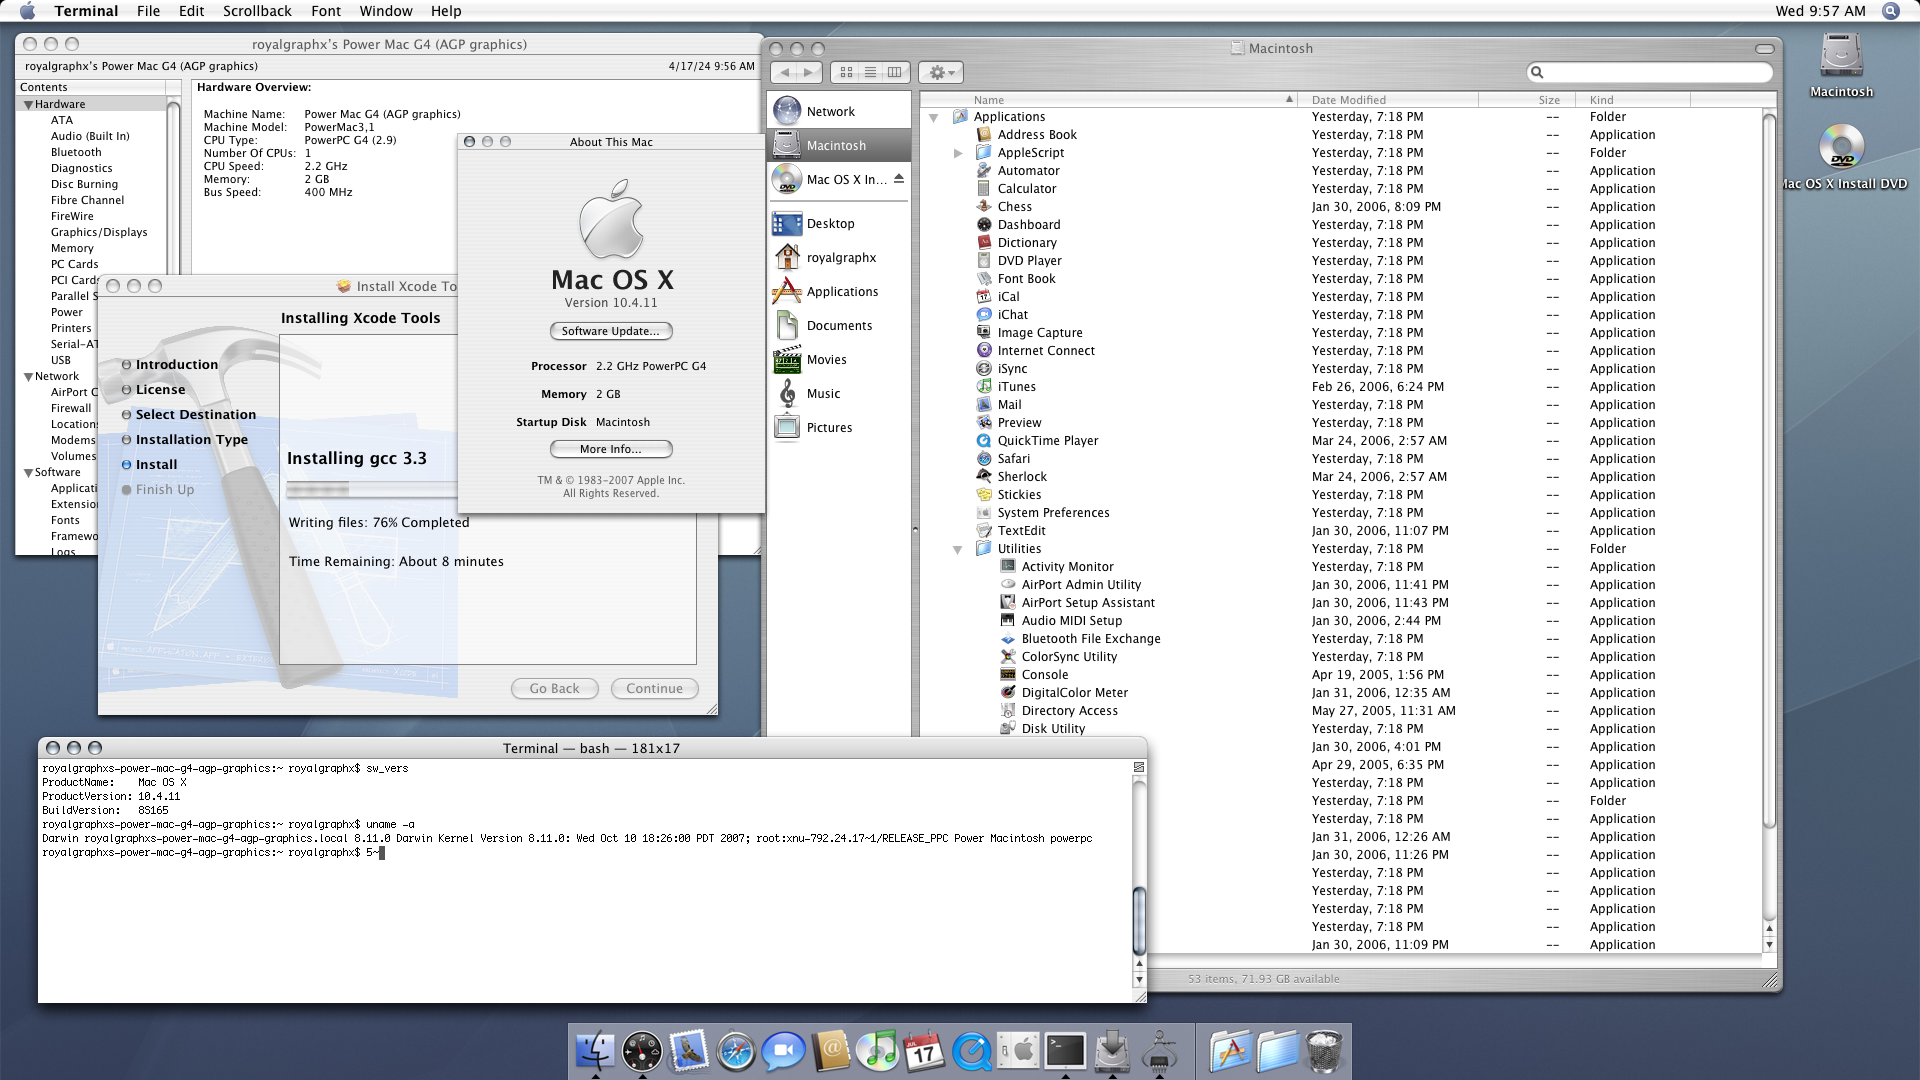
10.4.11 – VESA / VGA Graphics – PowerPC
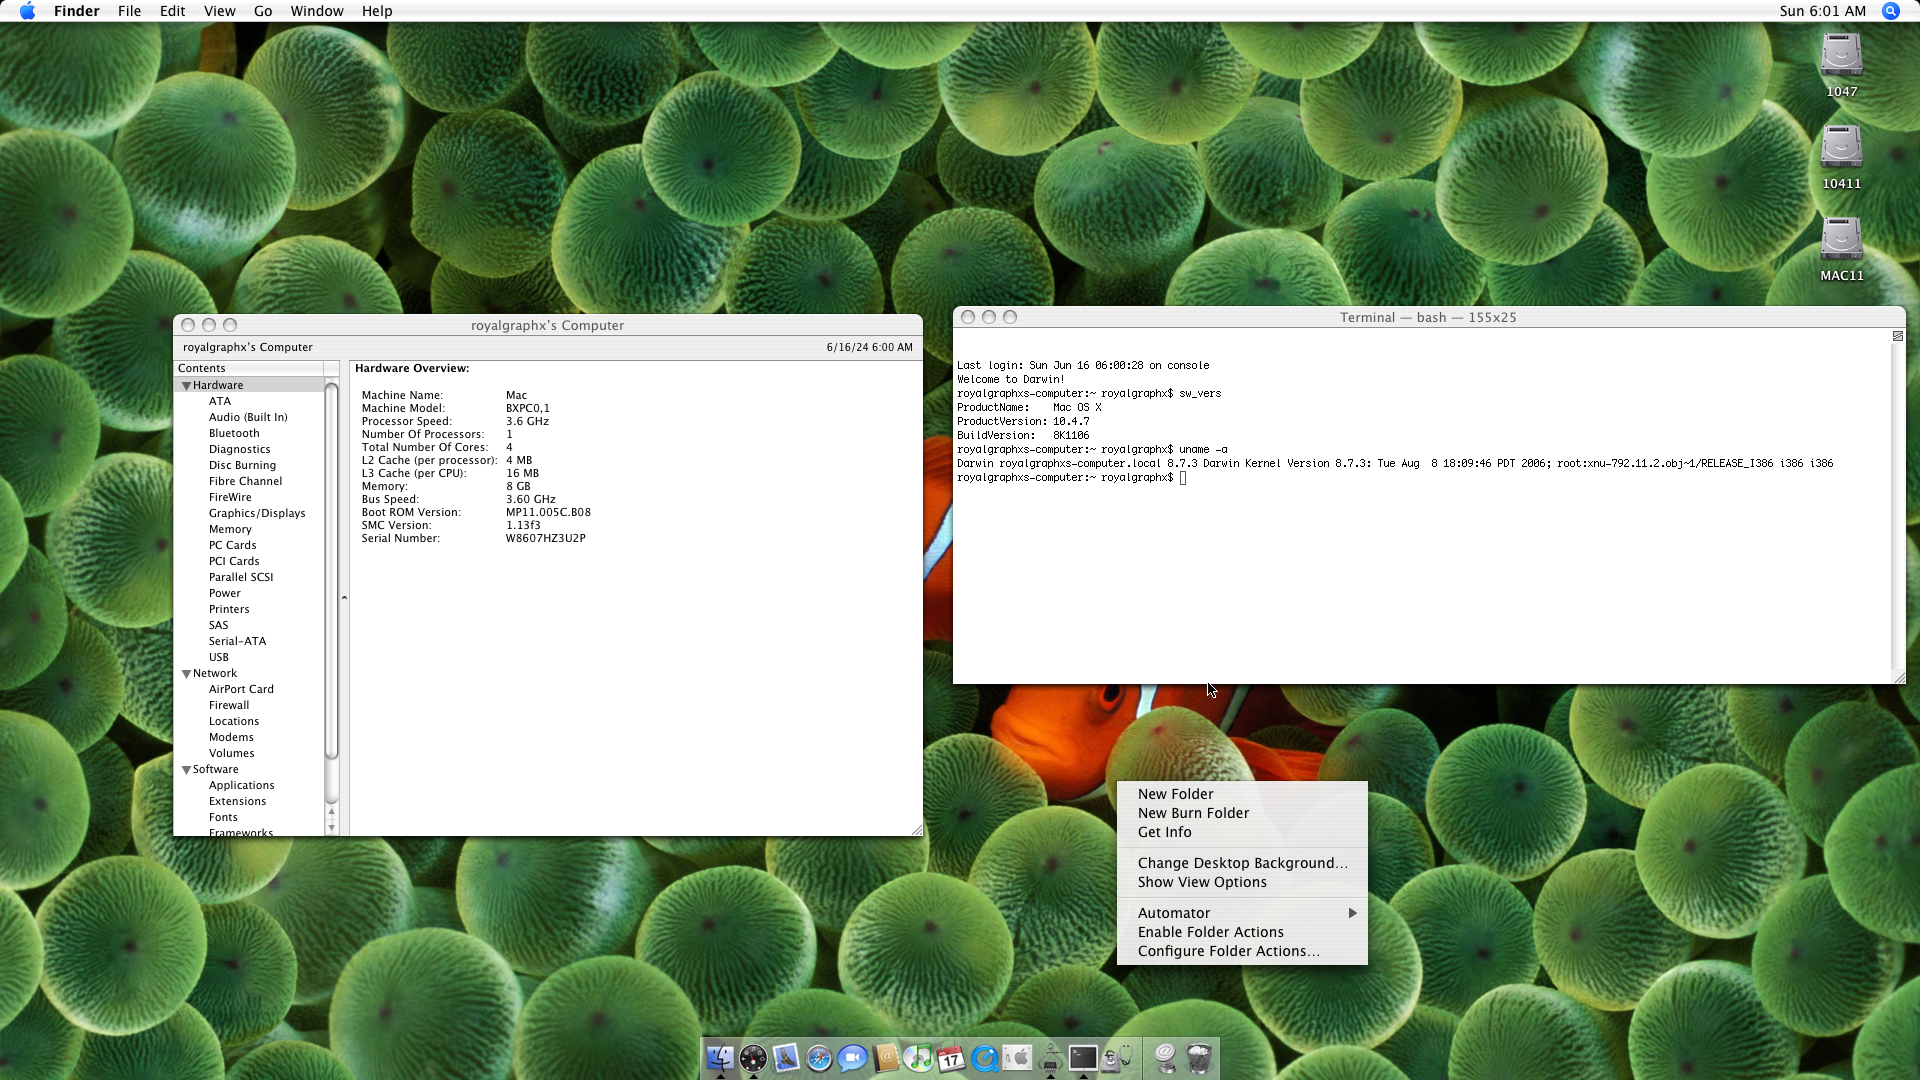
10.4.7 – VESA / VGA Graphics – i386
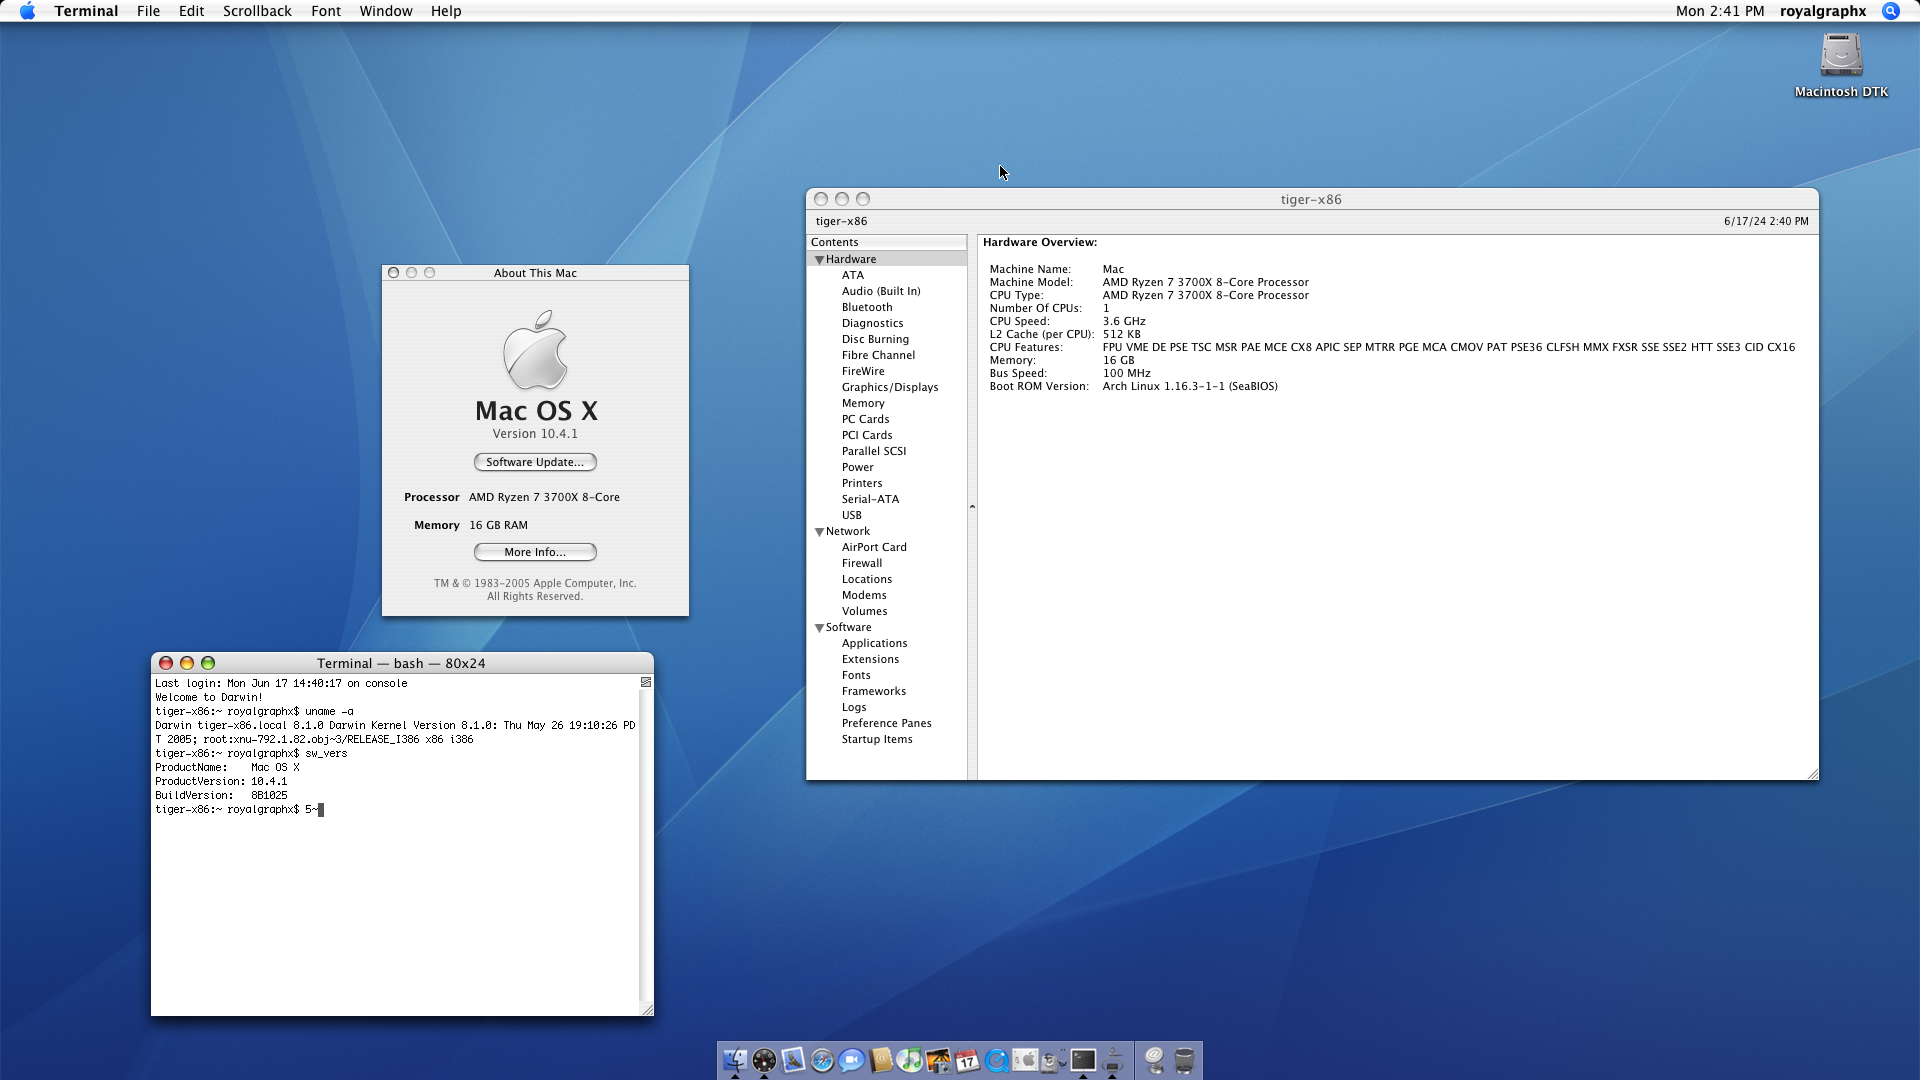
10.4.1 – Apple DTK Build 8B1025 – VESA / VGA Graphics – i386
Mac OS X Panther
PowerMac G4 AGP (1999) – PowerMac3,1
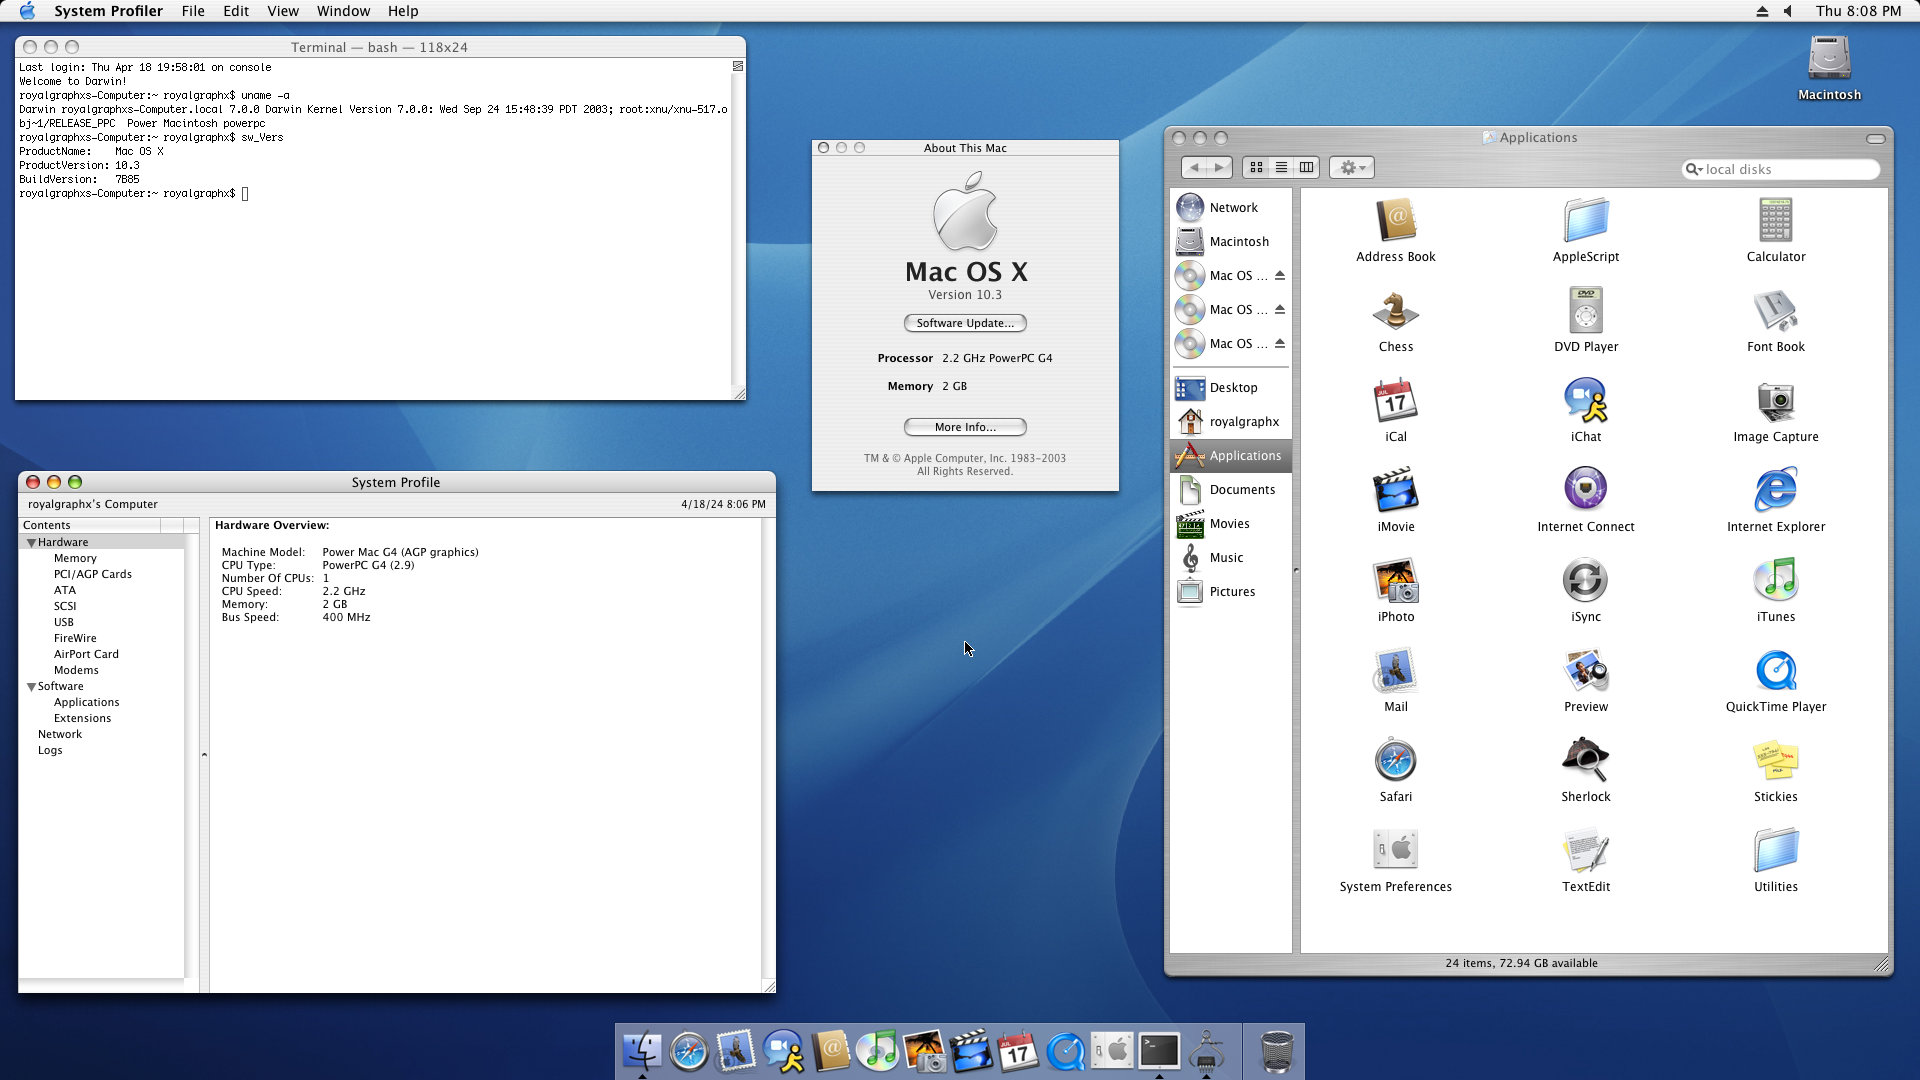
10.3 – VESA / VGA Graphics – PowerPC
Mac OS X Jaguar
PowerMac G4 AGP (1999) – PowerMac3,1
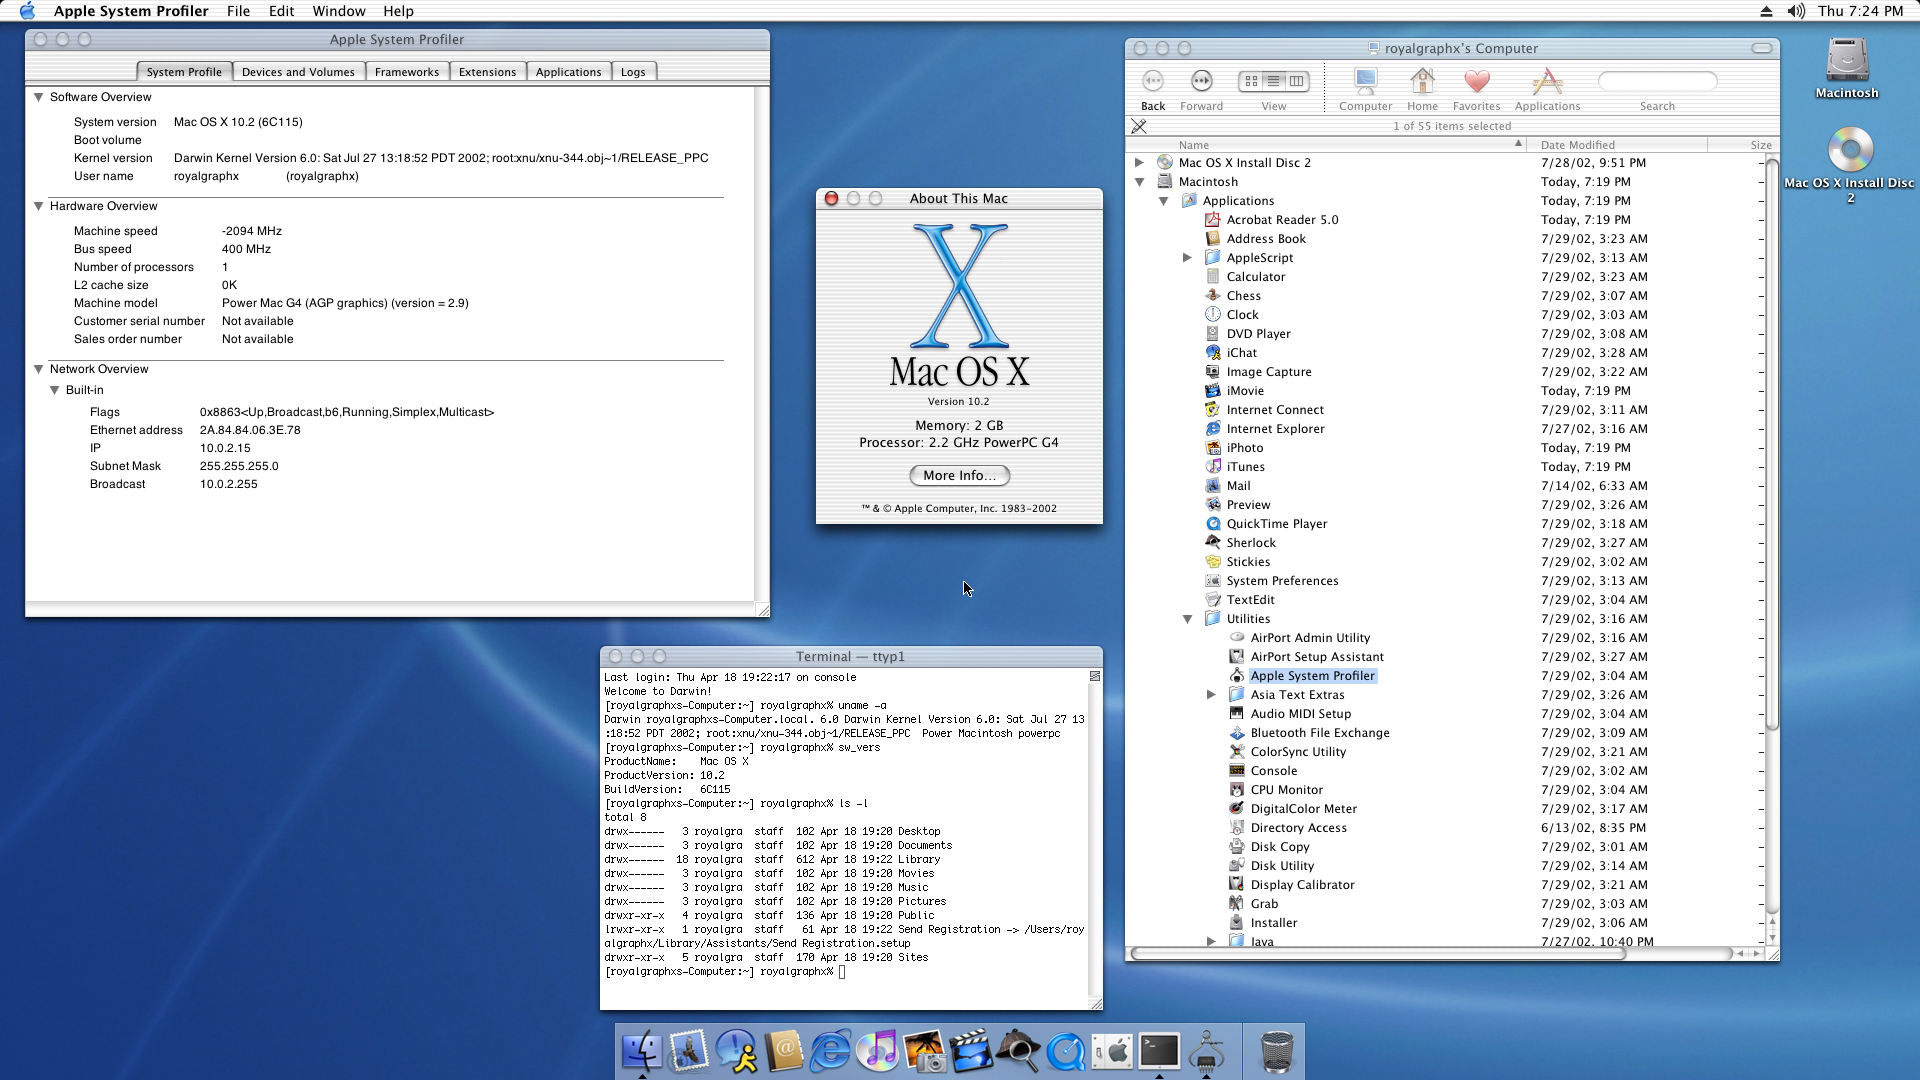
10.2 – VESA / VGA Graphics – PowerPC
Mac OS X Puma
PowerMac G4 AGP (1999) – PowerMac3,1
10.1 – VESA / VGA Graphics – PowerPC
Mac OS X Cheetah
PowerMac G4 AGP (1999) – PowerMac3,1
10.0.3 – VESA / VGA Graphics – PowerPC
Need Help?
If you run into any issues, you can join the DarwinKVM Discord server! Feel free to ping the @Helpers role within a help channel for support. Hexley provides our discord users with a multitude of commands to assist anyone who may need specific actions performed. Such features that Hexley offers aim to speed up the process with command such as:
/genplatinfo – Generates PlatformInfo for a given Mac model
/checkcoverage – Allows to get a serial numbers Coverage status
/pci – Find PCI devices by vendor ID and device ID.
/usb – Find USB devices by vendor ID and device ID.
/link – Quickly link a URL for someone.
/time – Displays the time of a given user.
Contributing to the Documentation
If you have any changes or improvements you’d like to contribute for review and merge, to update misinformation or outdated information, as well as maybe even adding whole new pages, you can follow the general outline below to get a local copy of the documentation running.
Instructions written for macOS hosts but is adoptable to other OSs.
Once brew is installed, you can run brew install ruby in your terminal.
If using ZSH (any recent versions of macOS) Be sure to read the post install text as it suggest you should run the following command to export to PATH:
Installing Docs dependencies, and running the server.
Run bundle install in your terminal window.
Running bundle exec jekyll serve --incremental will build and run a live copy of the DarwinKVM docs on port 4000 by default.
To change the port, you can specify the IP address and port to run on, allowing local mobile devices to also connect and preview DKVM Docs.
bundle exec jekyll serve --host YOUR_IP_ADDRESS --port PORT --incremental
You’ll now be able to see the changes you make update live so you can work quickly and preview the final look of your Markdown files easily. Once you are done making your changes you can then proceed to submit a Pull Request for review, and eventual merge to Main.
A big thanks to all contributors and future contributors! ꩓
A C++ library for parsing, editing and serialising NBT data used in Java edition Minecraft.
I should warn you that this is not a finished library. Also I might rewrite it later but for now I stopped working on this
Documentation
Currently the only docs are in tests/README.org, I will be figuring out a way to generate a github.io soon probably.
That readme I mentioned is just a description of what tests do and I may get rid of it if that readme will prevent me from just rewriting the tests or changing my mind about which implementation seems more logical or intuituve.
Scope and purpose
All started with an idea to make a procedural world generator, but since minecraft uses the same format for all it’s files this became a general purpose parser for NBT.
In real use case just using this library is insufficient since it doesn’t handle compression which is present in almost all minecraft files. Thus you will need to use gzip or zlib for decompression purposes.
This library also doesn’t read data from the file directly and instead uses a custom implementation of stream to access data. This in my opinion is better than using fstream since you can parse anything you really want and you are not restricted to compression type, position of the data in the file and the way you save/retrieve data from the file (FILE* vs fstream vs iostream, etc). And there is a safeguard build into the stream implementation to prevent infinite recursion after you run out of data.
Currently the development has stopped and I am adding Google test to catch any bugs and I know there are many. After all the code is finished I will get to work on increasing performance and efficiency.
Prerequisites
You must have basic knowledge of C++ and some understanding of NBT.
Building the library
It is a CMake project so all you need is this line in the terminal:
# run this in the root of the project
$ cmake -S . -B build
You should see CMake build an object library and automatically run google test. There is no sample executable yet.
NBT (Named Binary Tag) is a tag based binary format designed to carry large amounts of binary data with smaller amounts of additional data.
An NBT file consists of a single GZIPped Named Tag of type TAG_Compound.
A Named Tag has the following format:
byte tagType
    TAG_String name
    [payload]
There were originally 10 data types, but since snapshot 12w07a, (release version 1.2.1)[fn:1] 2 more tags have beed added making 12 total. Here is a list of all the tags:
Name
ID
End of compoud
0
Byte
1
Short
2
Int
3
Long
4
Float
5
Double
6
Byte Array
7
String
8
List
9
Compound
10
Int Array
11
Long Array
12
Where: ID is byte tagType from NBT specs above.
Implementation
If you spend some time reading the specs by Notch you will soon realize that there are 4 categories (kinds) of NBT tags[fn:2]:
Primitive
A non-array type
Byte
Short
Int
Long
Float
Double
String
Array
Mono-type non-recusrive array container
Byte Array
Int Array
Long Array
List
Potentially[fn:3] recursive and multi-type array container
Compound
Multitype potentially recursive container
Attempting to create an object of invalid tag (e.g. ArrayTag<unsigned int> instead of signed version) will result in undefined reference to [Kind]Tag::type().
[fn:2]End tag is excluded from the list since it is useless and dangerous to keep in memory as a class or struct, except for one case (list of end tags) where it is useless as a separate type either.
[fn:3] ListTag<ListTag<...> > is totally possible and in fact is part of minecraft files.
Even though the nested ListTag has a defined type, that type is undefined at a parent level (well, it is defined, but it’s a list, which is ambigious).
Quarkus is a Kubernetes-native Java framework tailored for GraalVM and OpenJDK HotSpot. It optimizes Java specifically for containers, enabling developers to create applications that are lightweight and fast.
Apache Kafka
Apache Kafka is a distributed event streaming platform capable of handling trillions of events a day. It is used for building real-time data pipelines and streaming applications. In this demo, Kafka serves as the backbone for data transmission.
Apache Flink
Apache Flink is a stream processing framework that allows for the processing of data in real-time. It is designed for high-throughput and low-latency data processing, making it ideal for analytics and event-driven applications.
Confluent Cloud
Confluent Cloud is a fully managed Apache Kafka, Flink and other related services that simplifies the deployment and management of Kafka clusters. It provides a scalable and reliable environment for streaming data.
Data Flow
Data Loading
The Netflix user information is initially loaded from a CSV file. This data includes various metrics related to user engagement.
Kafka Topic
The loaded data is sent to a Kafka topic. This topic acts as a conduit for the data, allowing it to be streamed to the Confluent Cloud broker.
Data Format
The data is serialized in Apache Avro format, which provides a compact binary representation and schema evolution capabilities.
Flink Queries
Once the data is aggregated in Kafka, two Flink queries are executed:
Average View Duration: This query calculates the average time users spend watching content.
Daily Engagement Titles: This query identifies the titles that have the highest user engagement on a daily basis.
Setting up the demo
Confluent Cloud
This demo used the confluent cloud stack cli documented here
Its a very useful cli that will provsion the entire environemt, cluster and most improtantly the registry as well.
It also has the option to destroy the entire thing once done. Which is actually very helpful!
Anyways here is a similar out from what you should be able to see at the end after you run the command as per instructions on the link shared above.
To destroy this Confluent Cloud stack run ->
./ccloud_stack_destroy.sh stack-configs/java-service-account-sa-234cdf.config
try to view the config file and you should find most of the information required for the application.properties file. Except a couple more that you will find
at Confluent cloud >> environment >> cluster >> topics. On top you will see the option for clients. Click that and in the Java Clients you should get the client id and more.
Local project config
Following is the local configuration in the application.properties. All you need to do before starting the quarkus is set the env variables.
You will need to get most of the information from Confluent cloud >> environment >> cluster >> topics. On top you will see the option for clients
You can also setup the CSV_FILE_PATH which is the documents directory in this project folder.
# messaging connector settings.mp.messaging.connector.smallrye-kafka.bootstrap.servers={BOOTSTRAP_SERVER}
# Kafka Security Settingsmp.messaging.connector.smallrye-kafka.security.protocol=SASL_SSL
mp.messaging.connector.smallrye-kafka.sasl.mechanism=PLAIN
mp.messaging.connector.smallrye-kafka.sasl.jaas.config=org.apache.kafka.common.security.plain.PlainLoginModule required username={CONNECTOR_USER} password={CONNECTOR_PASSWORD}
# Schema Registry Configurationmp.messaging.connector.smallrye-kafka.schema.registry.url={REGISTRY_URL}
mp.messaging.connector.smallrye-kafka.schema.registry.basic.auth.credentials.source=USER_INFO
mp.messaging.connector.smallrye-kafka.schema.registry.basic.auth.user.info={REGISTRY_AUTH_KEY}
# Kafka Topic Replication Factor (for Confluent Cloud)mp.messaging.connector.smallrye-kafka.replication.factor=3
# DNS lookup settingmp.messaging.connector.smallrye-kafka.client.dns.lookup=use_all_dns_ips
# Consumer-specific settingsmp.messaging.connector.smallrye-kafka.consumer.session.timeout.ms=45000
# Producer-specific settingsmp.messaging.connector.smallrye-kafka.producer.acks=all
mp.messaging.connector.smallrye-kafka.producer.client.id={CLIENT_ID}
# set the connector for the outgoing channel to `smallrye-kafka`mp.messaging.outgoing.users-uk-netflix-out.connector=smallrye-kafka
mp.messaging.outgoing.users-uk-netflix-out.value.serializer=io.confluent.kafka.serializers.KafkaAvroSerializer
mp.messaging.outgoing.users-uk-netflix-out.key.serializer=org.apache.kafka.common.serialization.StringSerializer
mp.messaging.outgoing.users-uk-netflix-out.topic=users-uk-netflix-out
mp.messaging.outgoing.users-uk-netflix-out.schema.registry.url=${mp.messaging.connector.smallrye-kafka.schema.registry.url}
mp.messaging.outgoing.users-uk-netflix-out.auto.register.schemas=true
#mp.messaging.outgoing.users-uk-netflix-out.use.schema.id=100002# Single CSV File, can also be found in documents dircsv-file-path={CSV_FILE_PATH}
Running the application in dev mode
You can run your application in dev mode that enables live coding using. It will start sending messages out. I am not printing them out on the console, but they should be visible in the cloud console, under topics>>messages.
./mvnw quarkus:dev
Daily engagement titles, T10
SELECT
DATE_FORMAT(TO_TIMESTAMP_LTZ(dateTime, 3), 'yyyy-MM-dd') AS watch_date,
title,
COUNT(*) AS daily_view_count,
SUM(duration) AS daily_total_watch_time
FROM`ccloud-stack-sa-917qyv-ccloud-stack-script`.`demo-kafka-cluster-sa-917qyv`.`users-uk-netflix-out`GROUP BY DATE_FORMAT(TO_TIMESTAMP_LTZ(dateTime, 3), 'yyyy-MM-dd'), title
ORDER BY watch_date DESC, daily_total_watch_time DESCLIMIT10;
Average duration watched T10
SELECT
title,
AVG(duration) AS avg_watch_duration
FROM`ccloud-stack-sa-917qyv-ccloud-stack-script`.`demo-kafka-cluster-sa-917qyv`.`users-uk-netflix-out`GROUP BY title
ORDER BY avg_watch_duration DESCLIMIT10;
Or you can simply double click on the file and it will open in the app.
Generating images
When you’ve created all the images, export as PNG x1 – the image sizes have been created to suit the retina screens (x2).
More information from Apple on creating and configuring Web Applications.
What if I don’t have Sketch?
There is a blank_images folder with PNG files ready for you to modify in your preferred image editor.
CONTRIBUTING
Check out the latest master to make sure the feature hasn’t been implemented or the bug hasn’t been fixed yet
Check out the issue tracker to make sure someone already hasn’t requested it and/or contributed it
Fork the project
Start a feature/bugfix branch
Commit and push until you are happy with your contribution
Create a Pull Request to merge into the Master branch of the origin repository
LICENCE
This is free and unencumbered software released into the public domain.
Anyone is free to copy, modify, publish, use, compile, sell, or distribute this software, either in source code form or as a compiled binary, for any purpose, commercial or non-commercial, and by any means.
In jurisdictions that recognize copyright laws, the author or authors of this software dedicate any and all copyright interest in the software to the public domain. We make this dedication for the benefit of the public at large and to the detriment of our heirs and successors. We intend this dedication to be an overt act of relinquishment in perpetuity of all present and future rights to this
software under copyright law.
THE SOFTWARE IS PROVIDED “AS IS”, WITHOUT WARRANTY OF ANY KIND, EXPRESS OR IMPLIED, INCLUDING BUT NOT LIMITED TO THE WARRANTIES OF MERCHANTABILITY, FITNESS FOR A PARTICULAR PURPOSE AND NON-INFRINGEMENT.
IN NO EVENT SHALL THE AUTHORS BE LIABLE FOR ANY CLAIM, DAMAGES OR OTHER LIABILITY, WHETHER IN AN ACTION OF CONTRACT, TORT OR OTHERWISE, ARISING FROM, OUT OF OR IN CONNECTION WITH THE SOFTWARE OR THE USE OR OTHER DEALINGS IN THE SOFTWARE.
Este script realiza a análise de um banco de dados do Sistema de Informação de Agravos de Notificação – SINAN, em formato DBF, que tenha sido previamente geocodificado em um sistema de coordenadas UTM.
O objetivo é identificar casos suspeitos que tenham vínculo epidemiológico com casos confirmados por laboratório. Os critérios avaliados são a proximidade geográfica e a incidência em um mesmo intervalo de tempo, ambos configuráveis.
Instalação no Windows
Este passo a passo pressupõe que o Python 3 já esteja instalado no sistema. O script faz uso de alguns módulos externos que precisam ser baixados da internet. Isso é feito de forma “semi-automática” pela ferramenta pip, que faz parte do Python.
O processo pode ser ligeiramente diferente a dependar da distribuição do Python que estiver instalada (Anaconda, WinPython, etc), mas na versão básica é o seguinte:
Através da opção Code > Download ZIP (acima), baixar o arquivo com o conteúdo deste repositório
Extrair o arquivo ZIP na pasta de sua preferência
Navegar até esse local pelo Explorador de Arquivos do Windows
Com a pasta aberta, segure a tecla shift do teclado e clique em qualquer espaço da janela com o botão direito do mouse
No menu “pop up”, selecione a opção Abrir janela do PowerShell aqui (ou Abrir janela de comando aqui, em versões mais antigas do Windows)
Checar se a linha de comando exibe o caminho da pasta correta. Opcionalmente, digite o comando dir (e tecle Enter) para se certificar de que o arquivo requirements.txt é listado
O ideal é que os módulos a serem baixados fiquem instalados em um ambiente virtual exclusivo deste script. Para criar esse ambiente, digite o comando: python3 -m venv env e tecle Enter
A depender da versão de terminal que estiver usando, digite um destes comandos para ativar o ambiente virtual:
PowerShell:env\Scripts\activate.ps1
Prompt de Comando:env\Scripts\activate.bat
Atenção ao “S” maiúsculo.
Se o ambiente virtual foi ativado com sucesso, o indicador (env) vai aparecer antes da linha de comando. Isso feito, digite o comando pip install -r requirements.txt e tecle Enter
Os pacotes necessários serão instalados. Caso precise de informações mais detalhadas sobre ambientes virtuais, consulte as referências a seguir:
Navegar até a pasta do programa pelo PowerShell ou pelo Prompt de Comando, como descrito acima
Ativar o ambiente virtual:
PowerShell:env\Scripts\activate.ps1
Prompt de Comando:env\Scripts\activate.bat
Executar o comando: python busca_ve.py
NOTA: Caso opte por instalar os pacotes na “raiz” do Python, sem o uso de ambiente virtual, os passos 7 e 8 da instalação e o passo 2 da execução podem ser ignorados.
Preferências
O arquivo config.py pode ser modificado com qualquer editor de texto. Através dele podem ser feitos ajustes a eventuais alterações nos “dicionários de dados” do SINAN ou nos parâmetros considerados para vínculo epidemiológico. Como padrão, estão configurados os seguintes critérios:
Distância de casos confirmados laboratorialmente em raio de 200 metros
Intervalo de 15 dias antes ou depois de casos confirmados laboratorialmente
Caso seja editado, o arquivo config.py precisa ser salvo com a codificação UTF-8.
The most convenient program for visualizing results is ParaView.
Installation
Install all dependencies, clone the repository (or download and extract from an archive), and append the top-level directory of the repository (viz. the one with subdirectories tIGAr, docs, etc.) to the environment variable PYTHONPATH, e.g., by adding
to your ~/.bashrc file (and source-ing it). To (optionally) build the API documentation, change directory to docs and type make html. The main documentation will then be in ./_build/html/index.html, which can be opened with a web browser.
On clusters
The most convenient way to use FEniCS (and therefore tIGAr) on HPC clusters is via Singularity. A singularity recipe for using tIGAr is in the file singularity-recipe.def. Some additional notes are provided in the comments of that file.
Common installation issues
petsc4py.PETSc.Mat object has no attribute PtAP: This is due to an old version of petsc4py. Try installing the latest version via pip3.
ImportError: No module named dolfin: This occurs when attempting to use python rather than python3. FEniCS 2018.1 and newer no longer support Python 2.
Python.h: No such file or directory: This requires installing the header files for the Python C API. On Ubuntu, these can be installed via sudo apt-get install python3-dev.
ModuleNotFoundError: No module named 'scipy._lib.decorator': Try re-installing SciPy, which can be done with the command pip3 install --force-reinstall scipy.
Errors due to old versions of FEniCS: Run dolfin-version in a terminal to check your version of FEniCS. Note in particular that Ubuntu PPAs for the current stable version of FEniCS are only maintained for the most recent few Ubuntu releases. Installing via the package manager on an old Ubuntu release may install an older version of FEniCS.
libgfortran.so.3 cannot be found, or other issues with libgfortran when using the Singularity container: Try adding apt-get -y install libgfortran3 under the %post section in the file singularity-recipe.def.
PHP package to interface with ClickUp. We strongly encourage you to review ClickUp’s API docs to get a feel for what this package can do, as we are just wrapping their API.
We solely use Laravel for our applications, so this package is written with Laravel in mind. We have tried to make it work outside of Laravel. If there is a request from the community to split this package into 2 parts, then we will consider doing that work.
You will need to make your User object implement includes the Spinen\ClickUp\Concerns\HasClickUp trait which will allow it to access the Client as an attribute like this: $user->clickup
<?phpnamespaceApp;
useIlluminate\Contracts\Auth\MustVerifyEmail;
useIlluminate\Foundation\Auth\UserasAuthenticatable;
useIlluminate\Notifications\Notifiable;
useSpinen\ClickUp\Concerns\HasClickUp;
class User extends Authenticatable
{
use HasClickUp, Notifiable;
// ...
}
Add the appropriate values to your .env file
Optional Keys
CLICKUP_CLIENT_ID=<Application ID, if using OAuth to generate user tokens>
CLICKUP_CLIENT_SECRET=<Application Secret, if using OAuth to generate user tokens>
CLICKUP_OAUTH_URL=<url to clickup OAuth flow, default is v2>
CLICKUP_URL=<url to clickup API, default is v2>
[Optional] Publish config & migration
Config
A configuration file named clickup.php can be published to config/ by running…
You’ll need the migration to set the ClickUp API token on your User model.
Generic PHP Setup
Examples
To get a Spinen\ClickUp\Api\Client instance…
$ psysh
Psy Shell v0.9.9 (PHP 7.3.11 — cli) by Justin Hileman
>>> $configs = [
"oauth"=> [
"id"=>"<client_id>", // if using OAuth
"secret" =>"<client_secret>", // If using OAuth
"url" =>"https://app.clickup.com/api",
],
"route" => [
"enabled"=> true,
"middleware"=> [
"web",
],
"sso"=>"clickup/sso",
],
"url" =>"https://api.clickup.com/api/v2",
];
>>> $guzzle = new GuzzleHttp\Client();
=> GuzzleHttp\Client {#2379}
>>> $clickup = new Spinen\ClickUp\Api\Client($configs, $guzzle) // Optionally, pass the token as 3rd parameter
=> Spinen\ClickUp\Api\Client {#2363}
>>> $clickup->setToken('<a token>') // Skip if passed in via constructor
=> Spinen\ClickUp\Api\Client {#2363}
The $clickup instance will work exactly like all of the examples below, so if you are not using Laravel, then you can use the package once you bootstrap the client.
Authentication
ClickUp has 2 ways to authenticate when making API calls… 1) OAuth token or 2) Personal Token. Either method uses a token that is saved to the clickup_token property on the User model.
OAuth
There is a middleware named clickup that you can apply to any route that verifies that the user has a clickup_token, and if the user does not, then it redirects the user to ClickUp’s OAuth page with the client_id where the user selects the team(s) to link with your application. Upon selecting the team(s), the user is redirected to /clickup/sso/<user_id>?code=<OAuth Code> where the system converts the code to a token & saves it to the user. Upon saving the clickup_token, the user is redirected to the initial page that was protected by the middleware.
NOTE: You will need to have the auth middleware on the routes as the User is needed to see if there is a clickup_token.
If you do not want to use the clickup middleware to start the OAuth flow, then you can use the oauthUri on the Client to generate the link for the user…
NOTE: At this time, there is not a way to remove a token that has been invalidated, so you will need to delete the clickup_token on the user to restart the flow.
Personal Token
If you do not want to use the OAuth flow, then you can allow the user to provide you a personal token that you can save on the User.
By running the migration included in this package, your User class will have a clickup_token column on it. When you set the user’s token, it is encrypted in your database with Laravel’s encryption methods. After setting the ClickUp API token, you can access the Client object through $user->clickup.
$ php artisan tinkerPsy Shell v0.9.9 (PHP7.2.19 — cli) by Justin Hileman
>>> $user = User::find(1);
=> App\User {#3631
id: 1,
first_name: "Bob",
last_name: "Tester",
email: "bob.tester@example.com",
email_verified_at: null,
created_at: "2019-11-15 19:49:01",
updated_at: "2019-11-15 19:49:01",
logged_in_at: "2019-11-15 19:49:01",
deleted_at: null,
}
>>> // NOTE: Must have a clickup_token via one of the 2 ways in the Authentication section
>>> $user->clickup;
=> Spinen\ClickUp\Api\Client {#3635}
Models
The API responses are cast into models with the properties cast into the types as defined in the ClickUp API documentation. You can review the models in the src/ folder. There is a property named casts on each model that instructs the Client on how to cast the properties from the API response. If the casts property is empty, then the properties are not defined in the API docs, so an array is returned.
Some of the responses have links to the related resources. If a property has a relationship, you can call it as a method and the additional calls are automatically made & returned. The value is stored in place of the original data, so once it is loaded it is cached.
You can do advanced filters by using where on the models
>>> $team->tasks()->where('space_ids', ['space_id_1', 'space_id_2'])->where('assignees', ['assignee1', 'assignee2'])->get()->count();
=> 100// If there are more than 100 results, they will be paginated. Pass in another parameter to get another page:
>>> $team->tasks()->where....->where('page', 2)->get();
NOTE: The API has a page size of 100 records, so to get to the next page you use the where method… ->where('page', 3)


 https://github.com/thejagadeesh/Netflix-Unveiled-Analyzing-Content-Diversity-and-User-Engagement-in-Movies-and-TV-Shows